
In this lab, we will go through a series of steps to create and configure an EC2 instance. In addition to that, we will dwelve in to securing, scaling and monitor an instance.
Launch Amazon EC2 Instance
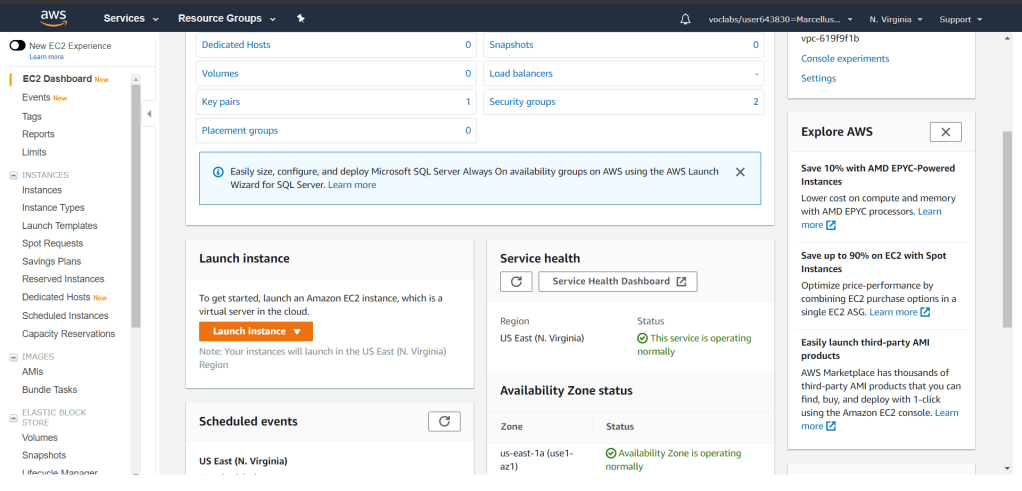
To start, go to Services and select EC2 under the Compute category. Click on Launch Instance and you will go to a wizard to create an EC2 instance.
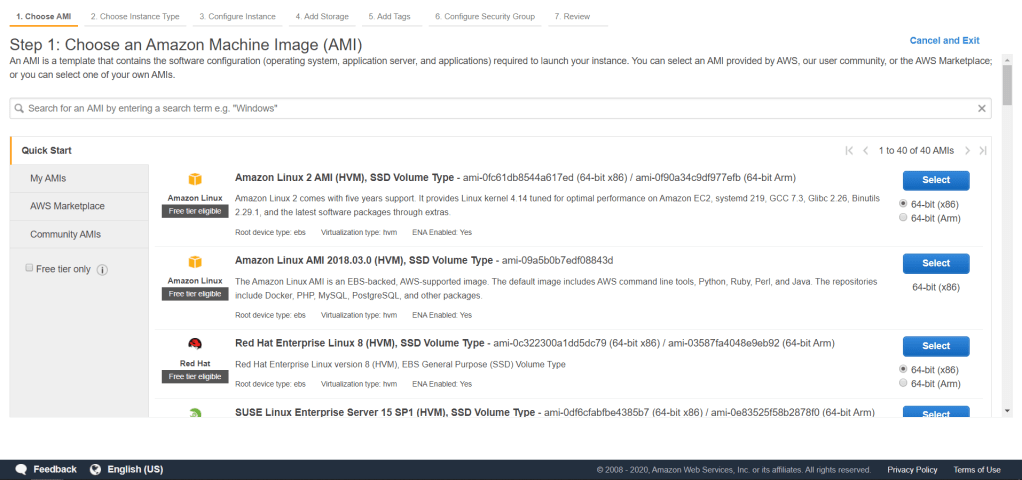
Next step is to choose an Amazon Machine Image (AMI). We will use the default one that AWS has provided which is Amazon Linux 2 AMI. Click Select.
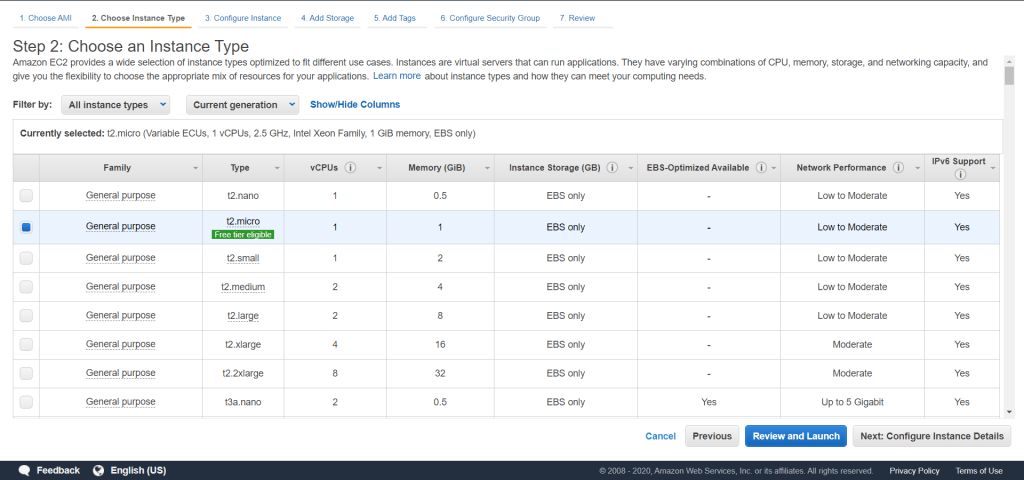
Next, choose t2.micro instance type for the purpose of this lab. Click Next: Configure Instance Details.
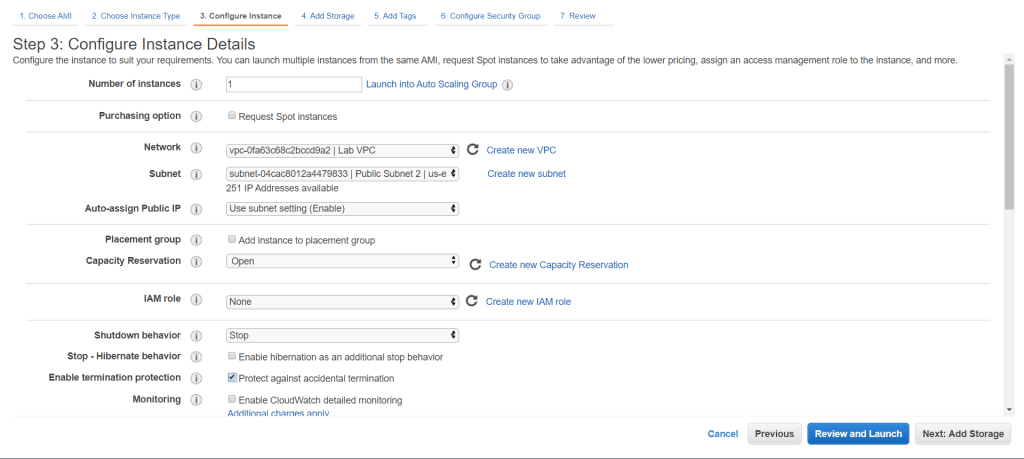
In configuring the insance network, make sure it is on Lab VPC network. For this lab, turn on Protect against accidental termination to ensure that the instance could not be terminated while the setting is on.
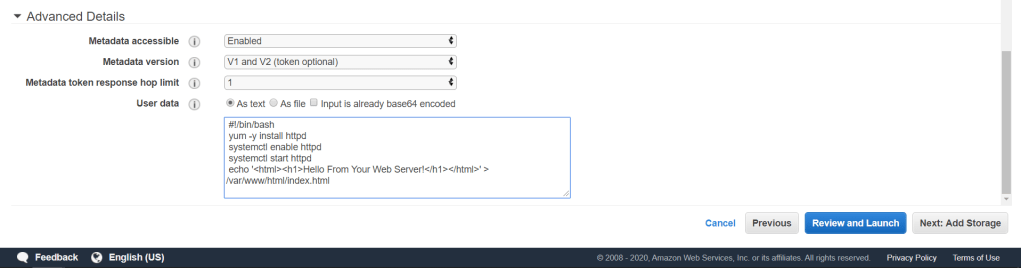
Next, scroll down to Advanced Details and in the User data fill it in with the code below.
 #!/bin/bash
 yum -y install httpd
 systemctl enable httpd
 systemctl start httpd
 echo '<html><h1>Hello From Your Web Server!</h1></html>' > /var/www/html/index.html
This code will run when the instance starts. The script consists of commands that install Apache web server (httpd), start web server on boot, activate web server and a simple html script inside. Click Next: Add Storage.
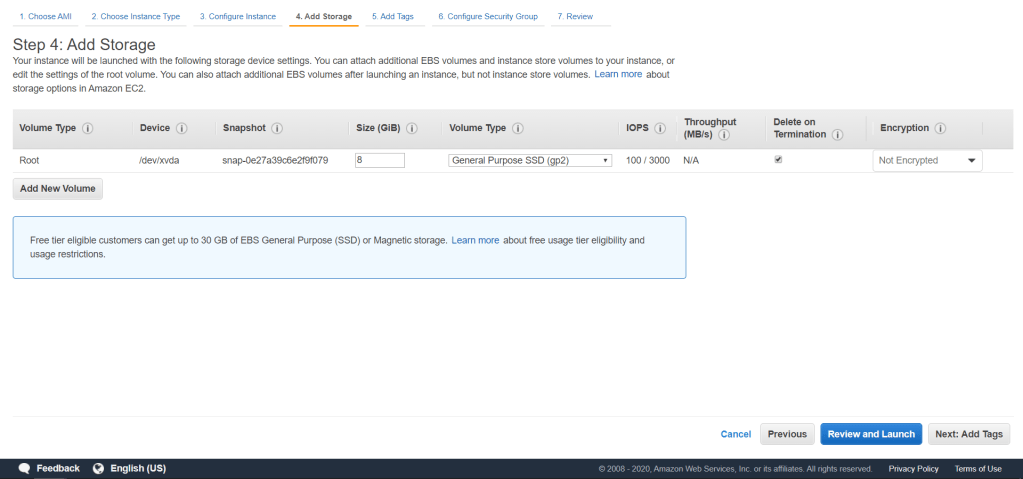
We will use the default storage configuration. Click Next: Add Tags.
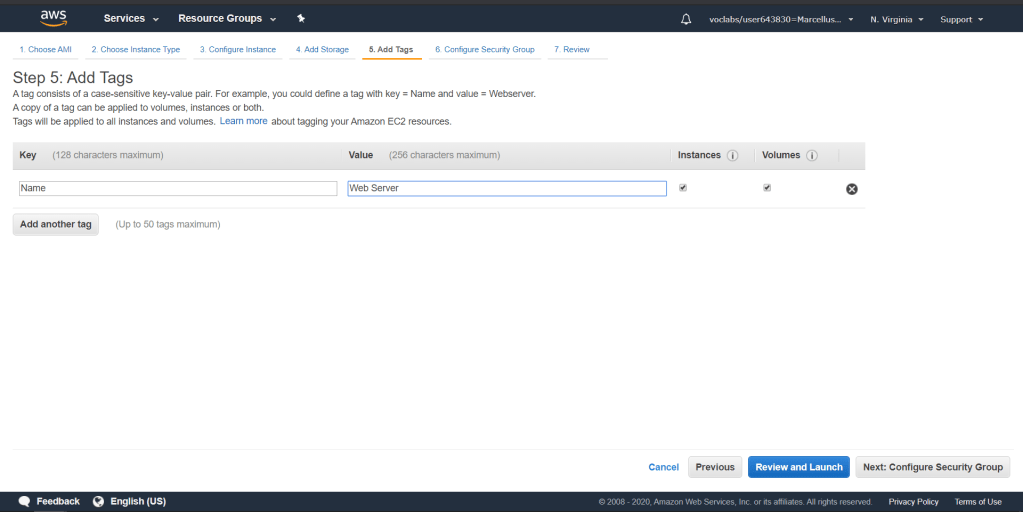
Add a tag with the Key = Name and Value = Web Server. Click Next: Configure Security Group.
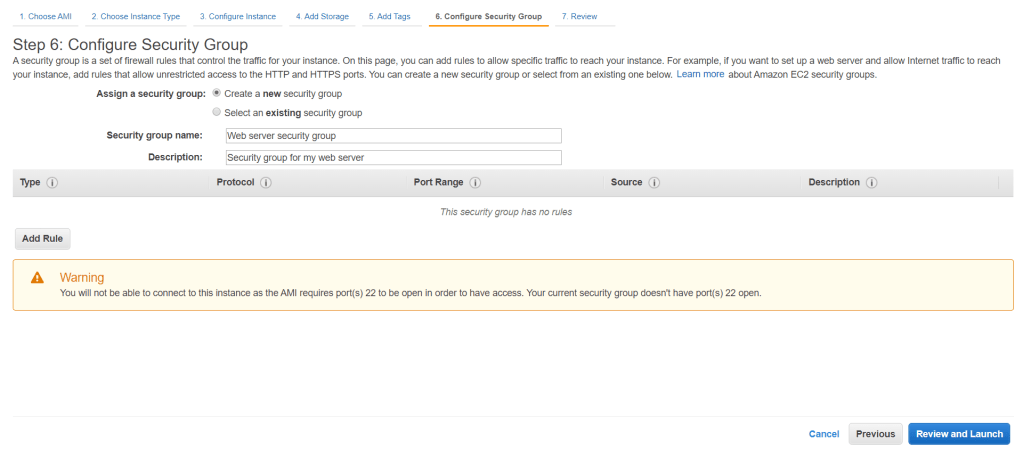
For the security groups, create a new one with the name and description like below. By default there should be one rule to allow an SSH connection. Remove the rule as it poses a risk and we will not be using SSH to connect to the web server. Click Review and Launch.
Review the instance configurations and click Launch.
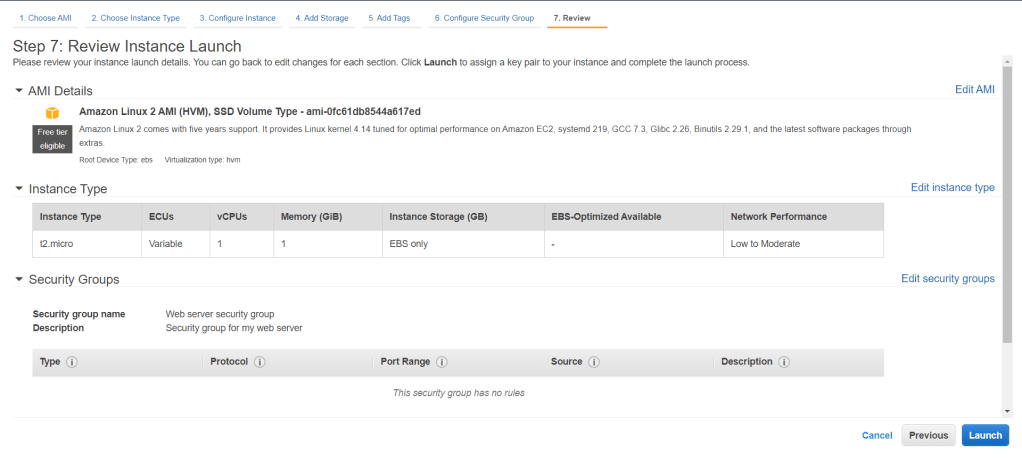
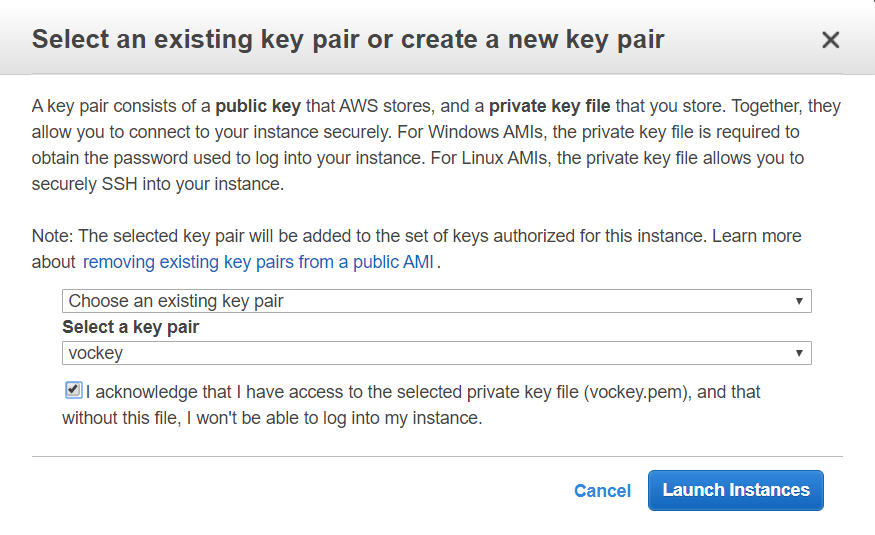
Before launching an instance, you would need to assign a key pair for the instance. You will then need to use the key pair to securely connect to the instance. In this lab, a key has been provided thus I selected an existing key pair. Check the acknowledgement terms and click Launch Instances.
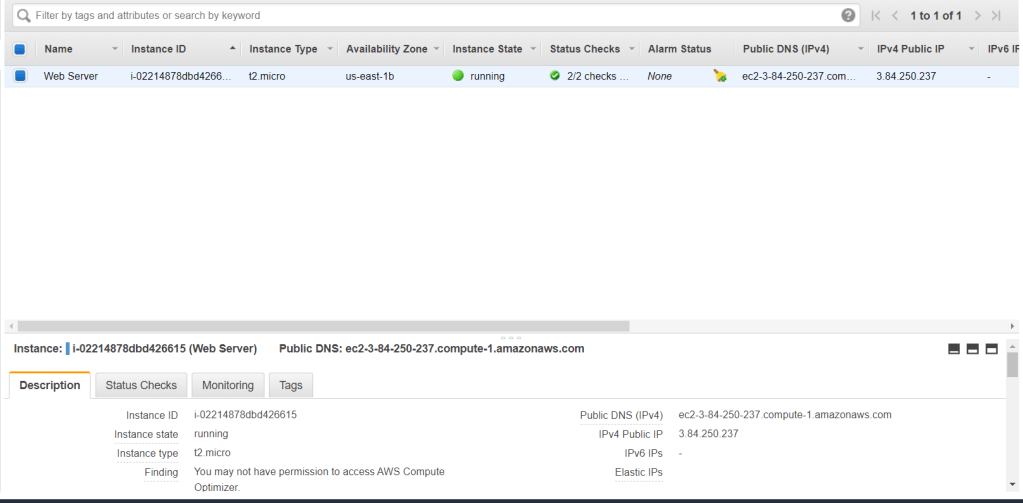
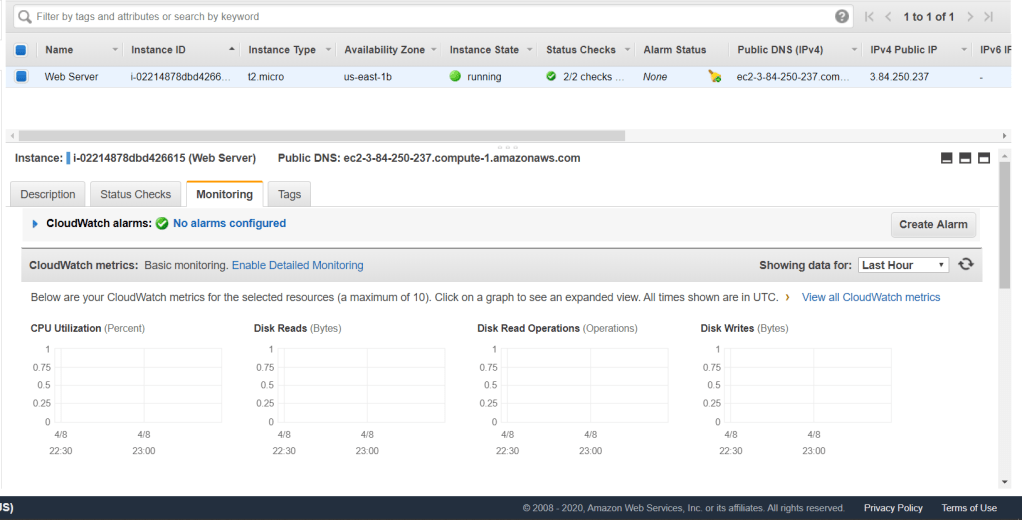
In the Instances menu, you will now see the instance is running/initializing. It will take a while until the instance fully runs. Make sure the Status Checks shows 2/2 checks passed. You can also check the Public DNS for this instance under the Description tab.
Monitor Instance
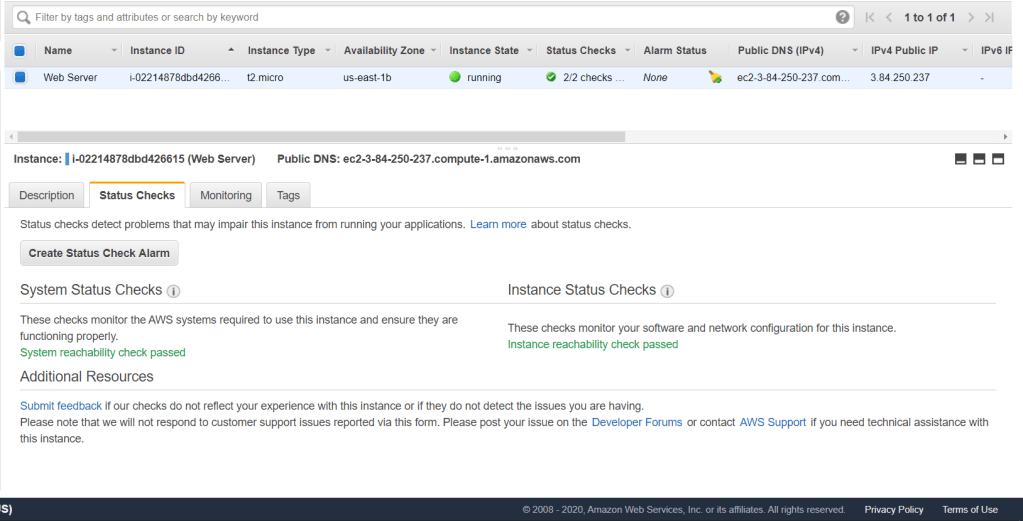
There are a few ways to monitor an instance. Go to Status Checks tab and you will see that System Status Checks and Instance Status Checks both passed. This checks ensure that there are no issues to on running the instance.
Now go to the Monitoring tab. Currently you will not see any/much activity on the instance metrics as it is just recently launched and no data had been recorded yet. By default it records in 5 minutes interval which is maintained by AWS CloudWatch.
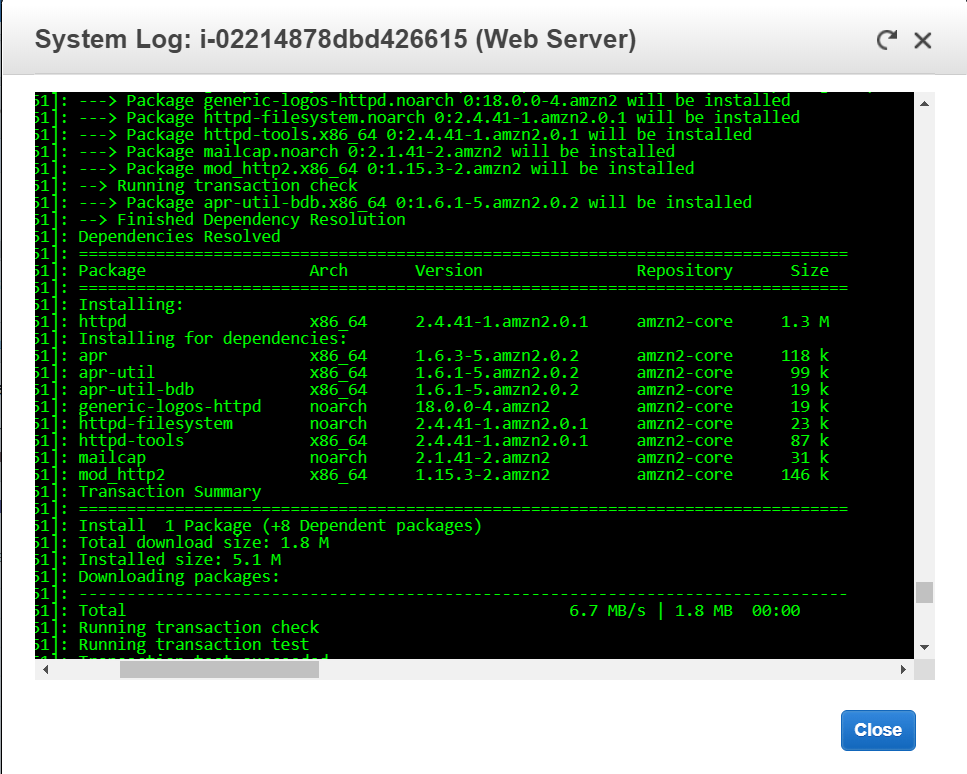
Go to Actions drop drop down menu and select Settiings > Get System Log. This log shows console output of the instance. You can troubleshoot an instance kernel problems and service configuration issues through the system logs.
Scroll down and try to find a log that states the installation of httpd. As you have remembered, we provided the script to install an Apache web server which we can see here executing from the system log.
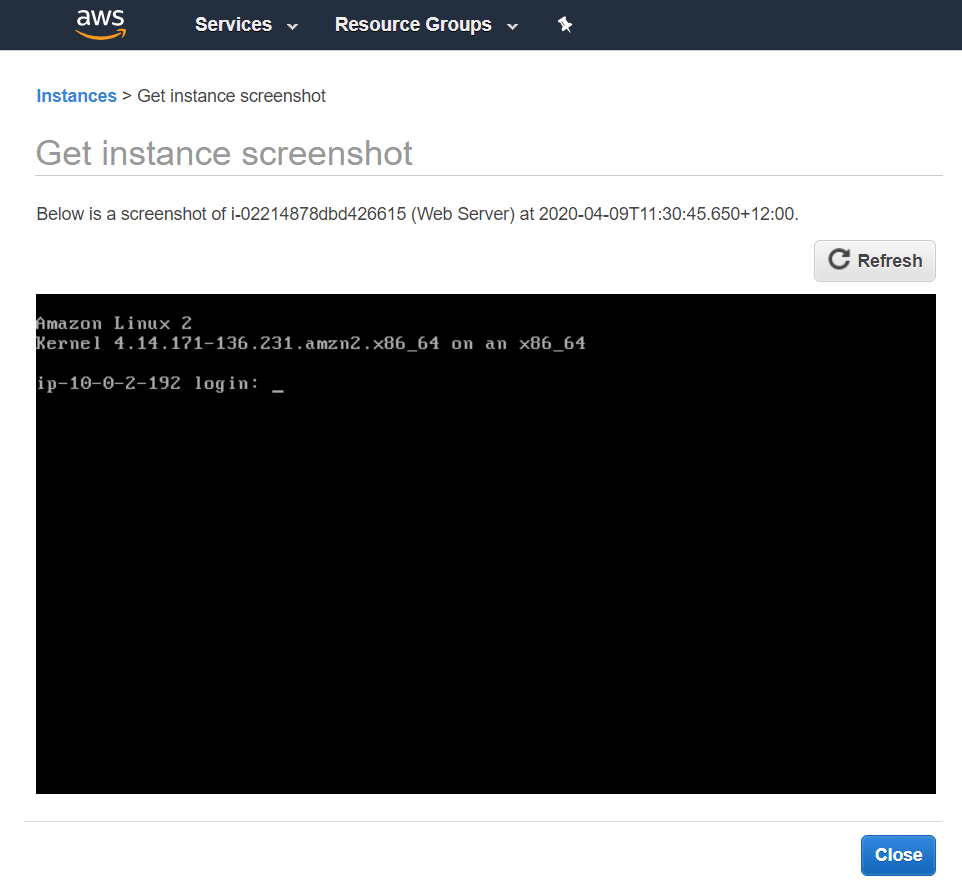
Next, you can get a screenshot of your instance by going under Actions > Instance Settings > Get Instance Screenshot. This is helpful in case you cannot reach your instance by SSH, you can check the condition of your instance from a screenshot.
Update Security Group and Access the Web Server
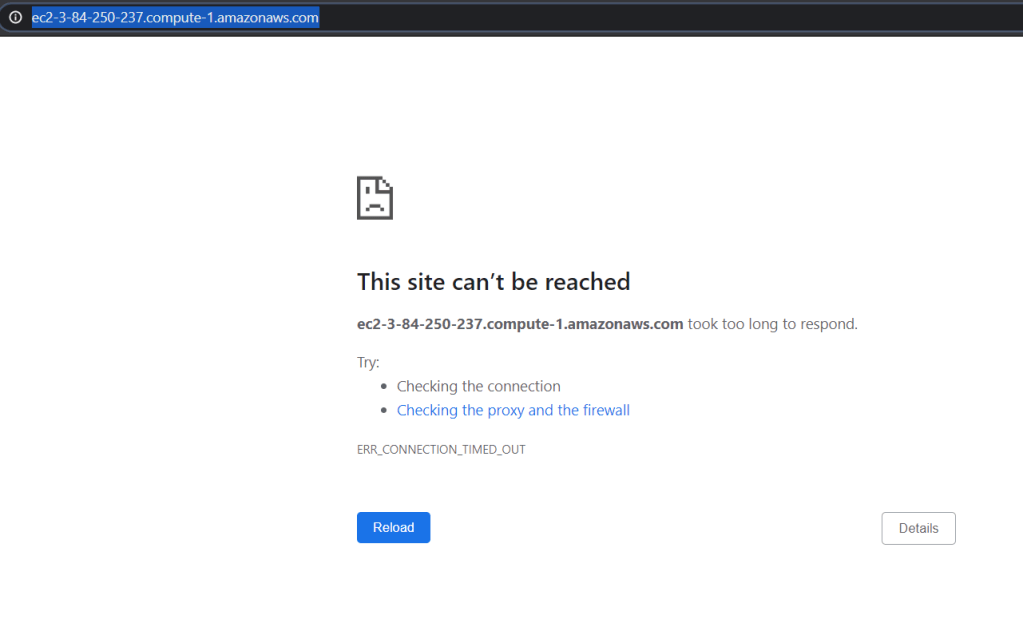
We will now try to access the web server through the public DNS. Copy the web server public DNS under the Description tab and paste it in your web browser. Supposedly, we will not be able to connect to the web server. This is due to explicit deny rules that is set on the security groups.
To correct this, we need to allow an inbound HTTP connection through the security groups rules. Go to Security Groups menu on the left side and click on Web server security group. Click on the Inbound rules tab and Edit inbound rules. Add a rule with Type = HTTP and Source = Anywhere. With this rule applied, all HTTP connection will be allowed through the instance.
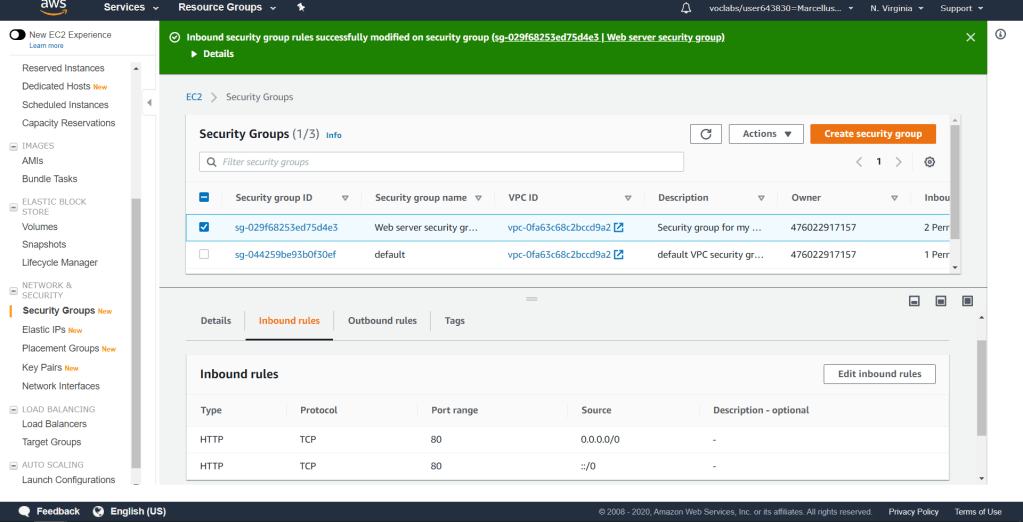
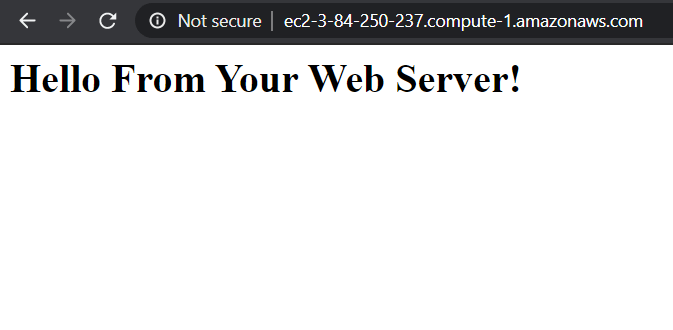
Now if you go to the web server public DNS again, you should be able to reach it.
Resize Instance: Instance Type and EBS Volume
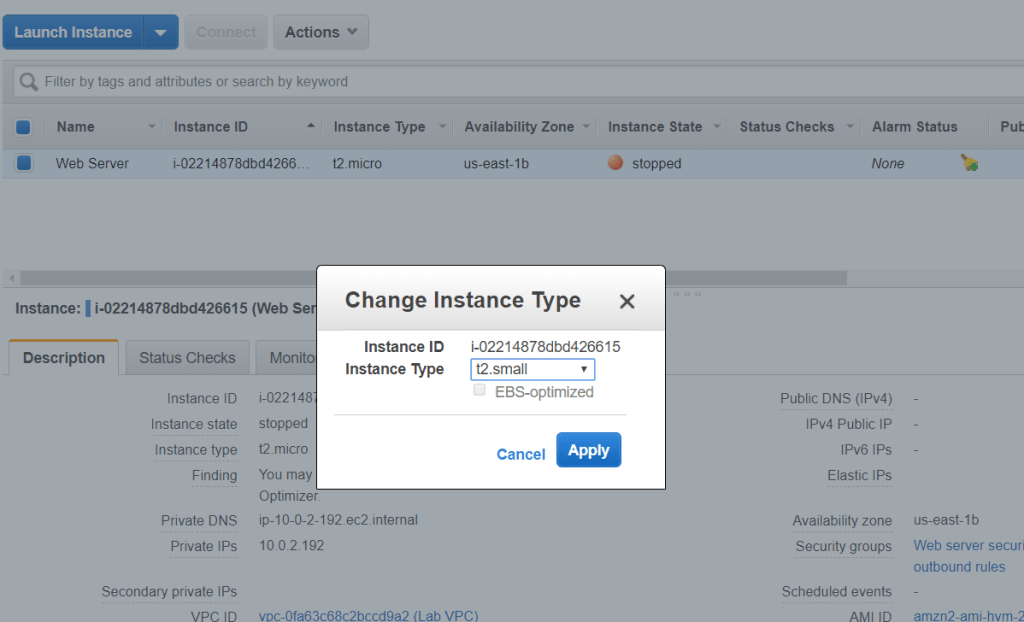
After you launch an instance, you have the capabilities to change an instance type and its volume to fit your need. To do that, first we need to stop the instance. Go to Actions > Instance State > Stop. Click Yes, Stop.

To change the instance type, go to Actions > Instance Settings > Change Instance Type. Change it to t2.small which has larger memory than t2.micro and click Apply.
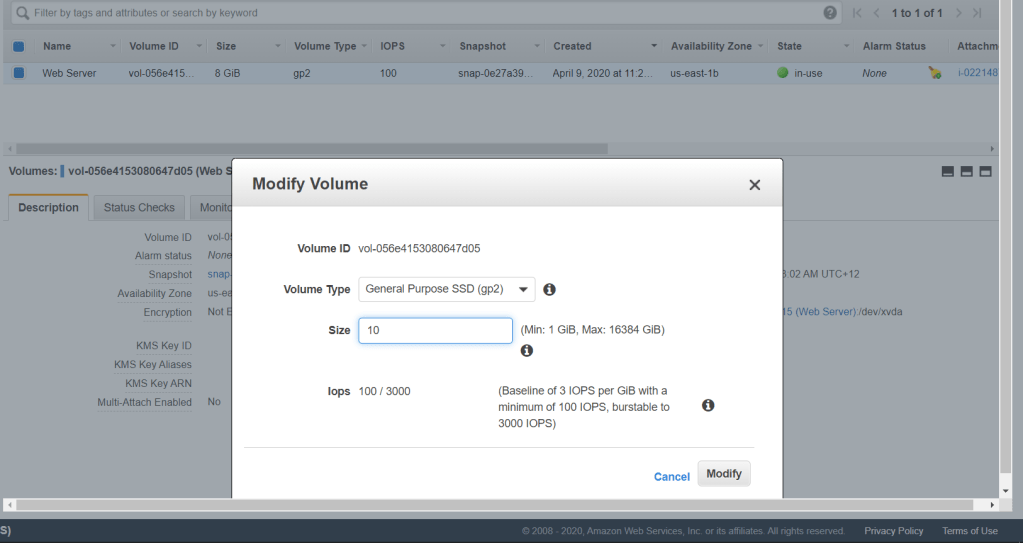
To change an instance volume, go to Volumes on the left menu.
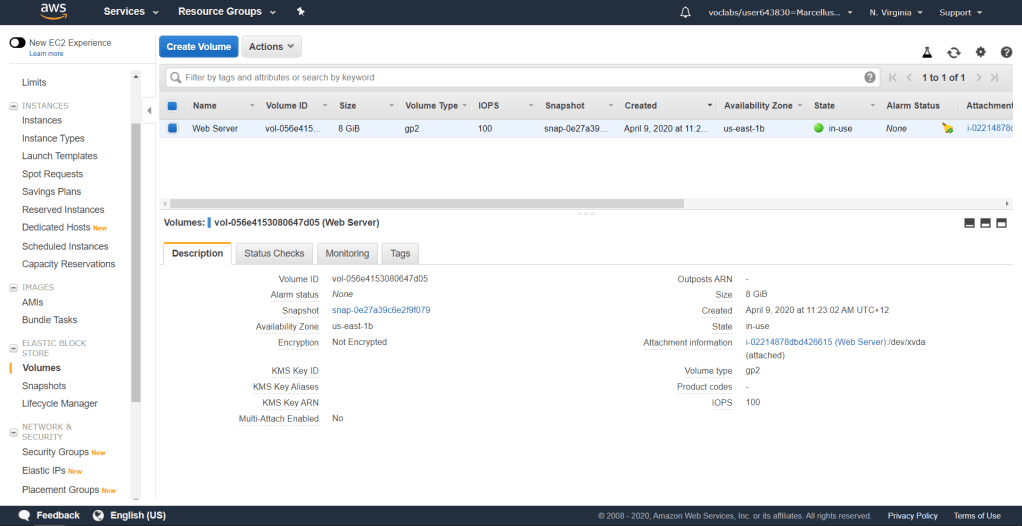
Click on the particular instance and go to Actions >Modify Volume. In this case, we will increase the size to 10 GB. Click Modify to apply.
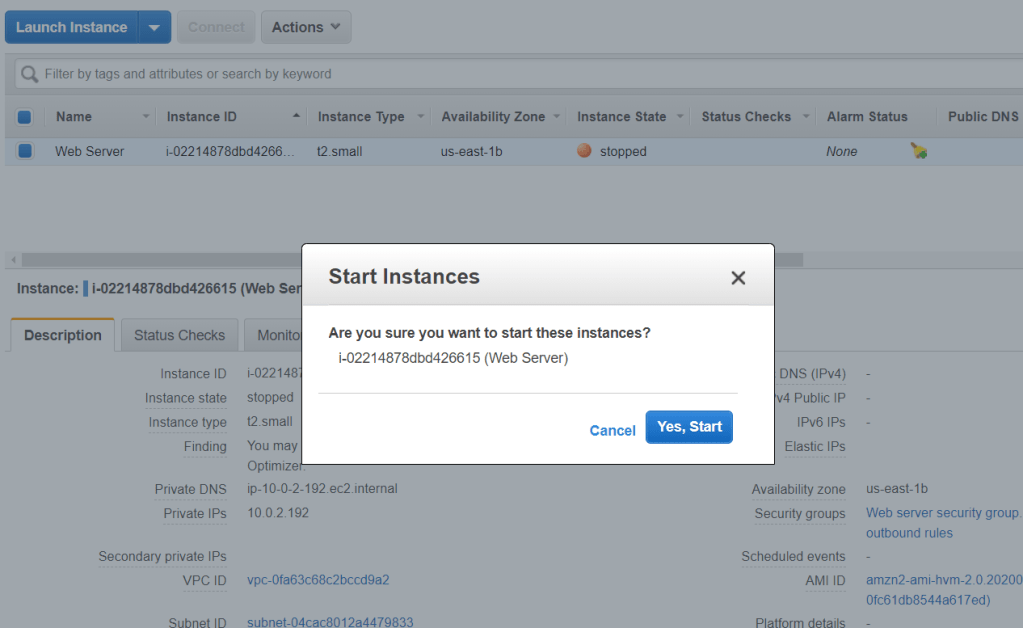
To finish this section, go back to Instances and start the instance by going to Actions > Instance State > Start.
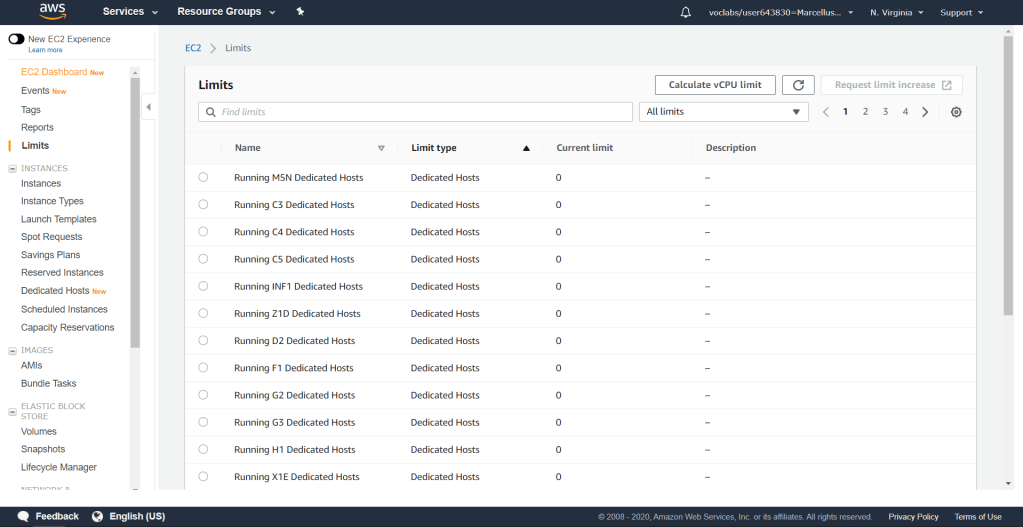
Explore EC2 Limits
AWS EC2 has limitations on the usage of resources such as images, instances, volumes and snapshots. It usually has a default value but different region may have different limits. To check, go to Limits menu on the left. You will see the different kind of resources and its limits for this particular Amazon EC2.
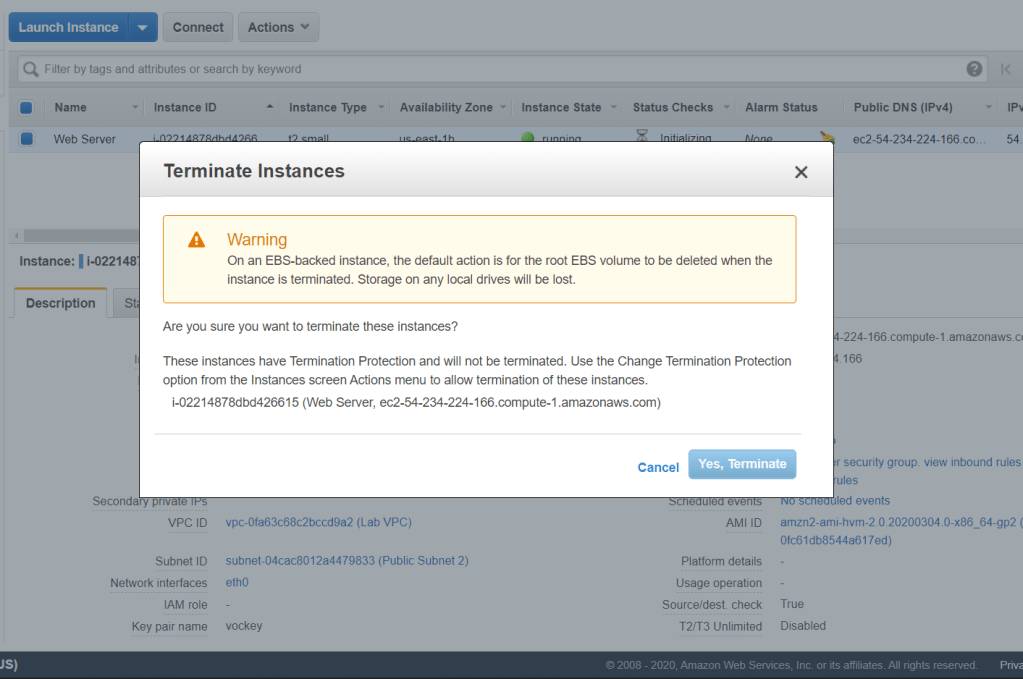
Test Termination Protection
We had set the instance we launched with termination protection. Now to test it, go to the Instance and select Actions > Instance State > Terminate. You will get a Terminate Instance warning but the accept button is inaccessible. This proves that the termination protection works.
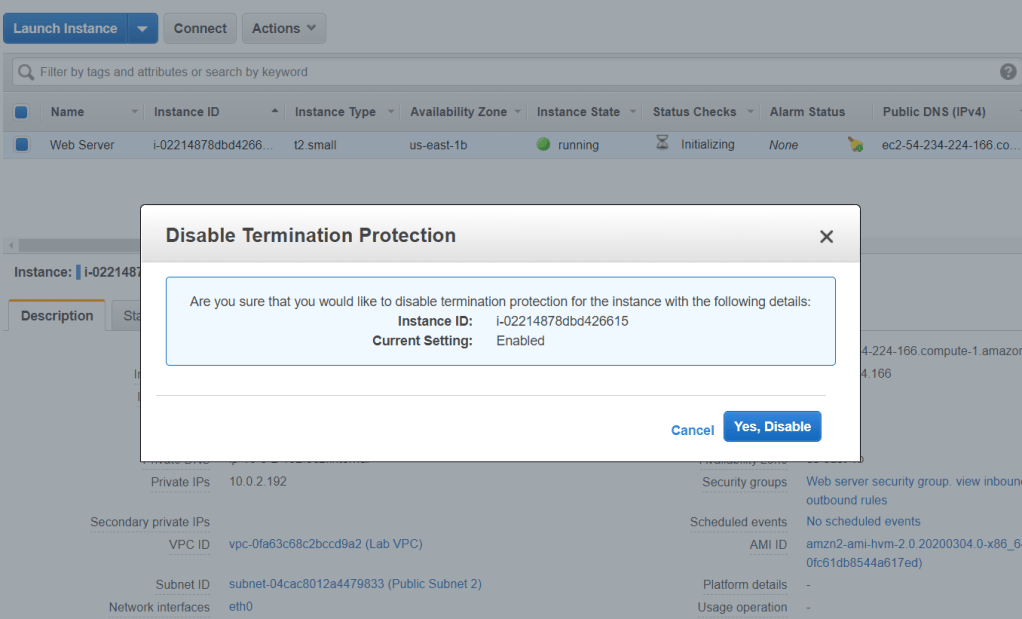
Now, we will try to turn off the termination protection. Go to Actions > Instance Settings > Change Termination Protection. Click Yes, Disable to turn it off.
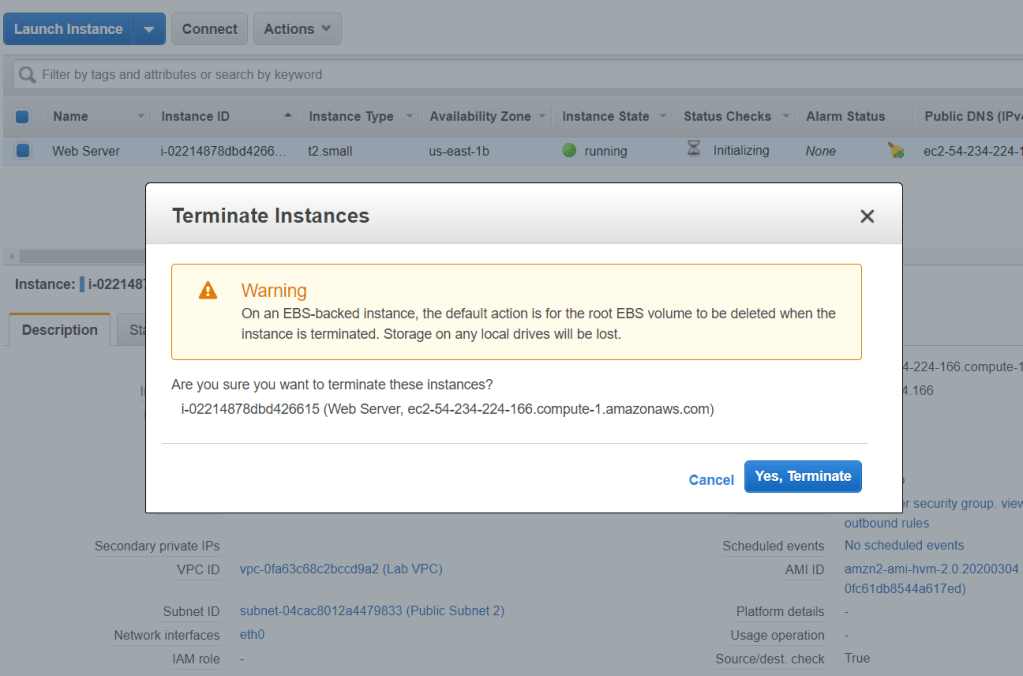
If we now try to terminate the instance, the Yes, Terminate button is accessible and the instance is able to be terminated.
Critical Thinking
As we may have learned from this lab, EC2 has a great flexibility in managing and operating its machines. Resizing an instance is one of them, however that is not the best way to provide better performance on a server. AWS uses horizontal scaling concept in which we increase the number of machines on a certain process rather than vertical scaling which we just did in this lab. All of this scaling scheme have the aim to maintain great performance on the servers and at the same time, in the least cost effective method.
Vertical scaling could be optimized using auto scaling feature provided by Amazon Cloudwatch. This ensures that the instance could scale to meet a certain level of performance, either scaling up or down, with the conditions you have set (possibly the lowest cost possible). This feature is available with no additional fees. But as we know, there is a certain limit which one instance could load. Therefore, horizontal balancing scheme could also be implemented.
Horizontal scaling could be optimized with Elastic Load Balancing. Its purpose is to split incoming traffic to different instances to balance it. In addition to that, your system would have a great redundancy as there are multiple instances running. Elastic Load Balancing could also reroutes traffic from unhealthy instances to a healthy one until it is fixed.
