
For the Cloud Services course, we will be setting up OpenStack as the platform to run AWS. It will be done in our own virtual environment using VirtualBox. For the first lab, we will be installing OpenStack in VirtualBox.
Preparations
I prepared two files which are needed to initialize the installation of OpenStack in VirtualBox. These two files are:
- VirtualBox installer
- Ubuntu Server Install image 18.04.3 LTS
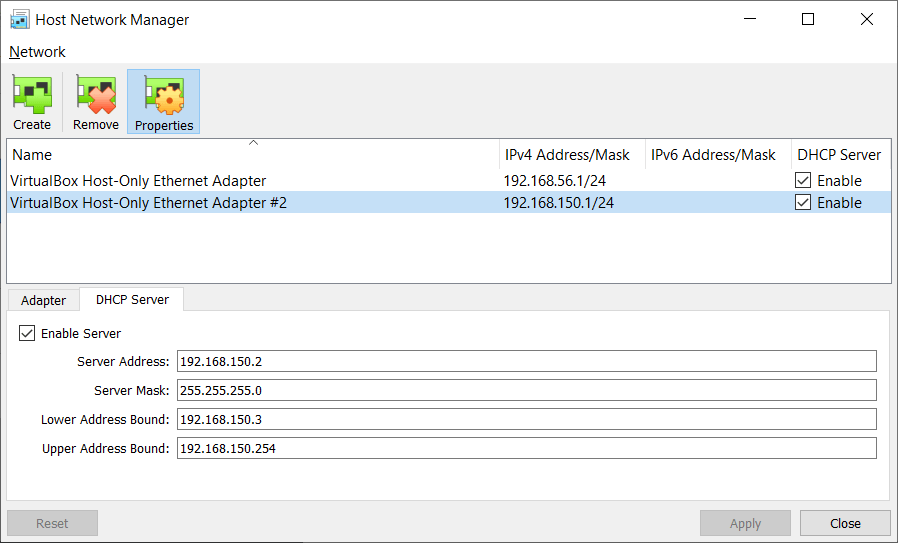
VirtualBox installation is pretty straightforward and should be up in your program quickly. The Ubuntu image will be mounted to a virtual machine later on in VirtualBox. To make sure that the network is doing fine, check if Host-Only Network is available and has the DHCP server enabled.
Create the Virtual Machine
In VirtualBox, create a new VirtualMachine and make sure that it is using Ubuntu (64-bit) with a 4096 MB memory. Create the virtual machine.

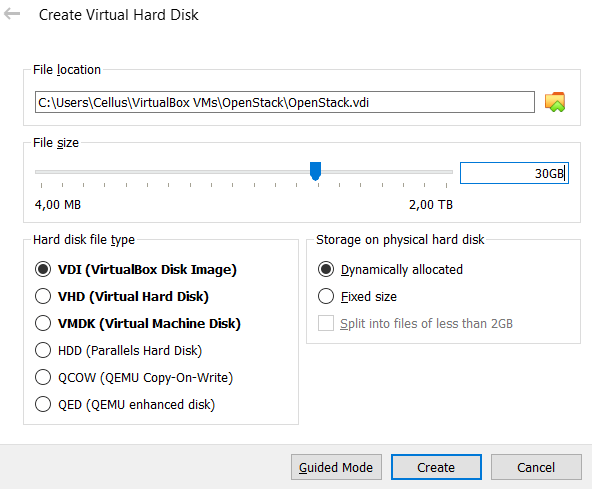
Next confirm the location of the virtual machine and set a size for the machine. It will be dynamically allocated which would only take the space it would use.
Next step is to turn on Nested VT-x/AMD-V which could be found in the VM Settings > System > Processor. Due to an Intel processor in my machine, it is grayed out and to turn it on, run the code below through command prompt. “OpenStack” in the command is according to the VM’s name that you have created.

After you run the code, check the settings again and it should be checked.

Move to Storage setting in the VM. Mount the Ubuntu Server image through the small disc icon on the right side.

Go to Network setting. Make sure that Adapter 1 is set to NAT while Adapter 2 is set to the Host-Only adapter you have created.

Now the VM is ready to run and start the installation of Ubuntu.
Ubuntu Installation
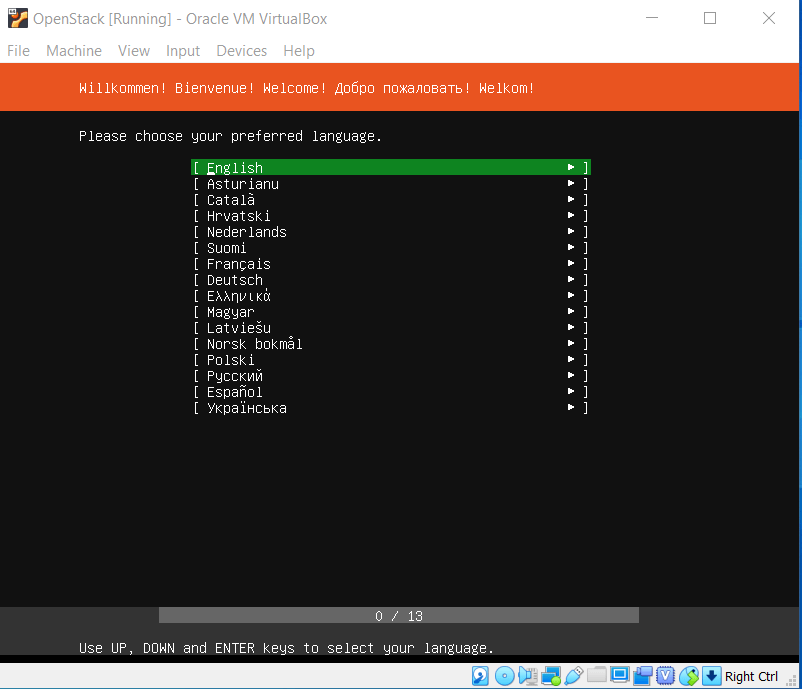
After running the VM, Ubuntu installation should start immediately with the first page in language configuration.
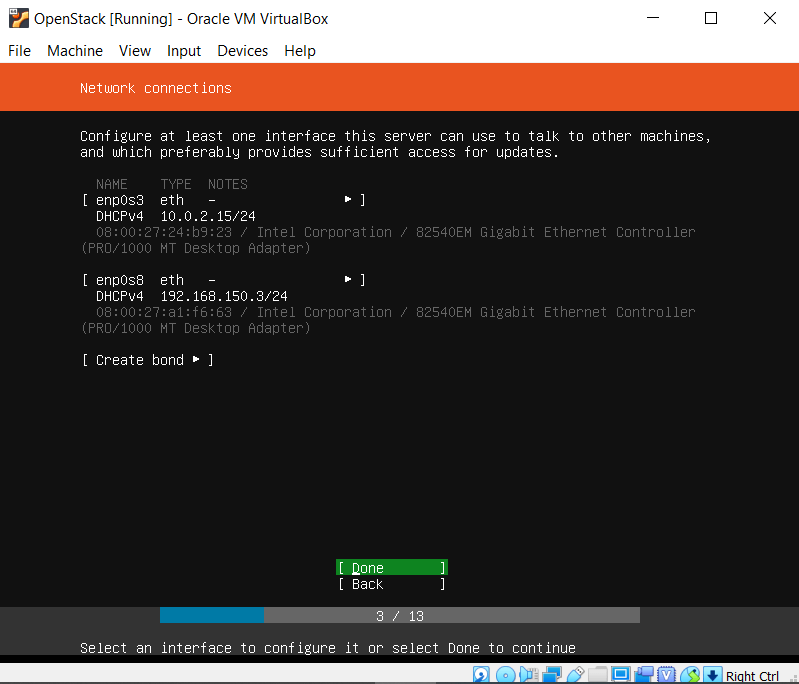
Follow the steps and leave the configurations as default. As you reach the network connections configuration, make sure that there are 2 network connected, the first would be the NAT network while the second one would be the Host-Only network adapter.
You will go through proxy, archive mirror, filesystem configuration and should be left as default. Once you reach the profile setup, fill in the information accordingly to your preference.

Continue with the installation and you should start the installation soon. It would take a while and once it’s finished, it will ask you to reboot the machine.

Before installing OpenStack, we should update ubuntu with the code below. You should be in root before initializing the Ubuntu update.

Install DevStack
It is recommended to create a non-root user for DevStack. Running the code below will create a user with root privilege.
sudo useradd -s /bin/bash -d /opt/stack -m stack
echo "stack ALL=(ALL) NOPASSWD: ALL" | sudo tee /etc/sudoers.d/stack
sudo su - stack
With the “stack” user, now we can initiate cloning of DevStack with the code below.
git clone https://opendev.org/openstack/devstackNow we move to the DevStack directory to edit the local.conf with the code below.
cd devstack
cp samples/local.conf local.conf
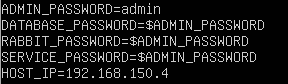
nano local.confChange the information on the admin password and also add the Host IP as well.
Run the code below to start the installation and it should take a while to finish the installation. I have some errors going through this installation and I suspect it was an issue with unstable internet connection.
./stack.shAfter a few tries with better internet connection, the installation was not successful but it finished without any significant information about the error. I found out the problem was my host name which was “cellus_serv”. It seems _ was read as — which then could disrupt any commands that includes the host name. Thus, I have changed the host name to “cellusserv” and the installation was completed.
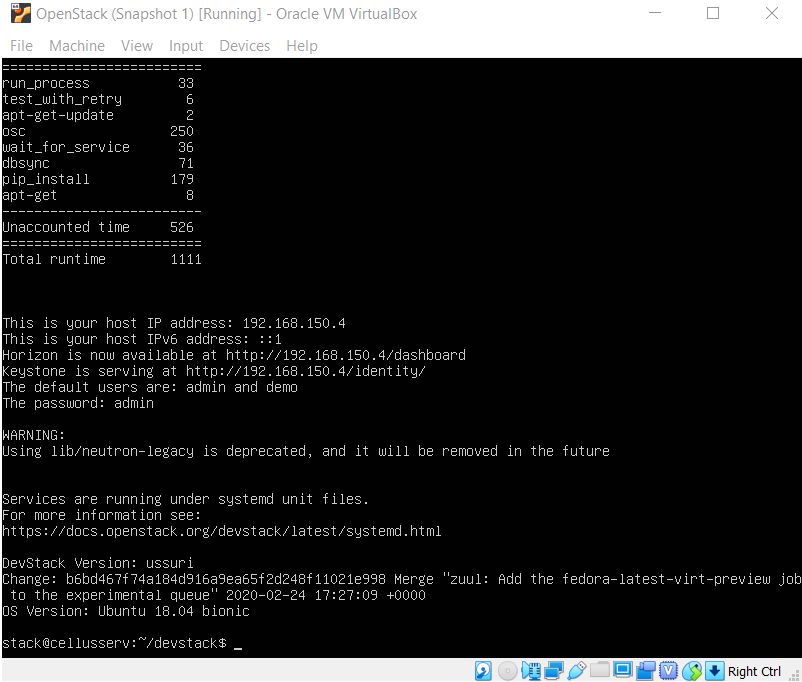
I typed in the URL on my computer’s web browser to access OpenStack web interface.
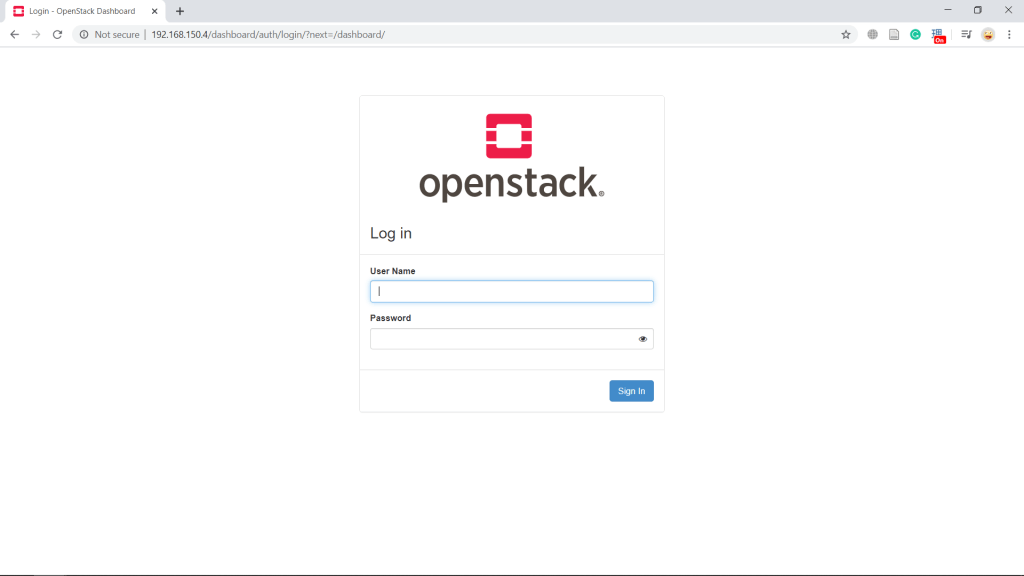
Overview of OpenStack Interface
This is the first page that showed up with a summary of the cloud’s compute, volume and network resources.

On top are projects that are created in open stack. You can easily change to different projects from that drop-down menu.

The idea here is that every project will manage a group of different instances with its own configured network. From the Compute menu, you could access Instances to create an instance in this project. Or from an image which could be created in the Images menu.
Volumes are measurements of the storage provided from this server. These storages are the one that will be attached to instances.
Network configuration in OpenStack is quite straight forward. It provides the network between instances in the server and could also create routers in the network. OpenStack provides a graph style topology to make things easier to view.
On the admin menu, there are additional information about the server status and systems information which typically only the admins would be able to access.
The identity menu provides a configuration menus to manage users and their roles to access the projects.
Critical Thinking
On the OpenStack installation using Ubuntu, everything is pretty straight forward except for one issue which I have stated previously. It is a strange problem but it was understandable as it might have different interpretation of characters.
I had a bit confusion on running OpenStack web interface which first I thought was supposed to be run in the server. But it seems every machine in the same NAT network would be able to connect to the cloud server. Thus I used my own machine browser to access OpenStack web interface.
As I have not launched any instances and the rest of its requirements, I could not say how well OpenStack could provide a solution for a cloud server. However, so far from going around the navigation, it seems to provide sufficient information on the resources. It also has a simple interface which could easily be understood by users and OpenStack also provides a good documentation.
