
Create a Load Imbalance
From the vSphere Web Client go to Hosts and Clusters and make sure that every VM is running in one host. If not, migrate the VMs to one host. Also power on all of the VMs.
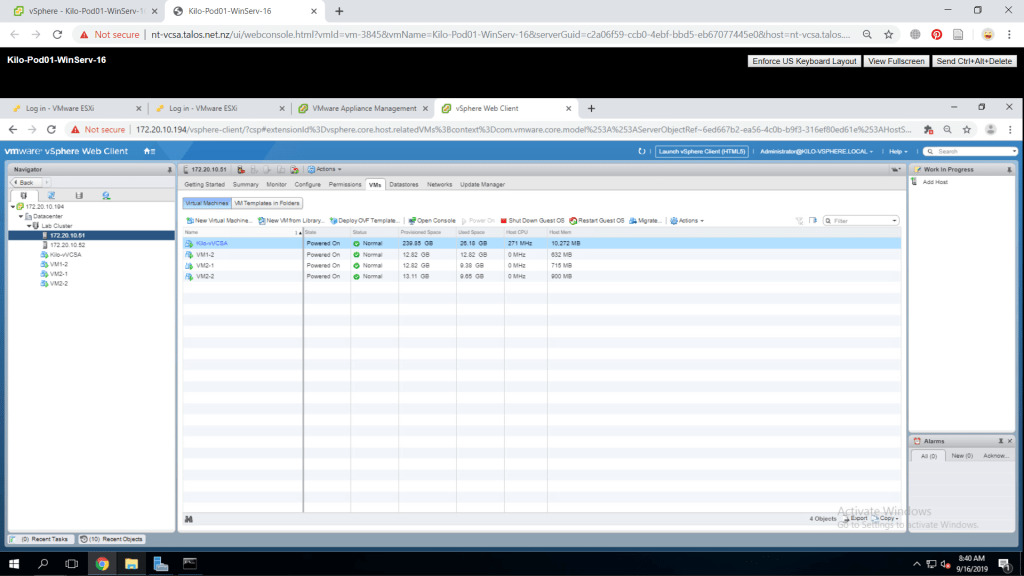
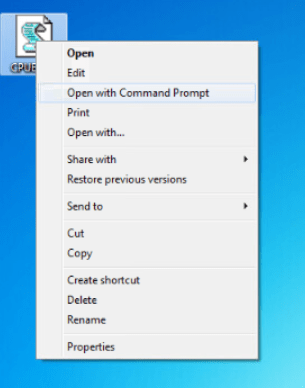
Start the CPUBUSY script in each of the VM. You can do that by right-clicking the CPUBUSY file and select Open with > Command Prompt. You will need to run more CPUBUSY script to make the load imbalanced later.
Create a vSphere DRS Cluster
From Hosts and Clusters, right-click Lab Cluster and select Settings. Choose vSphere DRS and click Edit. Figure 3 will show the configurations I have made for preparing a DRS cluster. The settings outside the figure have no changes.

Verify Proper vSphere DRS Cluster Functionality
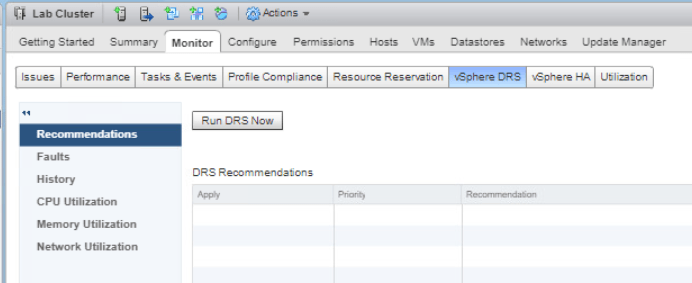
Go to Lab Cluster Monitor tab and select vSPhere DRS. Click Run DRS Now.
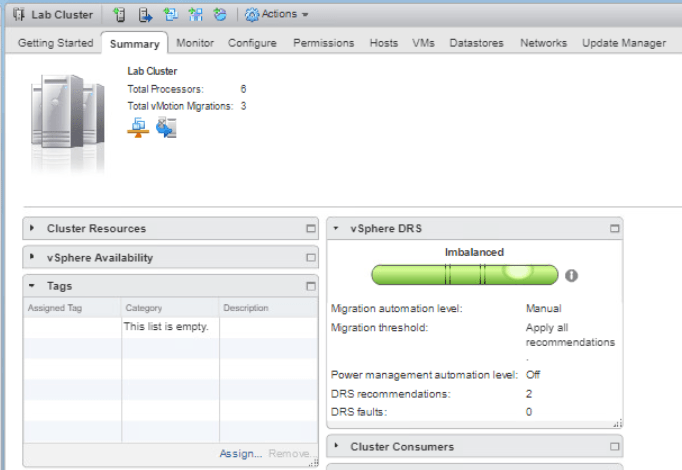
Select the Summary tab and expand vSphere DRS. You can see that the DRS load is imbalanced.
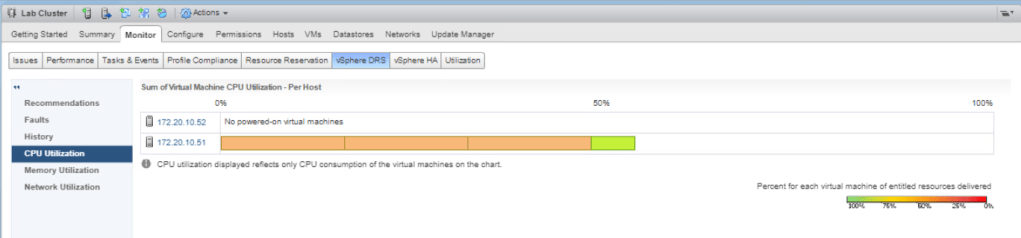
Now, go to Monitor tab > vSphere DRS and select CPU Utilization. You can see under the Sum of Virtual Machine CPU Utilization – Per Host is fully on one of the ESXi host as all of the VM is running on it. That is why it is imbalanced in the DRS load.
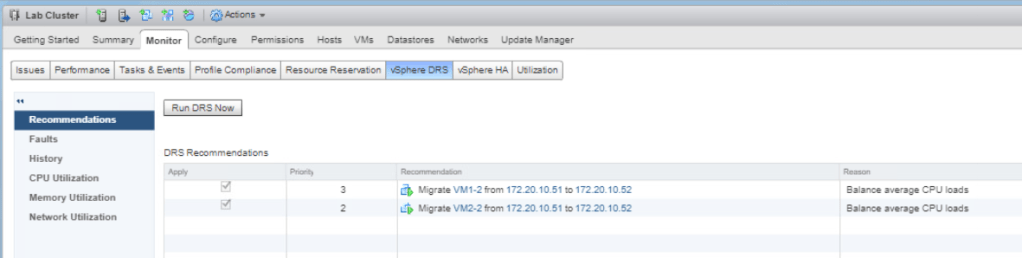
Select Recommendations from the middle pane and you can check several action that could be done for a better performance. Click Apply Recommendations
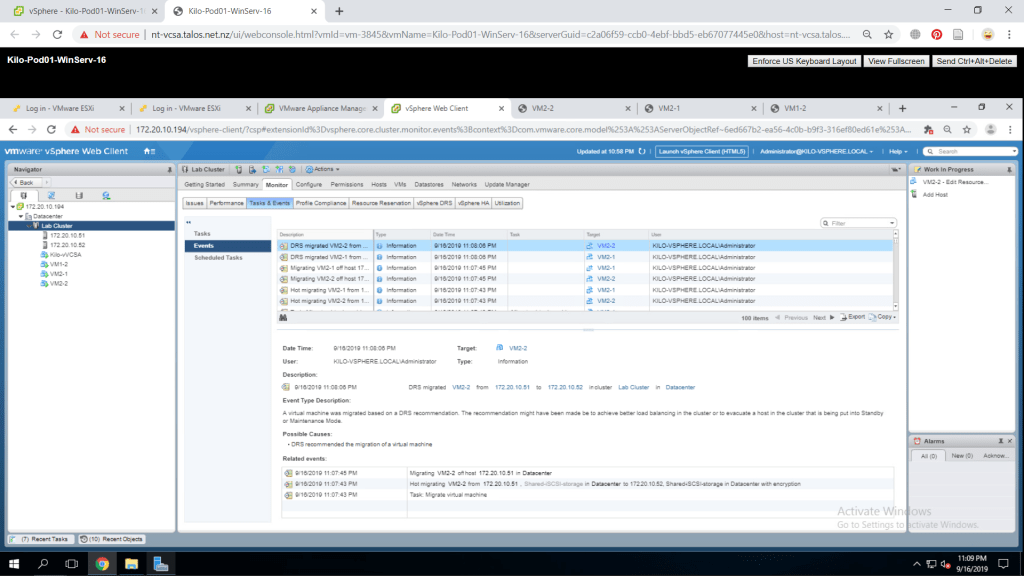
Back to the Monitor tab, click Tasks & Events then select Tasks and you can check the VM migration process.
Next, click the vSphere DRS tab and select Run DRS.

Click the Summary tab and the gauge is now more balanced though it still states that it is imbalanced.

In the vSphere DRS > CPU Utilization, the CPU usage is now spread evenly due to the migration of two VMs to another ESXi host.

Create, Test, and Disable a VM-VM Affinity Rule
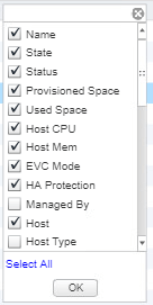
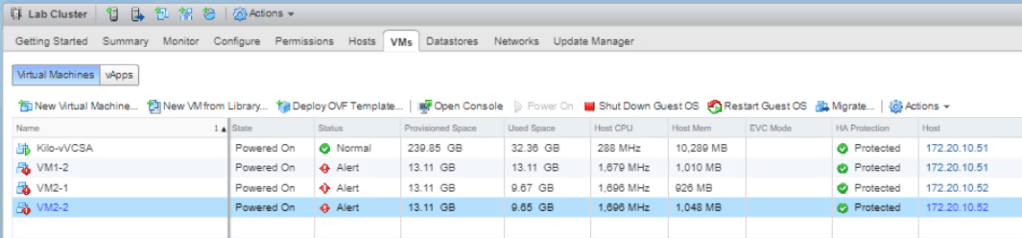
Click on Lab Cluster and select the VMs tab. Right-click in an empty space in the columns and select Show/Hide Columns. Check the Host check box and click OK.
You can see the information of the VMs and make sure they are not running on one host. If it is still in one host, migrate one of them to another.
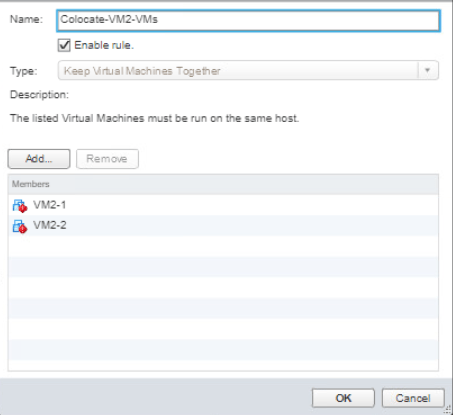
Right-click on Lab Cluster and select Settings. Select VM/Host Rules menu and click Add. A window will appear and Figure 14 will show my configuration of the VM/Host rule. Click OK if done.
Go to the Monitor tab and select vSphere DRS. Select Recommendations and click Run DRS Now. The recommendation will appear when your VM2-# are seperated in different ESXi host. A recommendation will show up then click Apply Recommendations, it might take a while for the recommendation to show up. It will migrate the VM2-# to keep it together in a single ESXi host as the rule we have applied previously.

Now from the Monitor tab, click Tasks & Events to see check the migration progress.

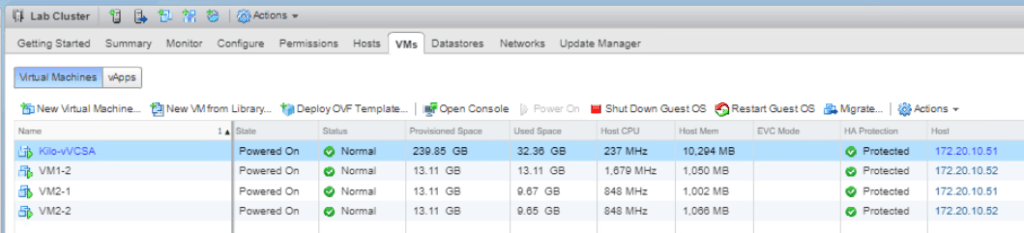
Click VMs tab and click Host column heading and check VMs host.

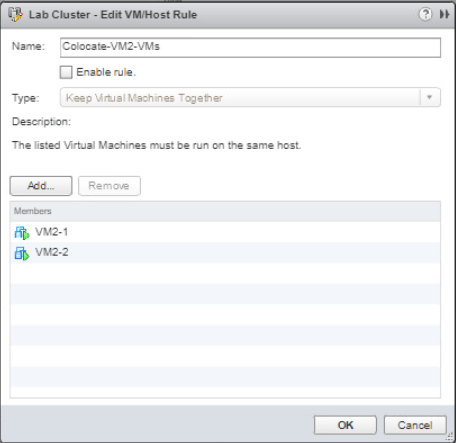
Go to the Configure tab of Lab Cluster and select VM/Host Rules. Select the affinity rule and click Edit. Uncheck Enable rule and click OK.
Create, Test, and Disable an Anti-Affinity Rule
Still continuing from the last step, click Add. We will create a new rule as configured like shown in Figure 19. Click OK to confirm.

Go to Monitor tab > vSphere DRS. Select Recommendations and Run DRS Now. You can see the recommendation is separating the VM2-# to different hosts and moving the other VM to balance the load. Click Apply Recommendations.

Check the migration process in Monitor tab > Tasks & Events.

Go to VMs tab and check the host of the VMs. The VM2-# are separated in different host.
As we have finished testing, delete the rule by going to the Configure tab and select VM/Host Rules. Select Separate-VM2-VMs rule and click Delete from the above pane. Click yes to confirm.

Create, Test, and Disable VM-Host Affinity Rule
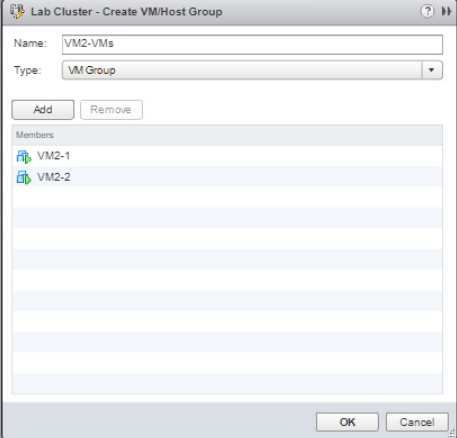
In the middle pane, select VM/Host Groups then click Add. A window will appear and the configuration of the group will be as shown as in Figure 23. Click OK if done. This group is for VM2-# group.
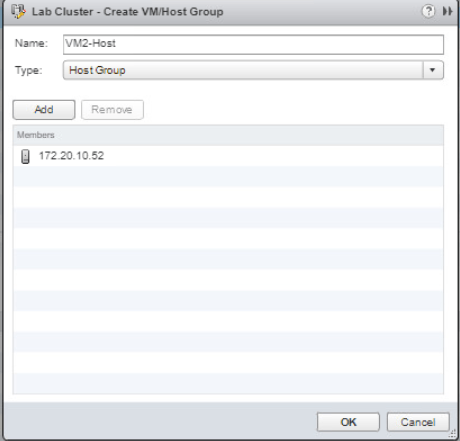
Add another group by clicking Add and the configuration of this one is shown in Figure 25. Click OK. This group covers the second ESXi host.
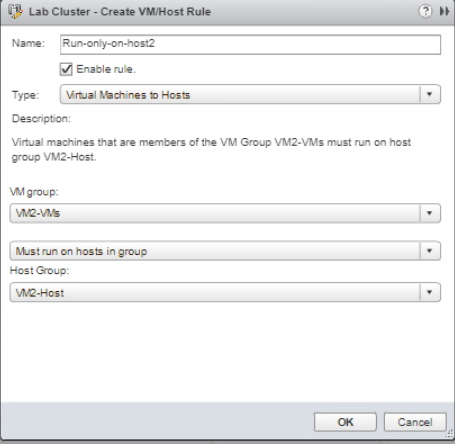
Now, we will create the rules by applying the group in the rules. Go to VM/Host Rules and click Add. The rules configuration will be configured as shown in Figure 26. Click OK if done.
Go to Monitor tab > vSphere DRS. In Recommendations click Run DRS Now. The Recommendations show that the VM2-# has to be migrated to the second ESXi host. Select Apply Recommendations.

Check the migration process on Monitor tab > Tasks & Events.

Go to the VMs tab and click the Host column heading and check where the VMs are located.

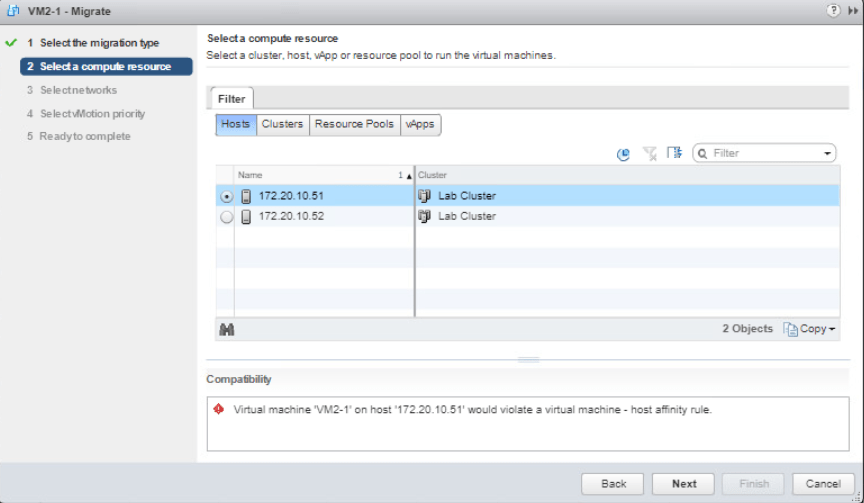
Now, try to migrate one of your VM2-#. Right-click one of your VM2-# and select Migrate. Select Change computer resource only and click Next. Then select the Lab Cluster and you will see that there is compatibility problem as there is a rule that has been set to prohibit this action. Click cancel.
As we have finished the test, we will turn of the rule. Go to Lab Cluster Configure tab. Select VM/Host Rules and select Run-only-on-host2 rule then click Edit. Uncheck the Enable rule then click OK.

