Unregister VM from inventory
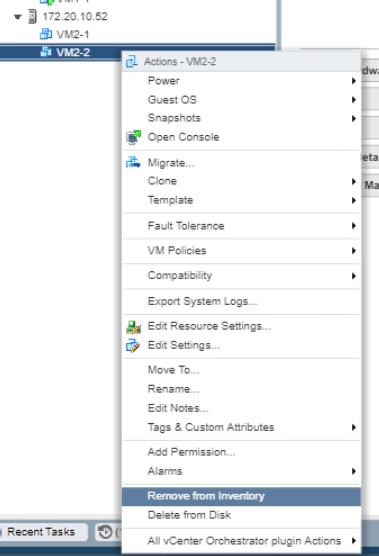
Starting from the vSphere Web Client home page, go to VMs and Templates. Select one of your VM and power it off if it is still on. I will select my VM which is VM2-2. To delete, right-click on the VM and select Remove from Inventory. Click Yes on the appearing window.
Refresh the vSphere Web Client and you can see the VM is now removed from the inventory.

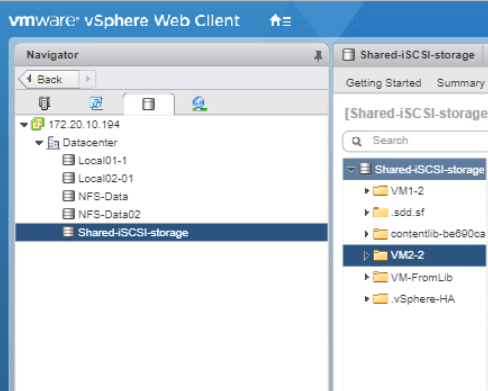
Try to go to Storages tab and see that the VM folder is still available there.
Register VM from Inventory
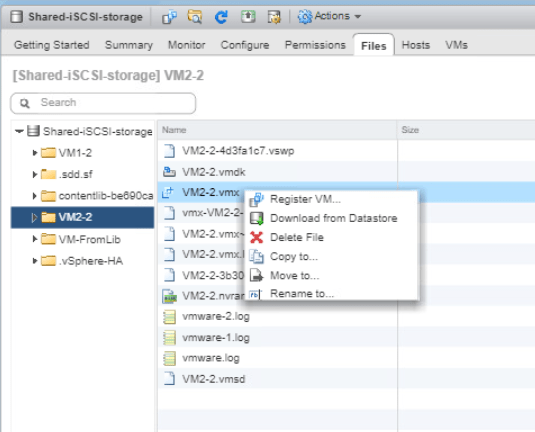
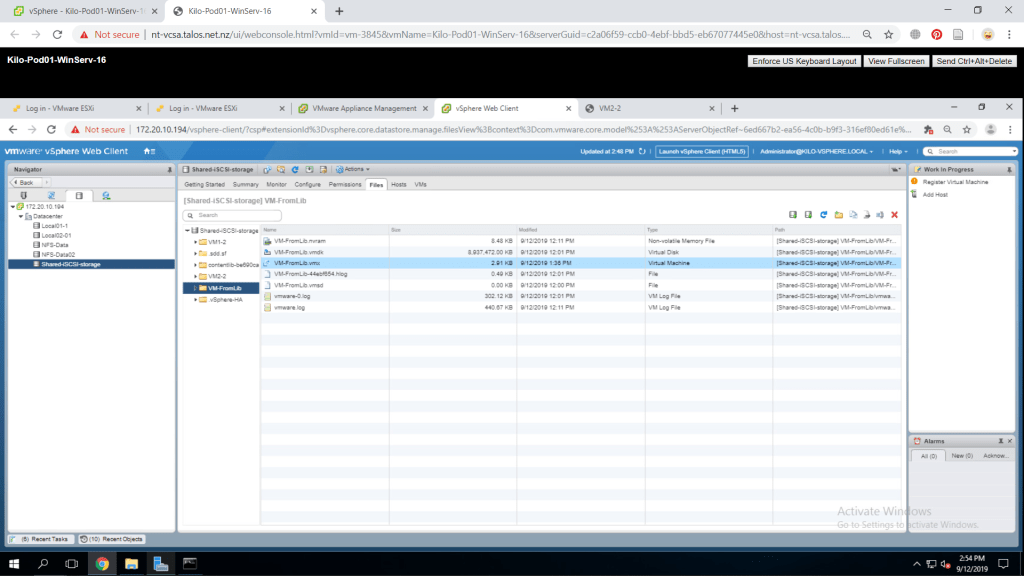
Now from the Storage tab, click on your VM folder name and find a file with the extension of .vmx. So, my file will be VM2-2.vmx. Right-click on it and select Register VM.
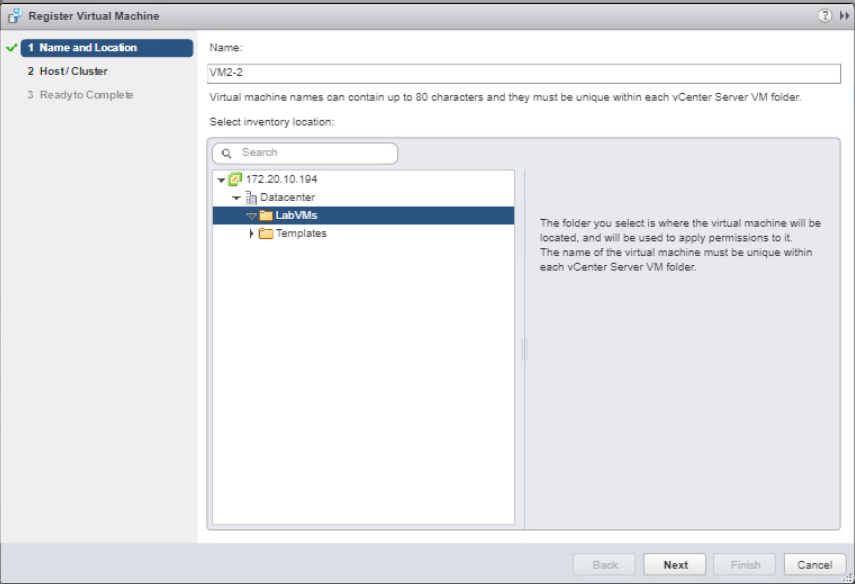
A window will appear and on the name and location page enter your preferred name for it. Also choose the LabVMs folder for the location then click Next.
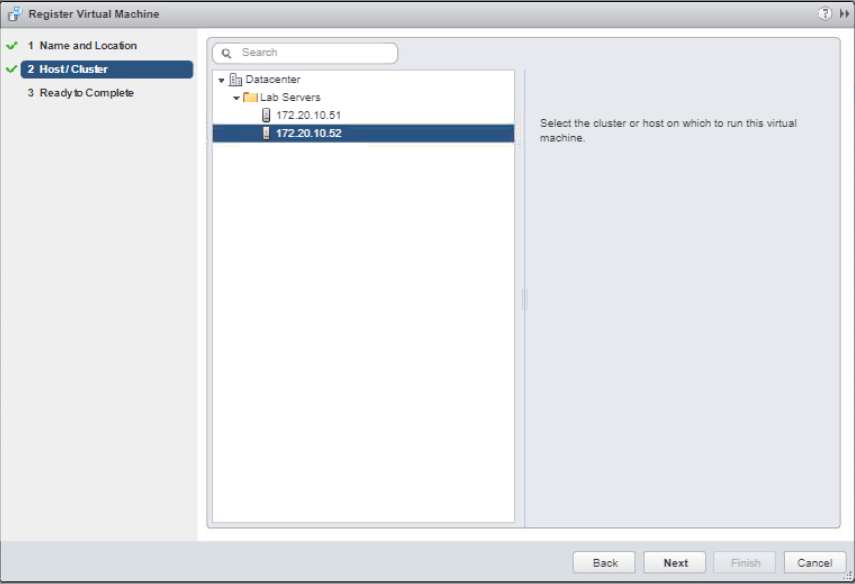
Next, choose the host/cluster for the VM to be deployed to. Expand all the menus and select one of your ESXi host and click Next.
Review the summary and click Finish. Now in VMs and Templates, check if your newly created VM is there.

Unregister and Delete VM from Datastore
You have to be careful with this one as this process cannot be reversed as the VM data will be removed from the storage. To start, go to VMs and Templates tab and right-click one of your VM and select Delete from Disk. Click Yes to confirm the deletion.

Now move to Storage tab an check under the datastore and you should see that the VM folder is nowhere to be found.
Take Snapshots of VM
Go to VMs and Templates and open the console of one of your VM with the ClassFiles.iso copied to it. There is the IOMETER file on the desktop, move it to the Recycle Bin. Right-click on the Recycle Bin icon and select Empty Recycle Bin. Press Yes to confirm the deletion.

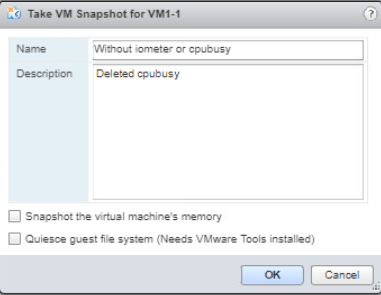
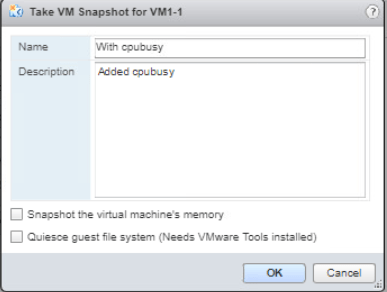
Go back to the vSphere Web Client, right-click the VM and go to Snapshots > Take Snapshot then A window will appear. I configured the settings as shown in Figure 11. Click OK.

Return to the VM console and now deag the CPUBUSY file to the Recycle Bin. Once again, right-click the Recycle Bin and select Empty Recycle Bin. Press Yes to confirm the deletion.

Now, make another snapshot out of the VM again by right-clicking the VM and select Snapshots > Take Snapshots. I configured the snapshot as shown in Figure 13. Click OK.
Next, we will take a snapshot where there is a CPUBUSY. Like what was shown in Lab 3, by mounting the ClassFiles.iso copy the CPUBUSY files to the desktop.

Go back to the vSphere Web Client and right-click your VM then select Snapshots > Take Snapshots. The configuration is shown like Figure 15. Click OK.
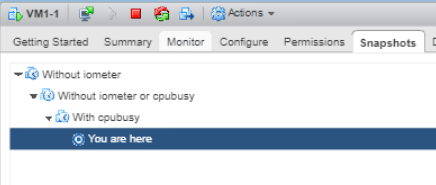
Right-click the VM again and go to Snapshots > Manage Snapshots. You could now see three snapshots that we have created earlier.

Revert VM to a Snapshot
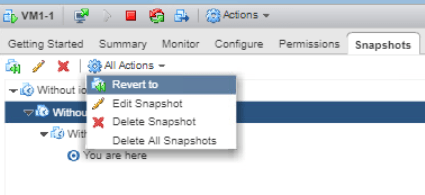
Still in the Snapshots tab, select the Without iometer or cpubusy. Click on All Action then Revert to. Press Yes to confirm the reversion and the VM will automatically power off and should be back to its state when the snapshot is configured.
Power on the VM and open the console. After logging in to the VM, you will see that the state of the machine is the one where the IOMETER and CPUBUSY was deleted.

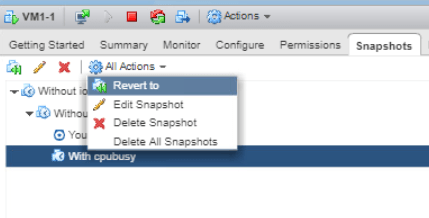
Now back to the Snapshots tab, choose the With cpubusy snapshot. Go to All Actions and select Revert to. Leave the other configuration as it is and click Yes to confirm the revert operation. The VM will then power off and restore the state at that snapshot.
Now if we open the VM desktop, you can see that CPUBUSY is available in the desktop but not the IOMETER.

Delete a Snapshot
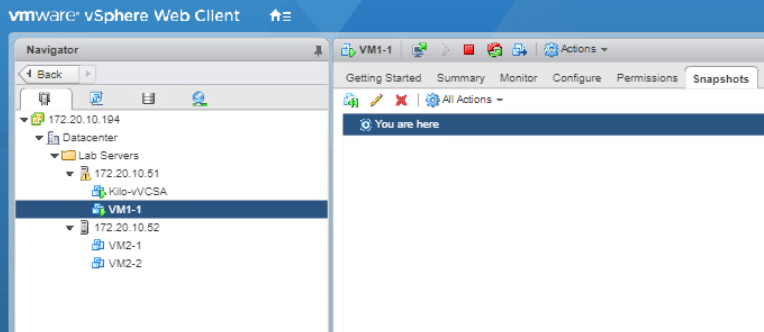
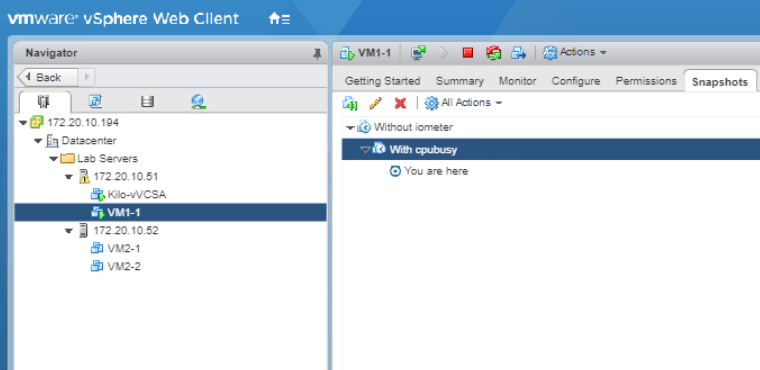
Back to the Snapshots tab of the VM, the You are here pointer is under the With cpubusy snapshot.
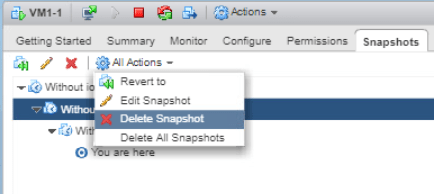
Select the Without iometer or cpubusy snapshot and click on the red X icon to delete the snapshot.
The VM is still on and the snapshots under the deleted one moved up one level.
Delete All Snapshots
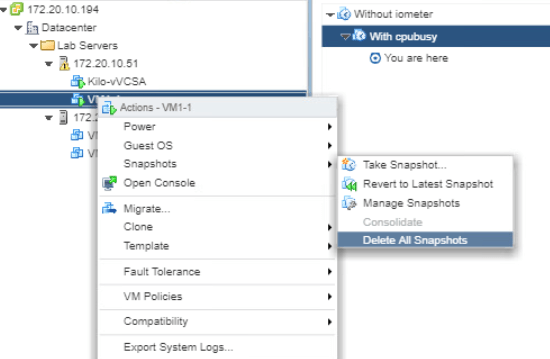
From the VMs and Templates tab, right-click the VM and select Snapshots > Delete All Snapshots. Click Yes to confirm the deletion.
Now if you check the Snapshots tab, it would only remain the You are here pointer. The VM will remain as the current state and no changes is made in it.