Migrate VM Files from Local to Shared Storage
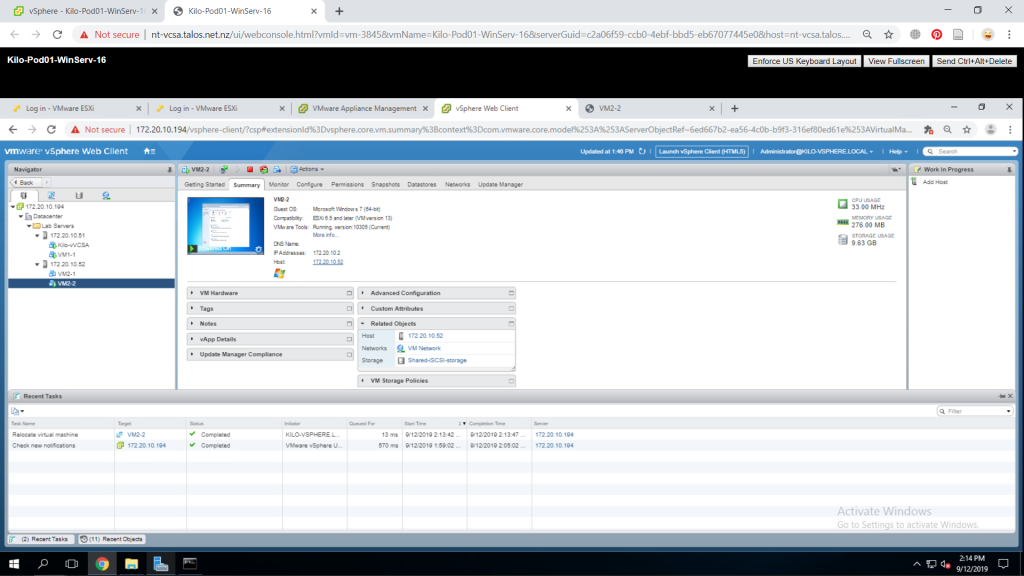
Open the vSphere Web Client and start at VMs and Templates. Power on one of your VM. Now, you have to check where the VM is actually located in the datastore. Open the Summary tab of the VM and expand Related Objects pane to check where does teh VM resides.

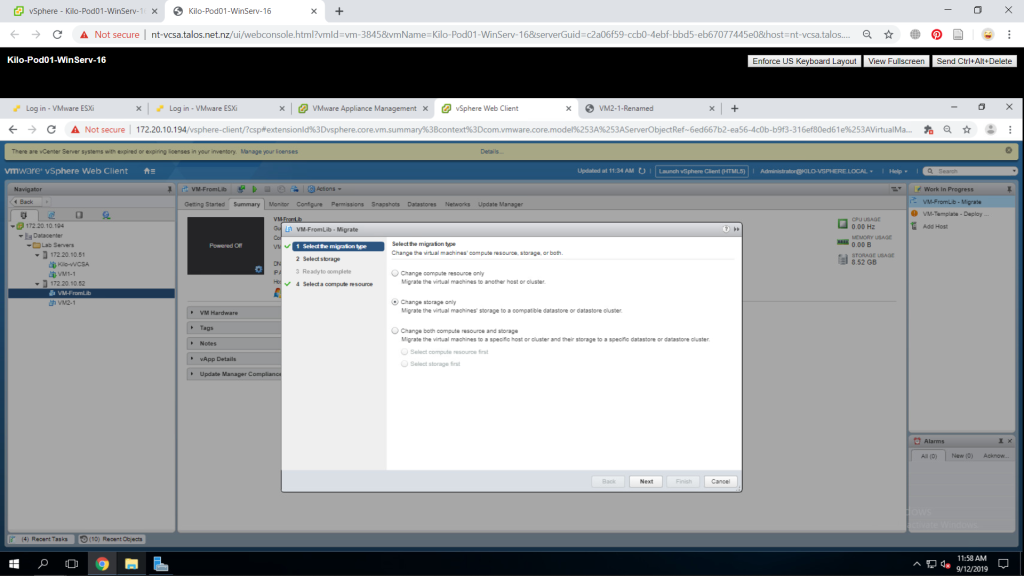
From the inventory, right-click your currently running VM and select Migrate and a window will appear. On the first step, select Change storage only and click Next.
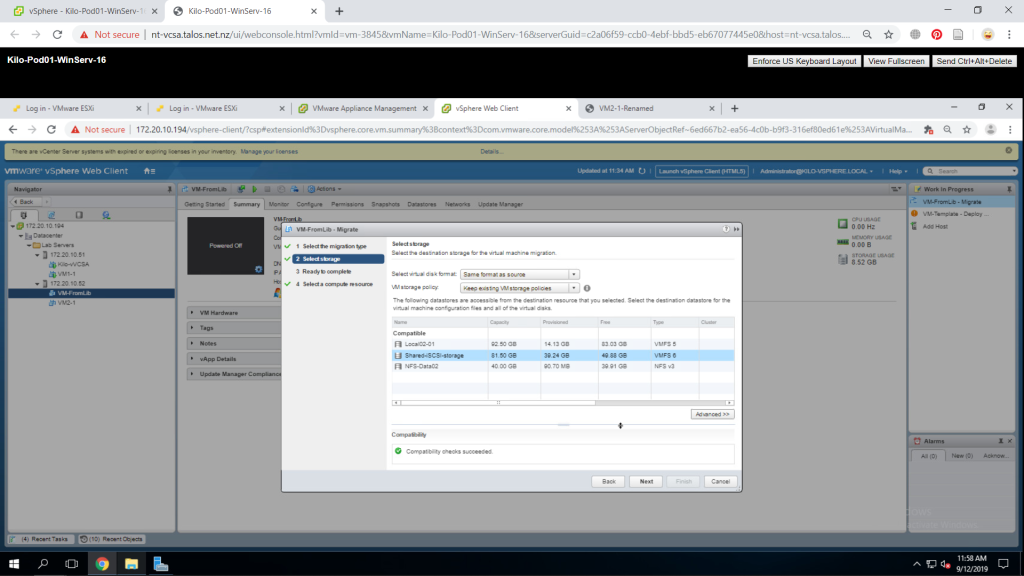
On the Select storage page, choose your shared storage. I will be using my Shared-iSCI-Datastore. If you check the compatibility pane, you can see if the datastore can be used for this process. This pane should show a success message. If everything is successful, click Next.
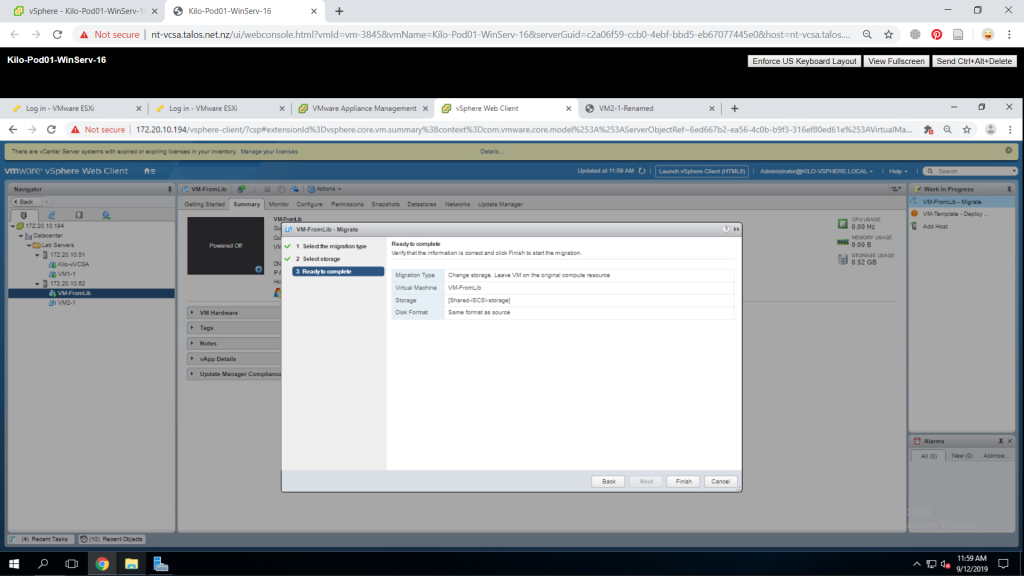
A summary page will appear and review the information then click Finish.
You can check Recent Tasks pane to see the migrating process and as you can see, it can migrate while the VM is still on.

Create Virtual Switch and VMKernel Port Group for vMotion Migration
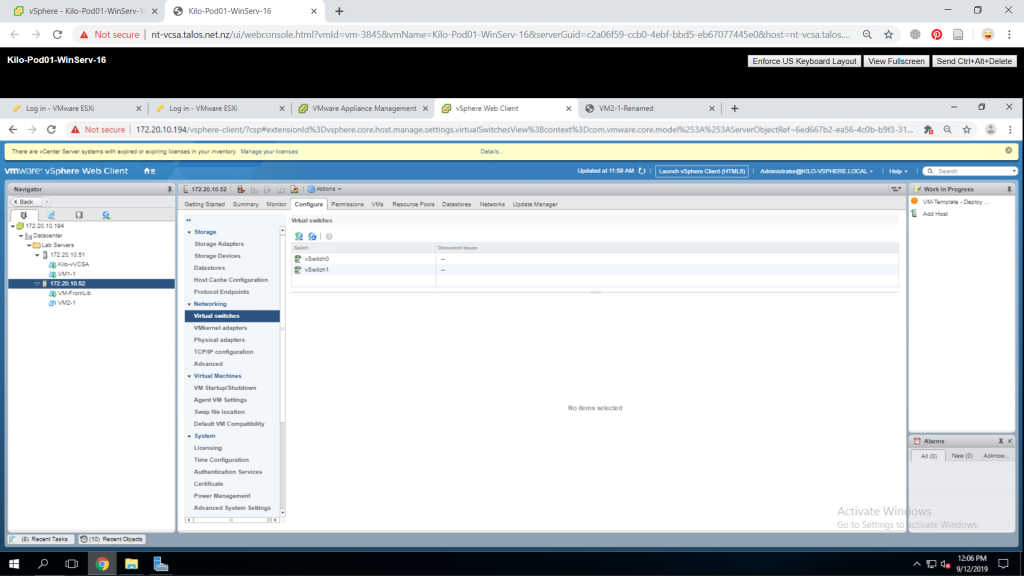
In vSphere Web Client, go to Hosts and Clusters tab. Select one of your ESXi host and go to Configure tab. Click on Virtual switches under Networking and click Add Host Networking.
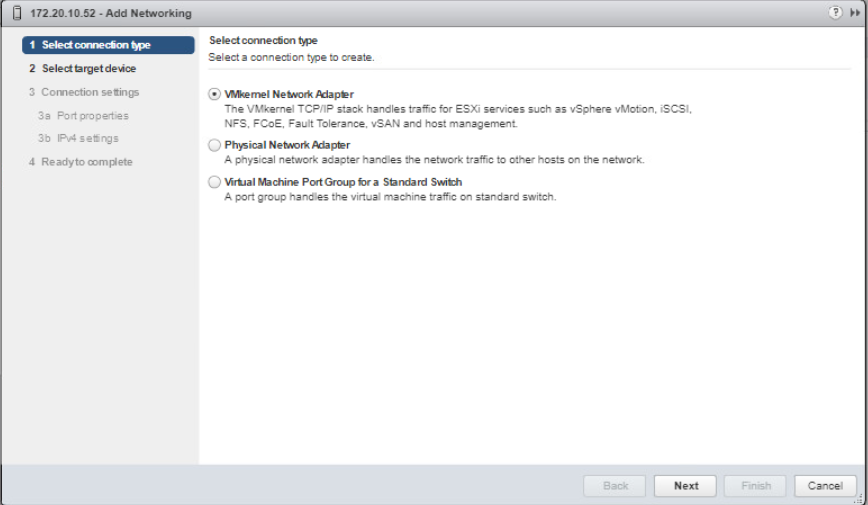
A wizard will appear and select VMKernel Network Adapter from the Select connection type page then click Next.
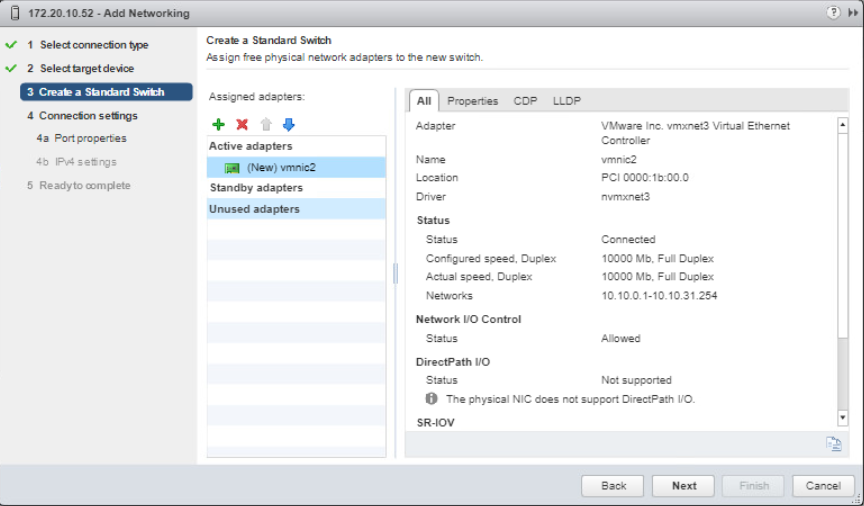
Select New standard switch on the Select target device page then click Next. Now next step, press the green plus icon and select your network adapter that is set for your vMotion network. For me it will be the vmnic2. After that click OK then click Next.
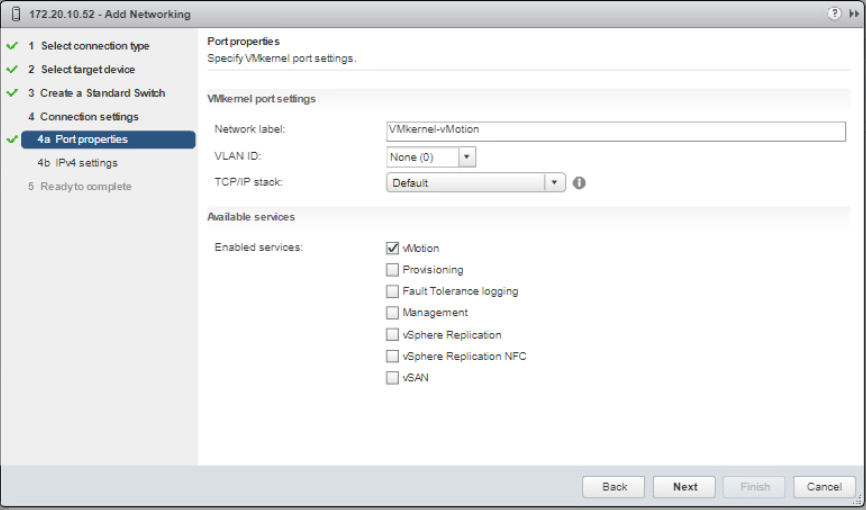
Next, put the name of your VMKernel on the Network label text box. It would be good to give a good name that describes the usage of the network adapter. As this network will carry out the vMotion, the vMotion check box must be checked then click next.
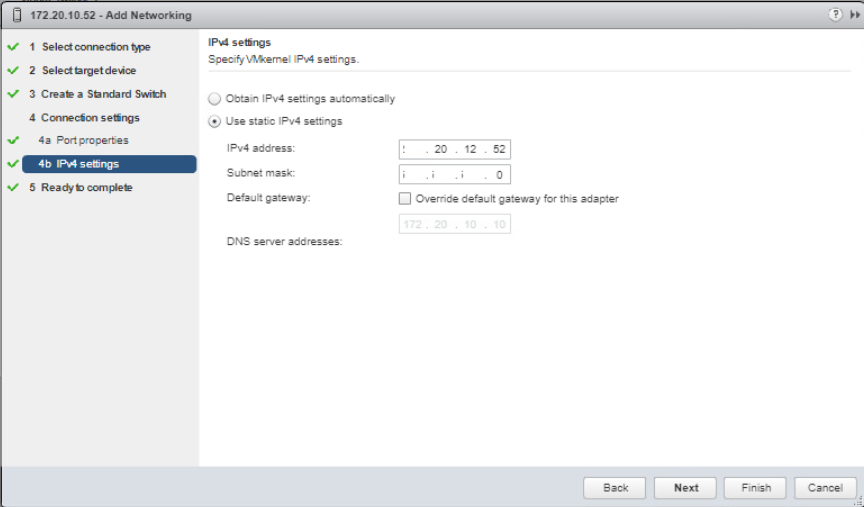
On the IPv4 settings page, select Use static IPv4 settings and enter your IP address for your vMotion network on this ESXi host. Fill in Subnet mask with 255.255.255.0 then Click Next.
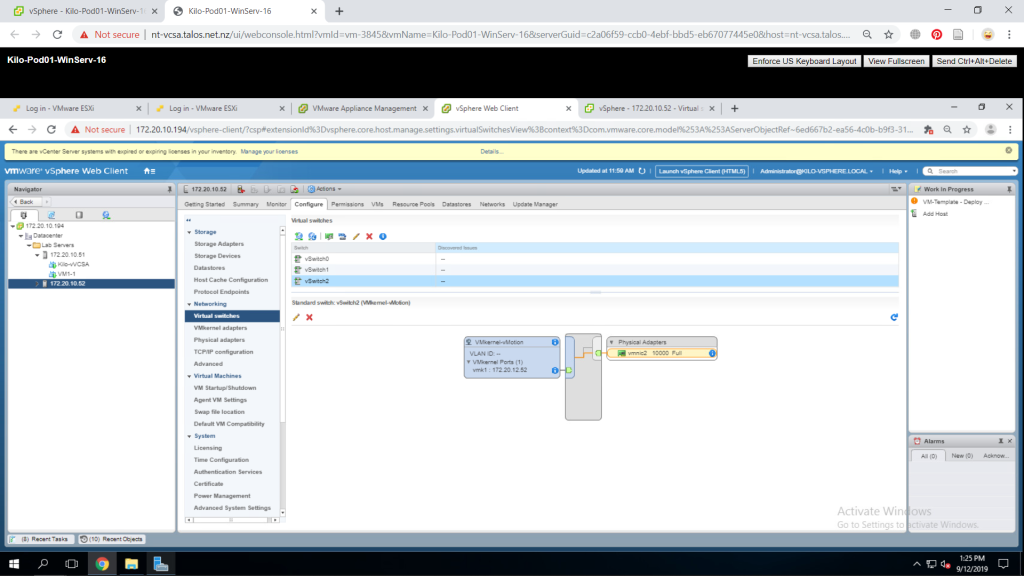
Review the information and click Finish. Now you can see in the Virtual switch pane, the vSwitch2 is now created.
Do the same task for the second ESXi host as well as we will be using vMotion to migrate VM from one host to another.
Perform vMotion Migration
Make sure that your VMs don’t have any files mounted on CD/DVD drive. Go to Hosts and Clusters and right-click your VM and go to Edit Settings. Check on CD/DVD drive 1, make sure to change it to Client Device. Also verify that the VM is in a VM network that you have created then click OK. Do these steps to all of your VMs.

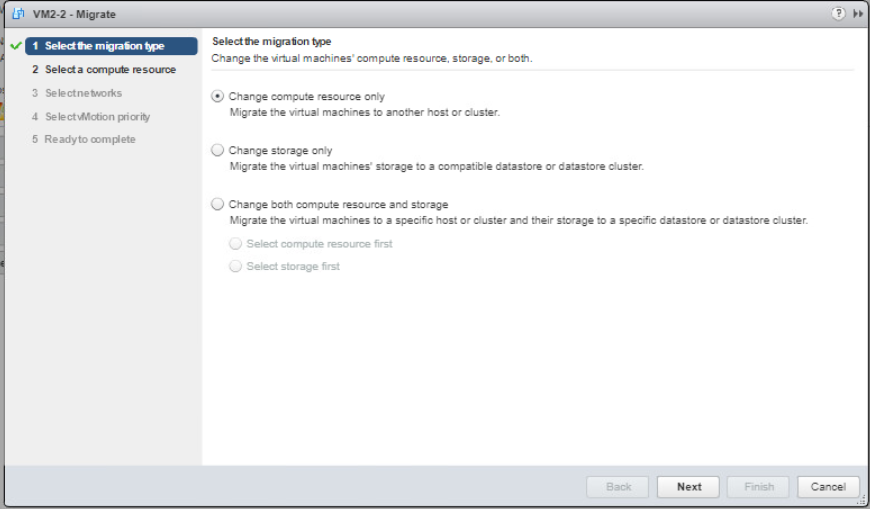
You can open the console of your VM that you wanted to migrate to see later that the VM can still be used in the process of the migration. Now back to the vSphere Web Client, right-click the VM and select Migrate. On the migration type page, choose Change computer resource only and click Next.
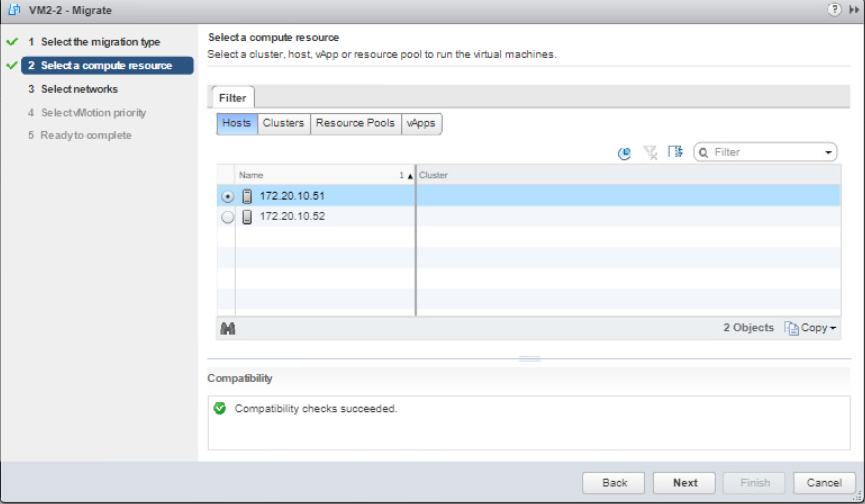
Now you need to select a target resource to migrate to. Choose another host that are available to you and click Next.
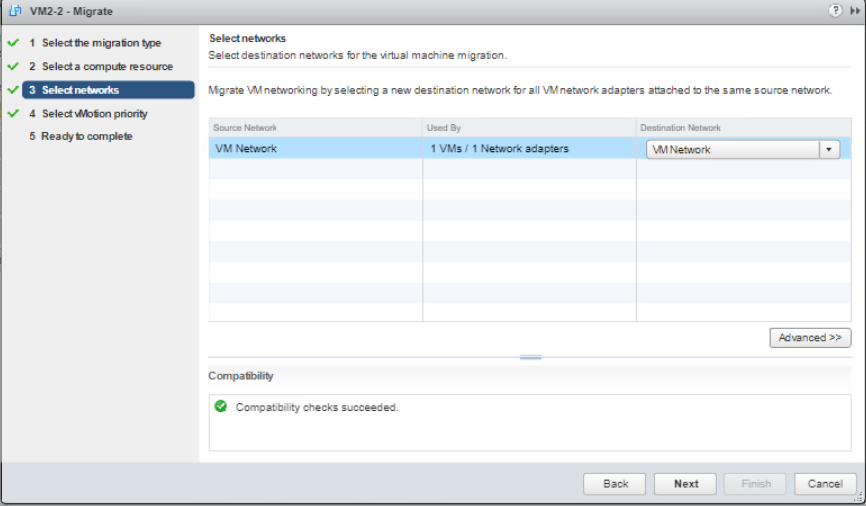
On the network page, make sure you are in the correct network for the VM migration. You can change the network under the Destination Network drop-down menu and then click Next.
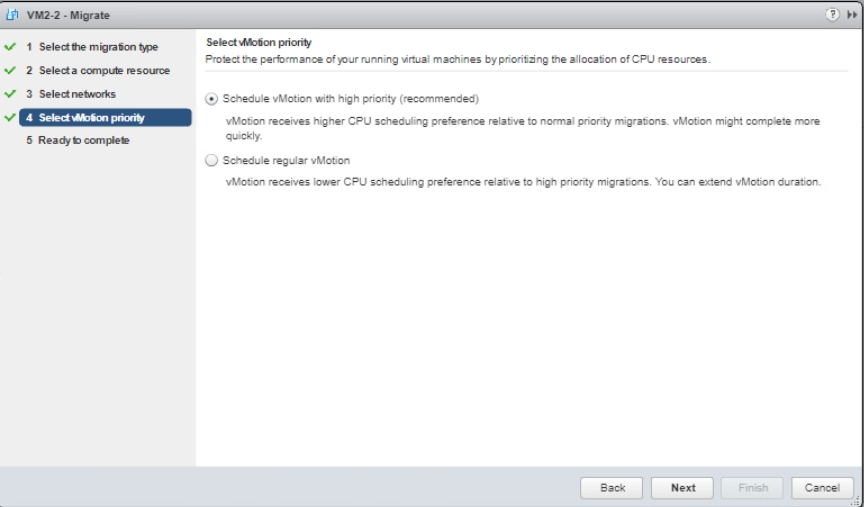
Next, select Schedule vMotion with high priority (recommended) then click Next.
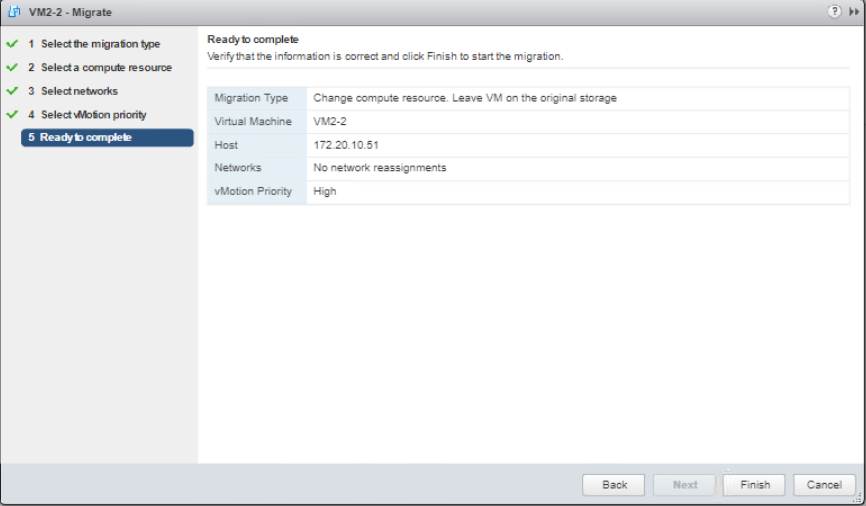
Review the information and click Finish.
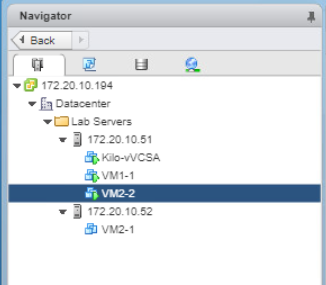
As you can see the VM is now moved to the target resource we have selected.
You can do this also in the other VM if you want.
Perform Compute Resource and Storage Migration
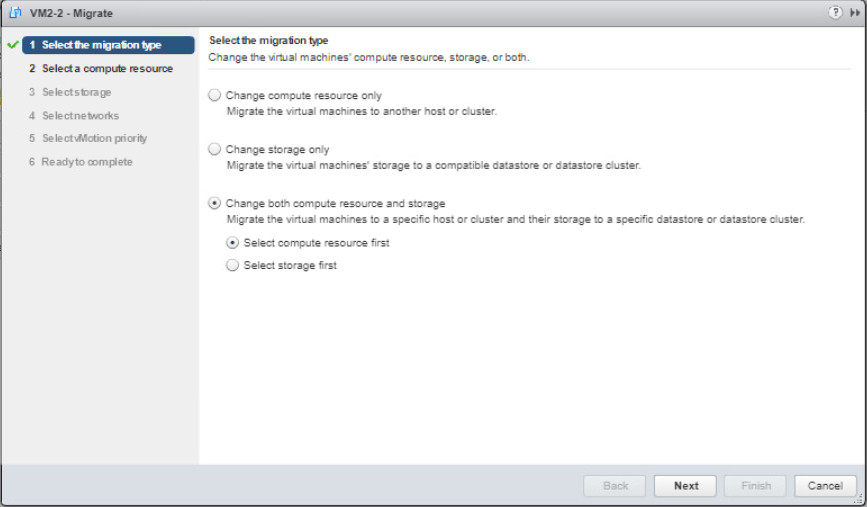
Now still in the same page, select one of your VM that has been configured for migration and start the migration. On the first step, we are going to select Change both compute resource and storage then make sure that Select computre resource first radio button is on. Click next.
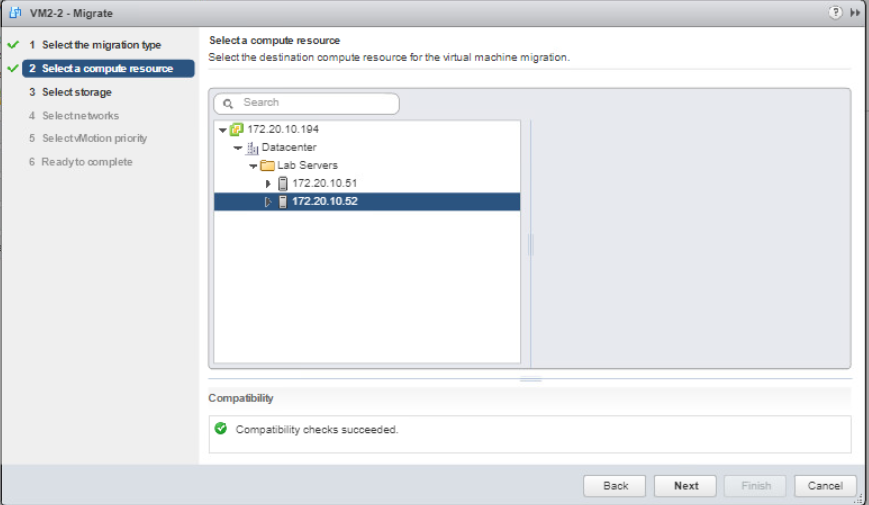
Now we move this VM to another ESXi host. Select the preferred host and click Next.
On storage selection, we will select the local storage for that ESXi for the target location then click Next.

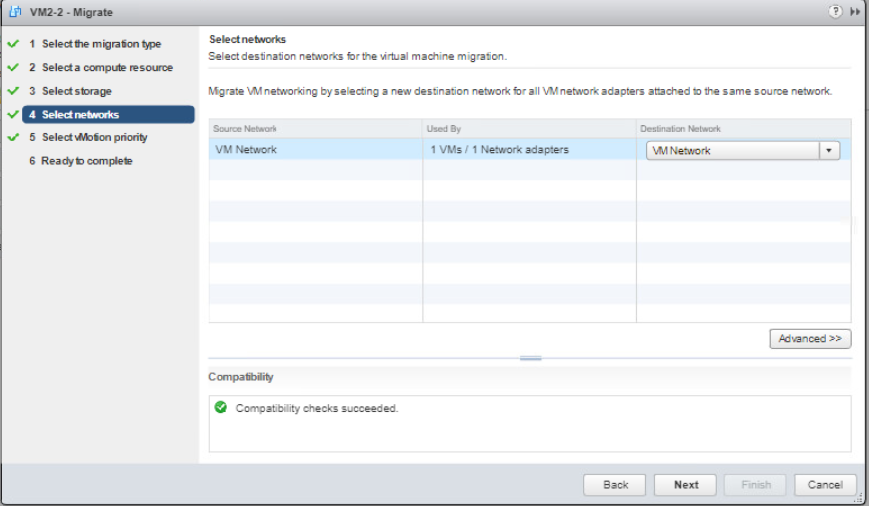
For Select network page, make sure that the destination network is the correct network that you have set for migration then click Next.
Like the previous task, select Schedule vMotion with high priority (recommended) and click Next.

Before finishing, review the summary and click Finish. Now you can check the Recent tasks pane to see the progress of the migration and the VM is now moved to the other ESXi host.