
Increase Size of a VMDK File
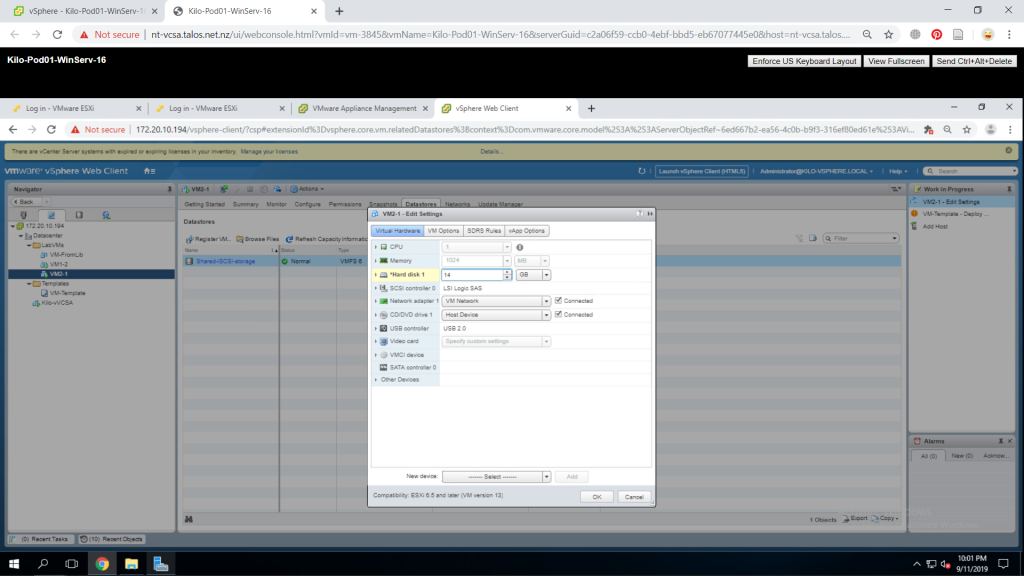
We will start from the VMs and Templates page on vSphere Web Client. Right-click one of the VM you want to configure and select Edit Settings. On the Hard disk 1 text box, add 2 GB to the current number. I will be increasing mine from 12 GB to 14 GB. Click OK.
Open the VM console and enter the OS with your previously set password. Now from the desktop, click Start, right-click on Computer icon and select Manage.

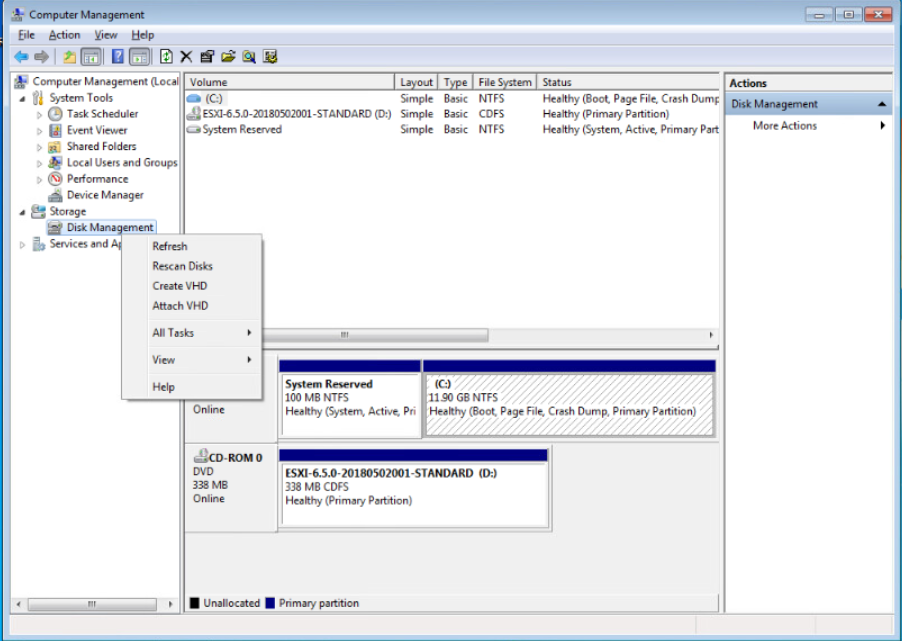
On the left pane, right-click Disk Management under Storage and select Rescan Disks.
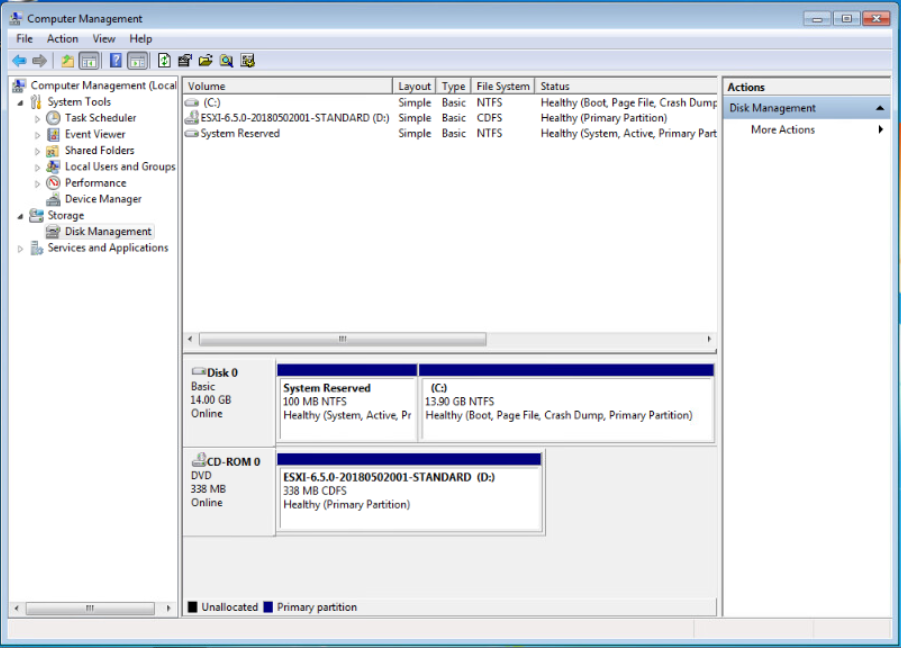
After the process, you shoudl find the unallocated 2GB storage on the tables at the lower-right pane.
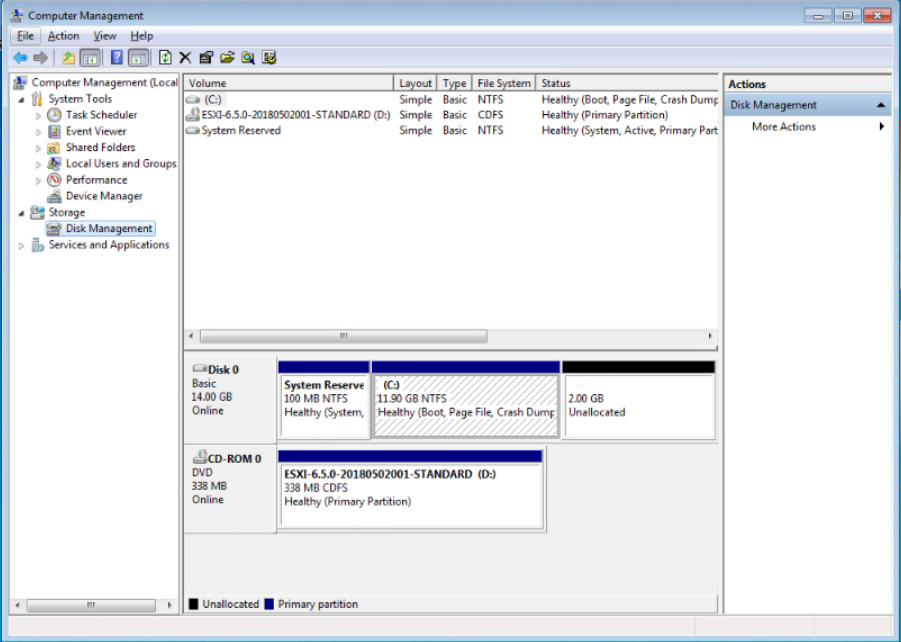
Right-click on the C: drive and select Extend Volume and a window will appear.
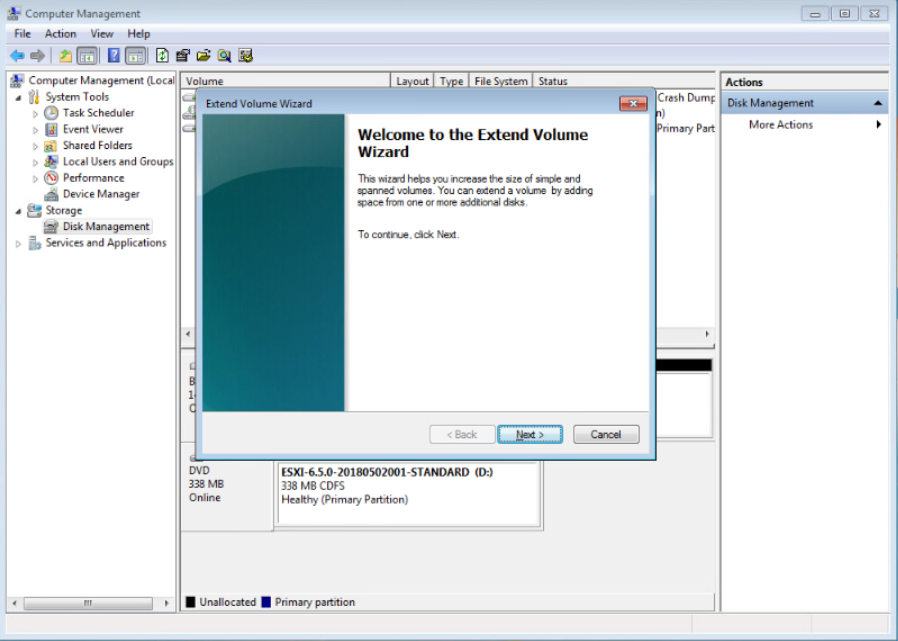
Click Next and it will redirect to Select Disks page to specify which disk to be used for extension. Select Disk 0 which has 2 GB size then click Next.
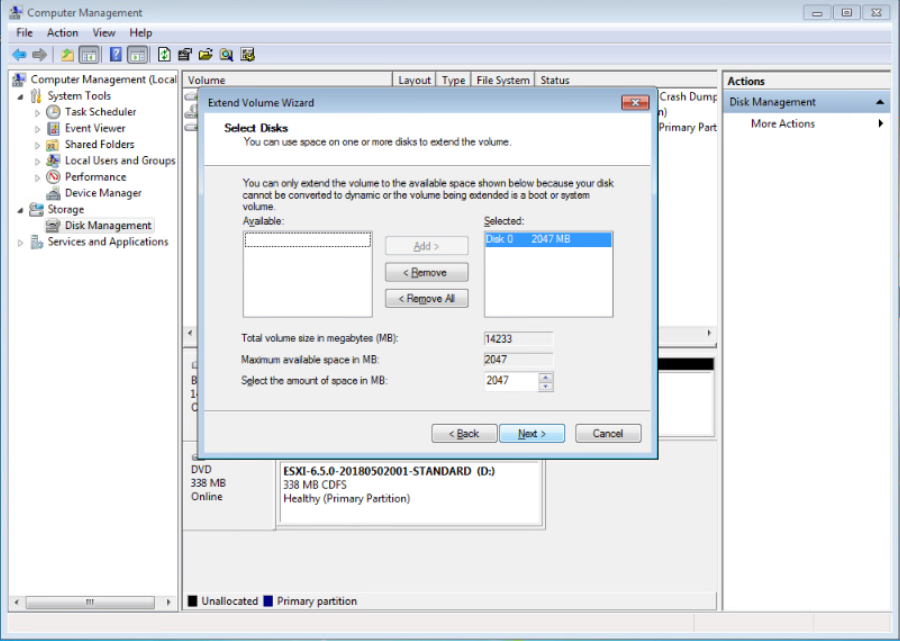
Review the summary of the process and click Finish to finalize the storage extension. Now check the capacity of C: drive and it is now supposed to be 2 GB more than the previous.
Adjust VM Memory Allocation
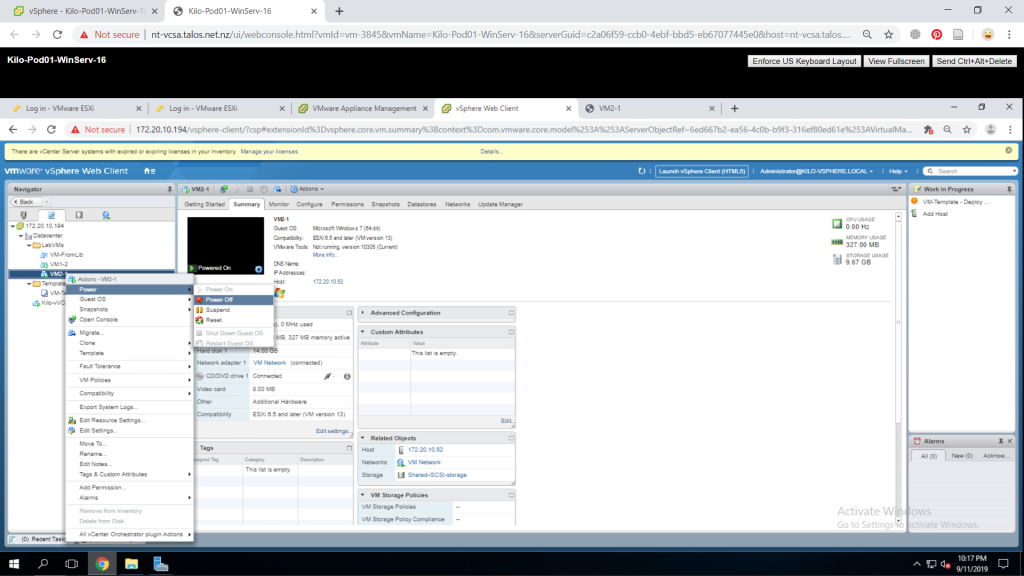
We will try to increase the RAM of a VM through vSphere. To change a VM memory, it has to be in an off condition. You can shut it down by right-clicking a VM and select Power > Power Off.
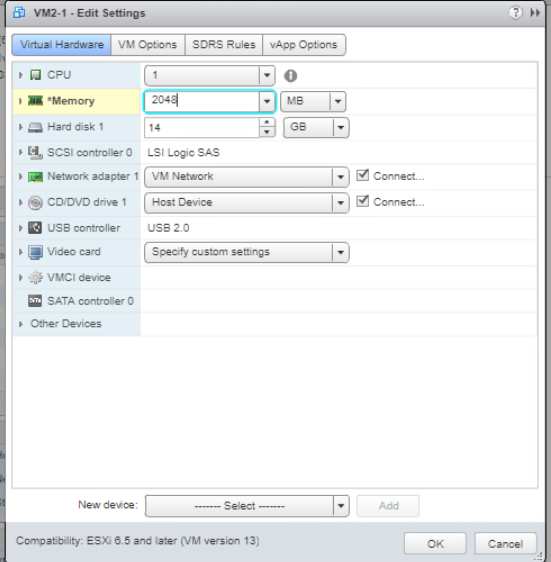
After the VM has shut down, right-click on it and go to Edit Settings. You will see on the Memory text box the size of the current RAM. Enter 2048 MB for the memory and click OK.
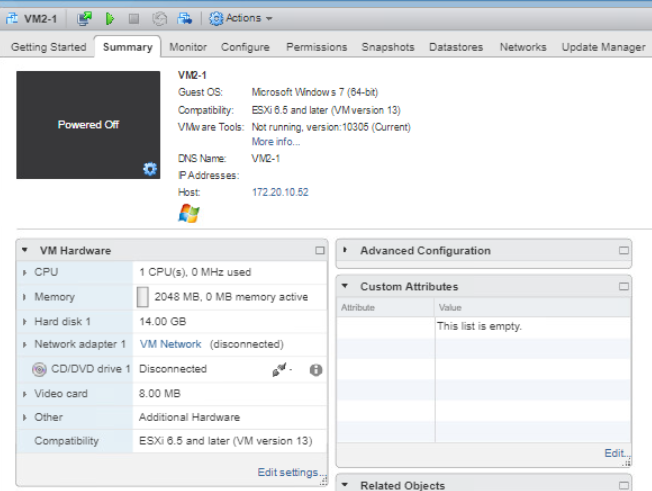
Now check go to the Summary tab of the VM and under the VM Hardware menu, you could now see that the memory has been increased to 2048 MB.
Rename VM in the vCenter Server Inventory
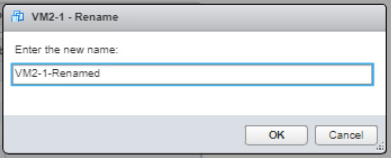
You can easily rename a VM in the inventory just right-clicking it and select Rename. A window will appear and enter the new name for it then click OK.
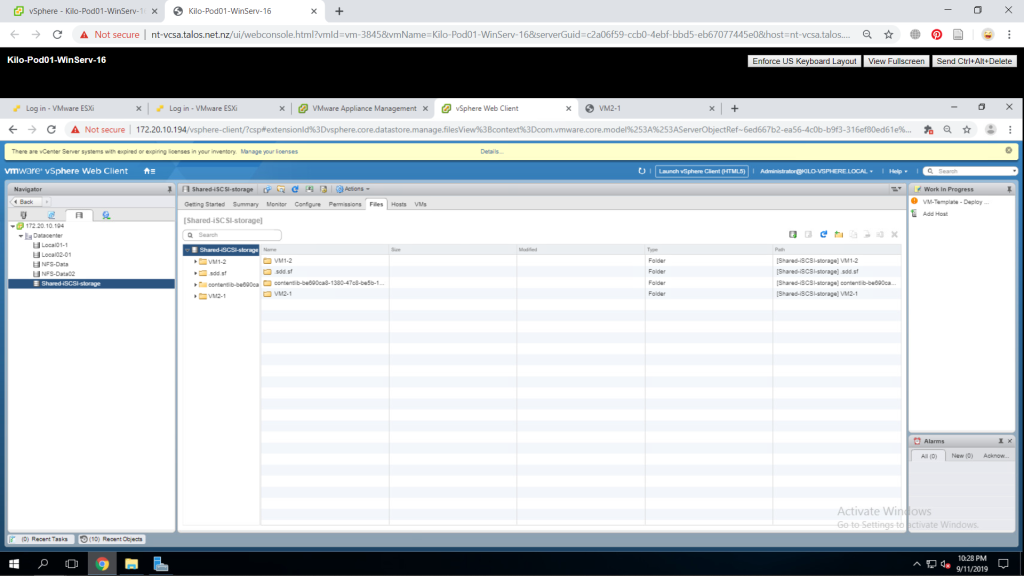
But here’s the thing, even though the VM name has been changed in the inventory, the folder name is still the original name of the VM. Go to the Datastore tab of the VM and right-click on the the datastore and select Browse Files. You will see that a folder is named as the previous name of the VM.
Add and Remove RAW LUN on a VM
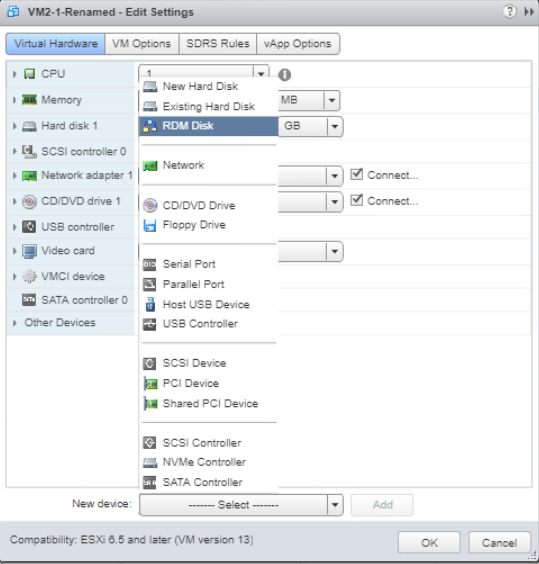
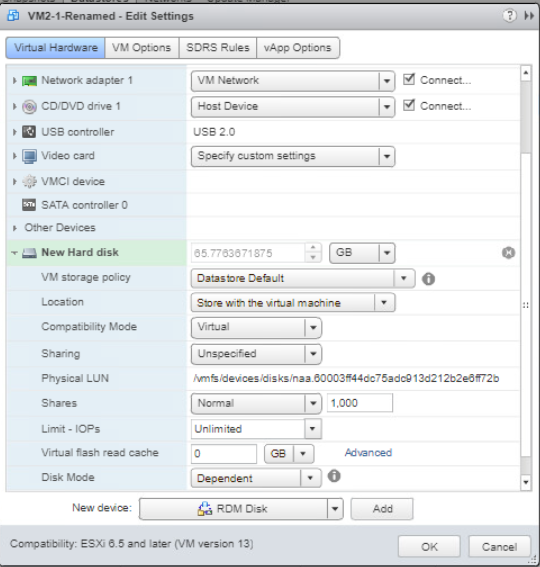
Go to VMs and Templates and right-click one of your VM then go to Edit Settings. On the bottom part find New device and open the drop-down menu to find RDM Disk. Click on it and press Add to add the device to the VM.
You will have to select a target LUN and click OK.

New hard disk will appear and expand the arrow. Make sure that the Location is on Store with the virtual machine and change Compatibility Mode to Virtual. Click OK if you are done.
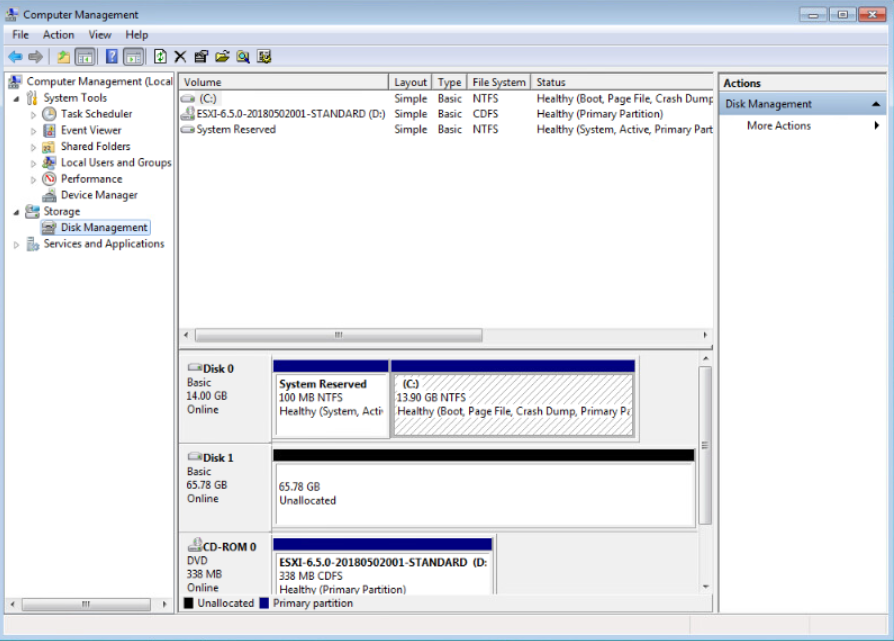
We will now configure the newly added disk in the Windows machine. Power on the VM and open the console. After you have logged in, open Start and right-click Computer to find Manage. The computer management window will appear and click Disk Management on the navigator pane. As you can see there will be a new unallocated disk appearing which is labelled on Disk 1.
We have checked that the disk can be successfully created in the Windows machine. We will now try to remove it from the machine. First, power off the machine by right-clicking the VM and go to Power > Power Off. Then right-click the VM again and go to Edit Settings. Click the X icon on the right side of Hard disk 2 and check Delete files from datastore check box then click OK. Now the hard disk is removed.

