For this lab, I will be focusing on using a previously created iSCSI disks that have been set up in my Windows Server.
Rename a VMFS Datastore
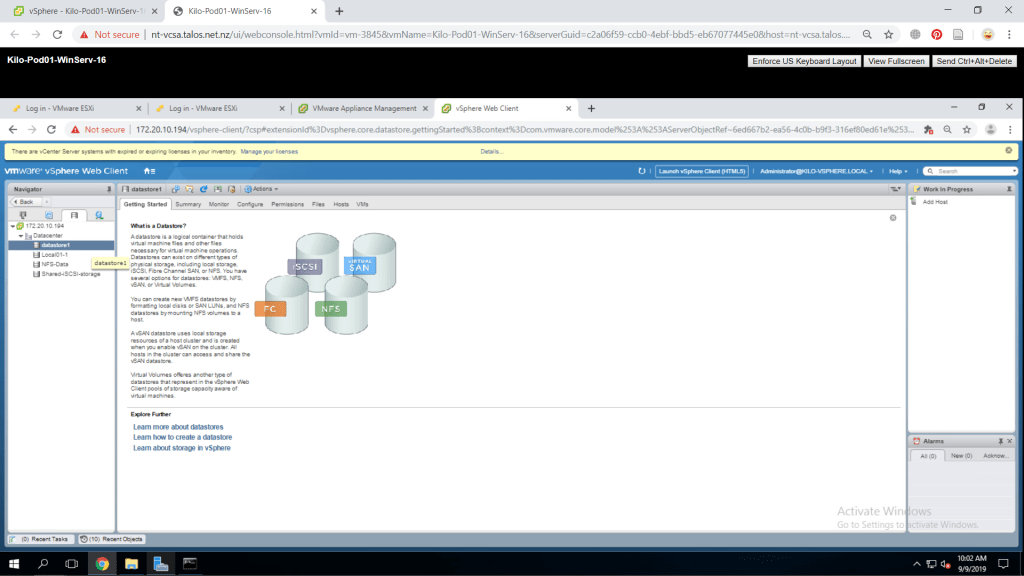
First of all, go to the vSphere Web Client and access the Storage tab from the left pane. Expand all the menus and you will find a datastore with the name of “datastore1” by default.
Right-click on the datastore and find Rename to change the name of the datastore. Click OK if you are done. I renamed both of my ESXi datastores.

Create VMFS Datastores for ESXi Host
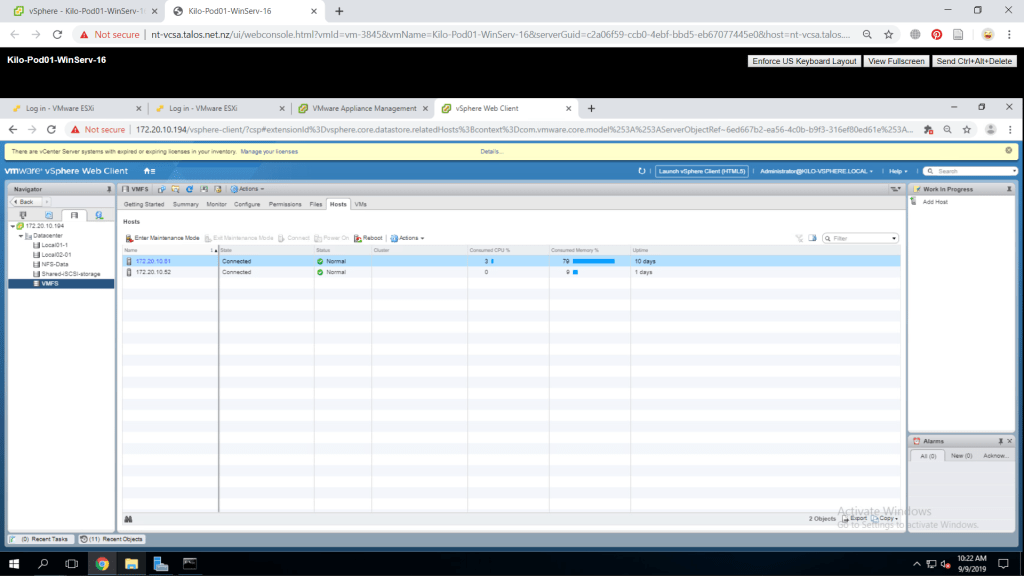
Now, go to the Hosts and Clusters from the left pane and right-click on the Datacenter and go to Storage > New Datastore.
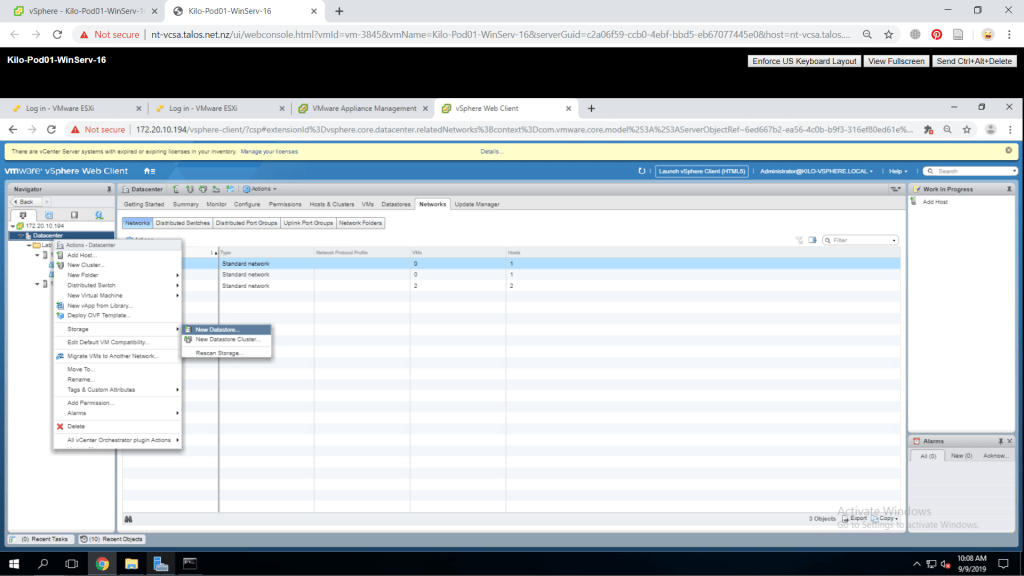
A window will appear and press Next to continue. Choose VMFS on the next page and click Next. In the next part, enter a name for the datastore and choose on of your ESXi host on the Select a host to view its accessible disks/LUNs. A list of available disks appear in the table below it and choose one of the disk then click Next.

On the next page, choose the VMFS 6 version and click Next. Now, we will configure the partition of the disks. You can configure the size by changing the value on the Datastore Size. Click Next to continue.
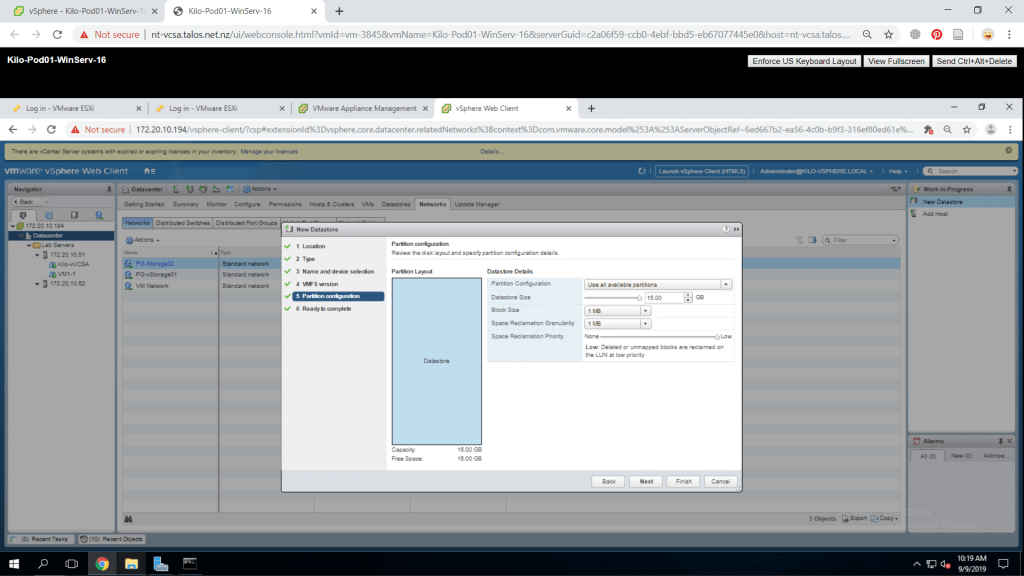
A summary of the datastore will be displayed at the last page. Re-check the information then click Finish to create the VMFS datastore. Now go to the Storage tab from the left pane. Under the Datacenter, the datastore that you have created should nwo be available.
Extend a VMFS Datastore
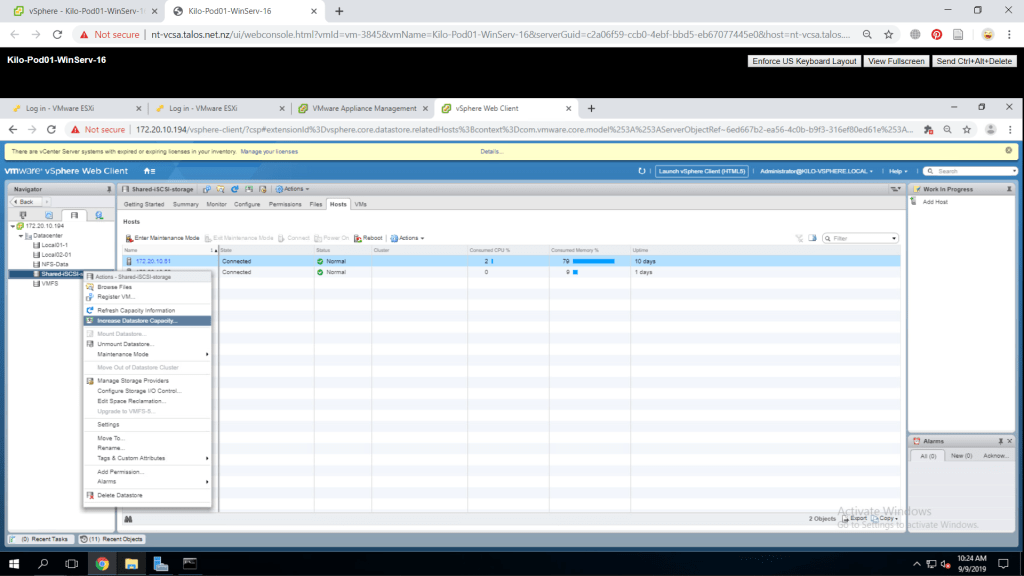
As I have set my datastore to its maximum capacity in its partition, it cannot be expanded anymore. However, i will show you how to use another disk to extend the capacity of a datastore. Continuing from the previous step, in the Storage tab, right-click on your VMFS and choose Increase Datastore Capacity.
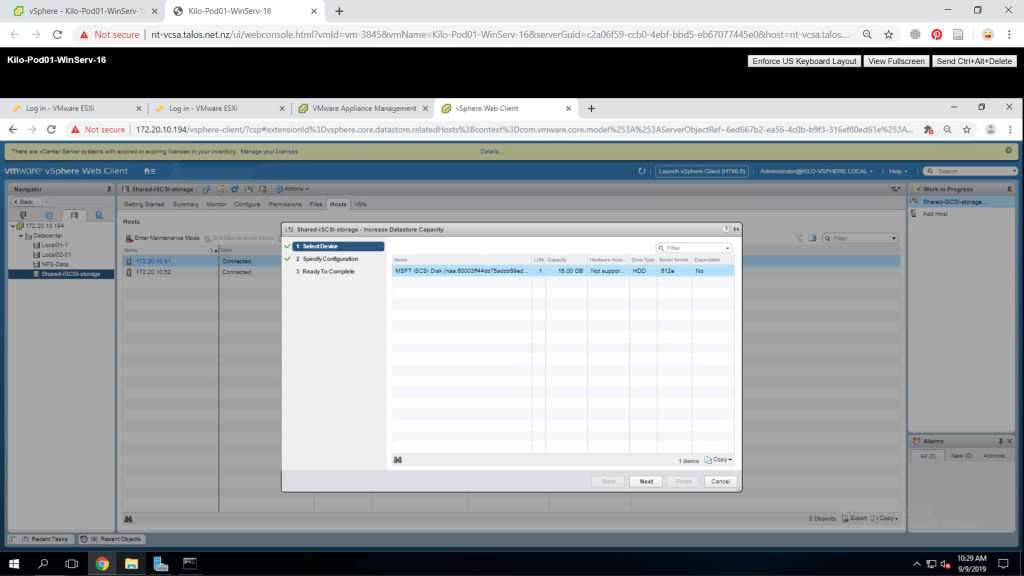
Now in the new window, you will be shown several disks that you have which can be used for expansion. Make sure you still have available disks, otherwise it would not show anything in the list. Click Next to continue.
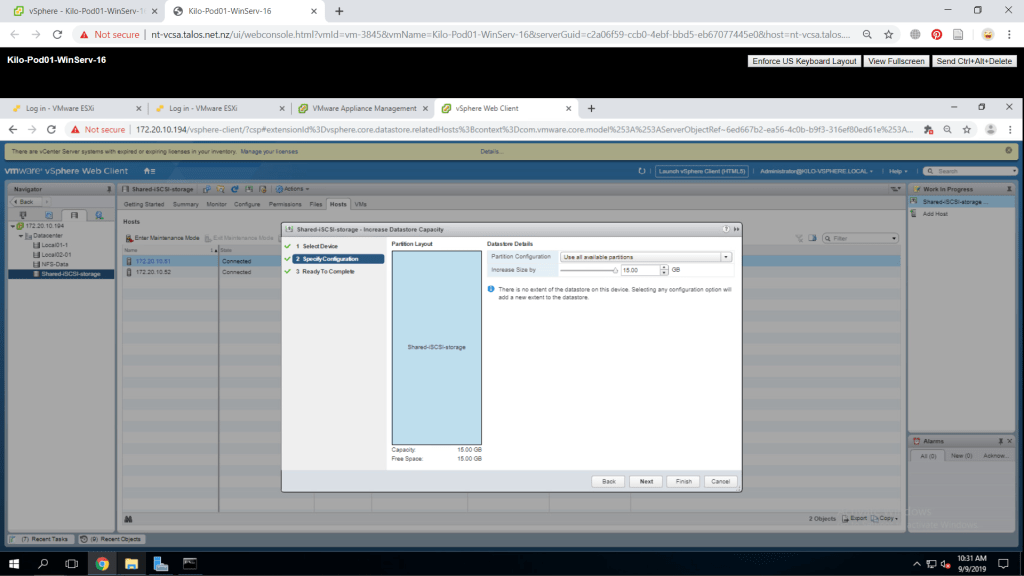
Next part, you should configure the partition configuration on how much capacity to expand. Configure as you prefer and click Next to continue.
Last page will show a summary of the changes you have made. Click Finish to finalize it. Now if you go to your datastore’s Summary tab, check on the storage capacity which is now been increased.

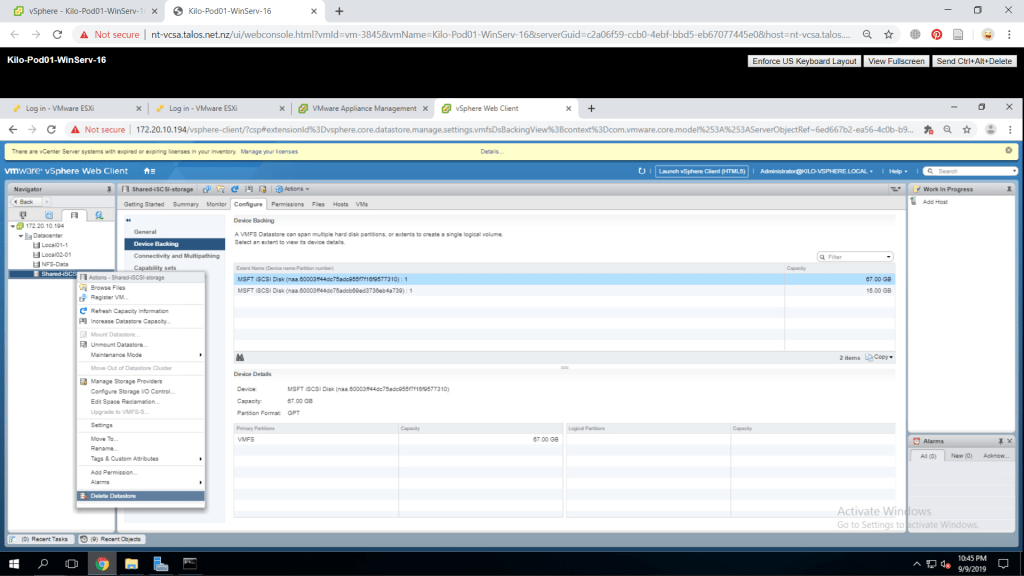
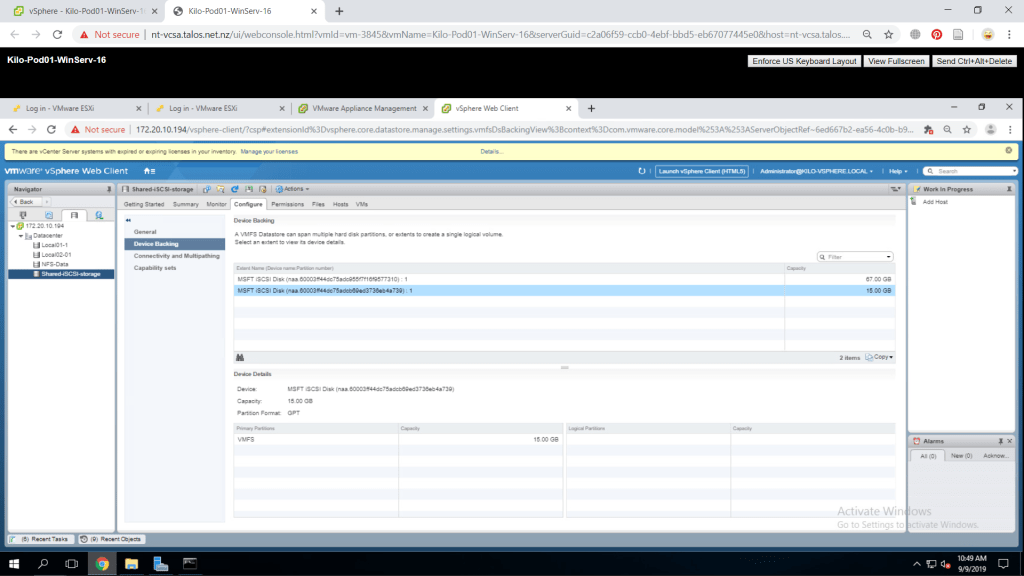
You could also access the Configure tab and go to Device Backing. Under the extent name, you can see what disks are consisted in the datastore.
Remove a VMFS Datastore
To remove a datastore, go to the storage tab and choose the datastore you wanted to erase. Right-click on it and find Delete Datastore menu. A window will appear and click Yes to execute the deletion.