Installing an ESXi is mostly done on bare metal which means it does not need an OS installed. However, in this tutorial, I will cover the steps to install ESXi on a virtual machine in vSphere.
Preparing the VM
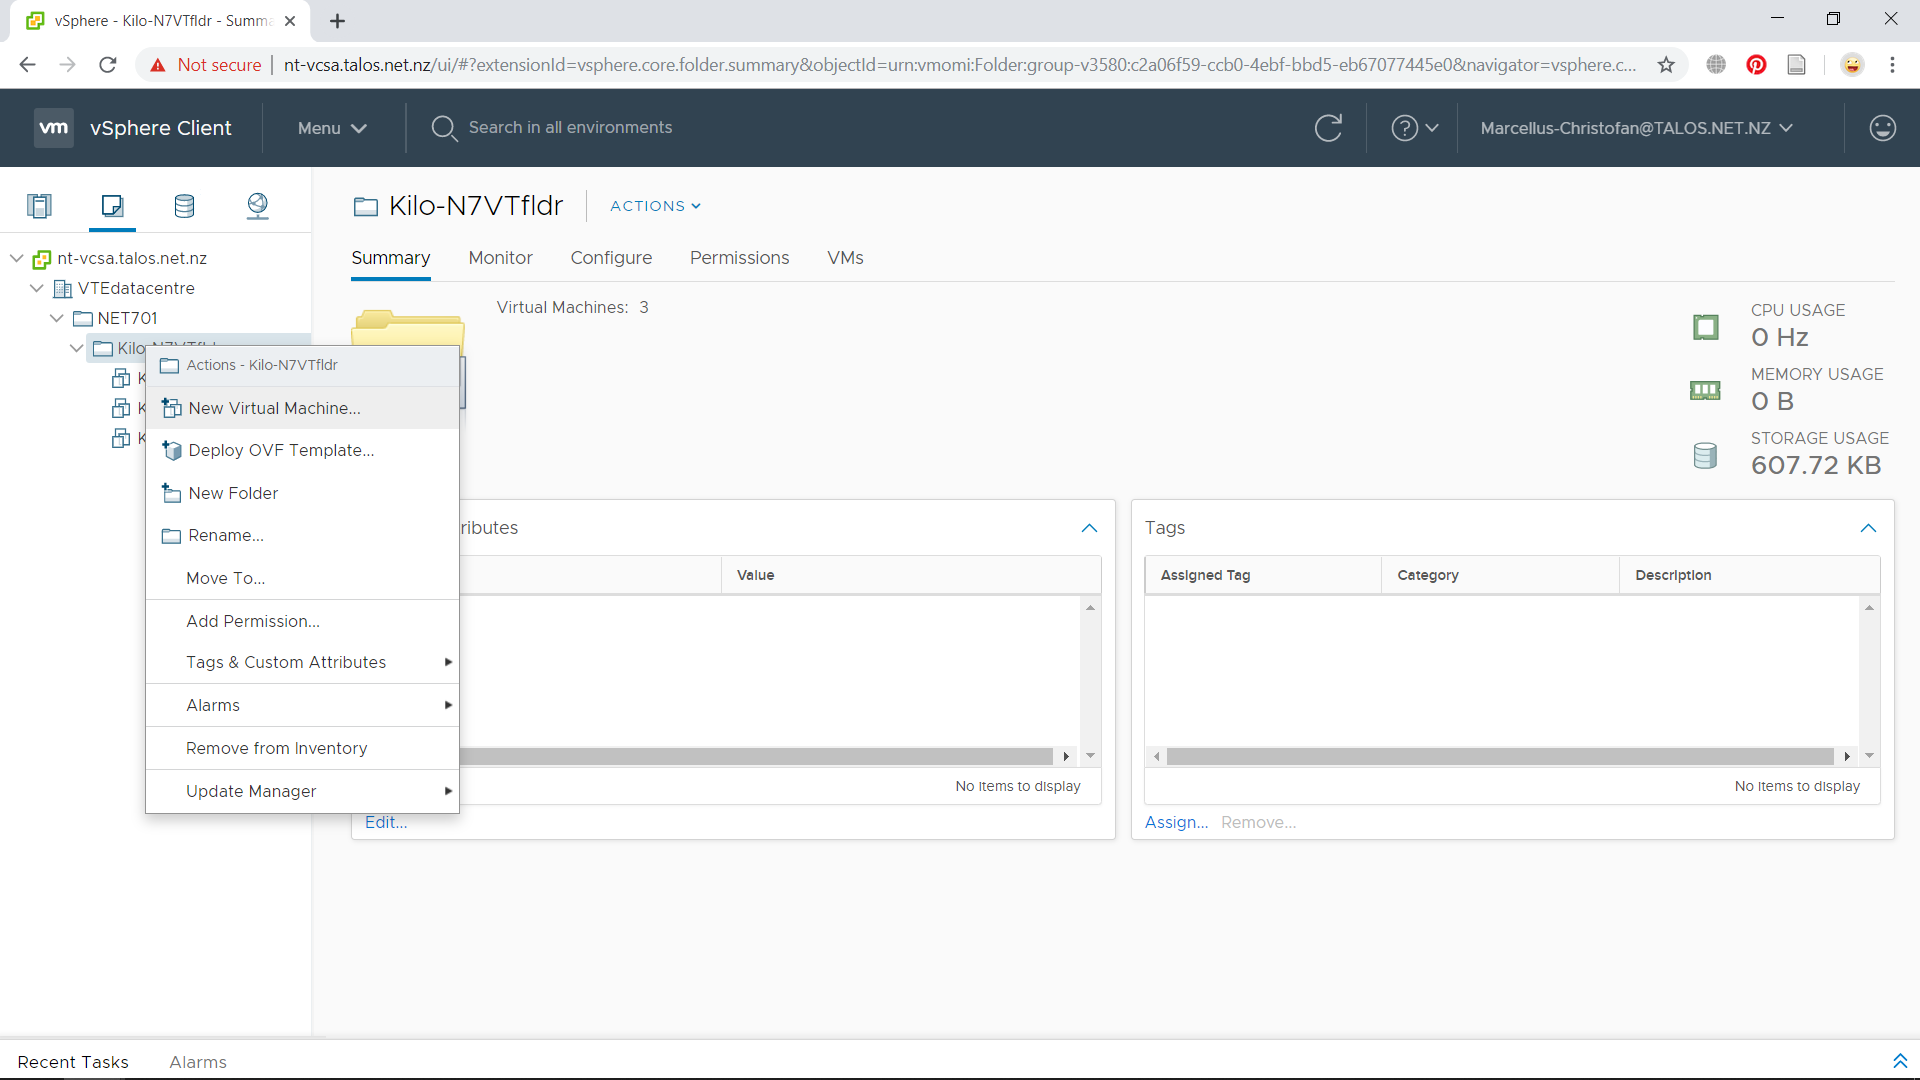
We will start by creating a new virtual machine (VM) to meet the requirements for ESXi. In the vSphere Client, go to VMs and Templates tab and right click your folder to and choose New Virtual Machine.
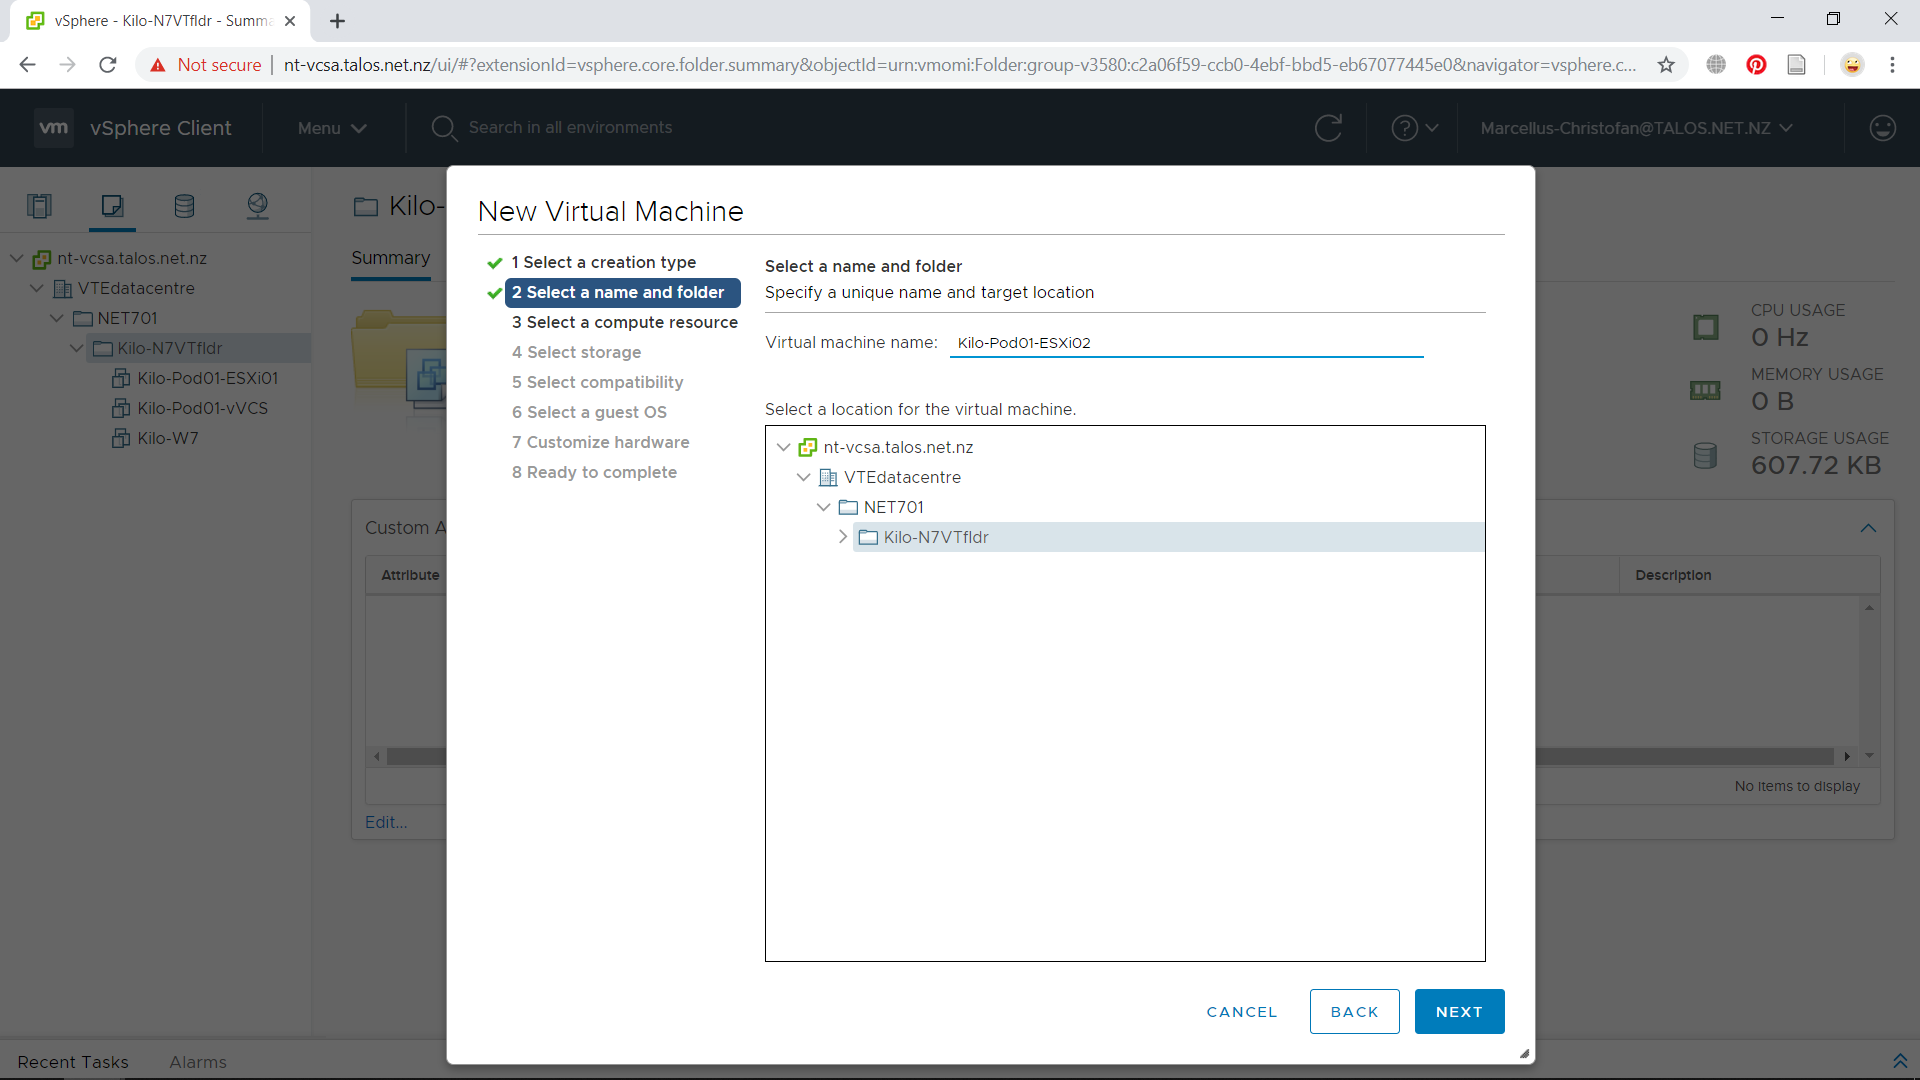
Next, we will choose Create a new virtual machine on the first step. After that, give the ESXi host VM an appropriate name (in my case is “Kilo-Pod01-ESXi01”).
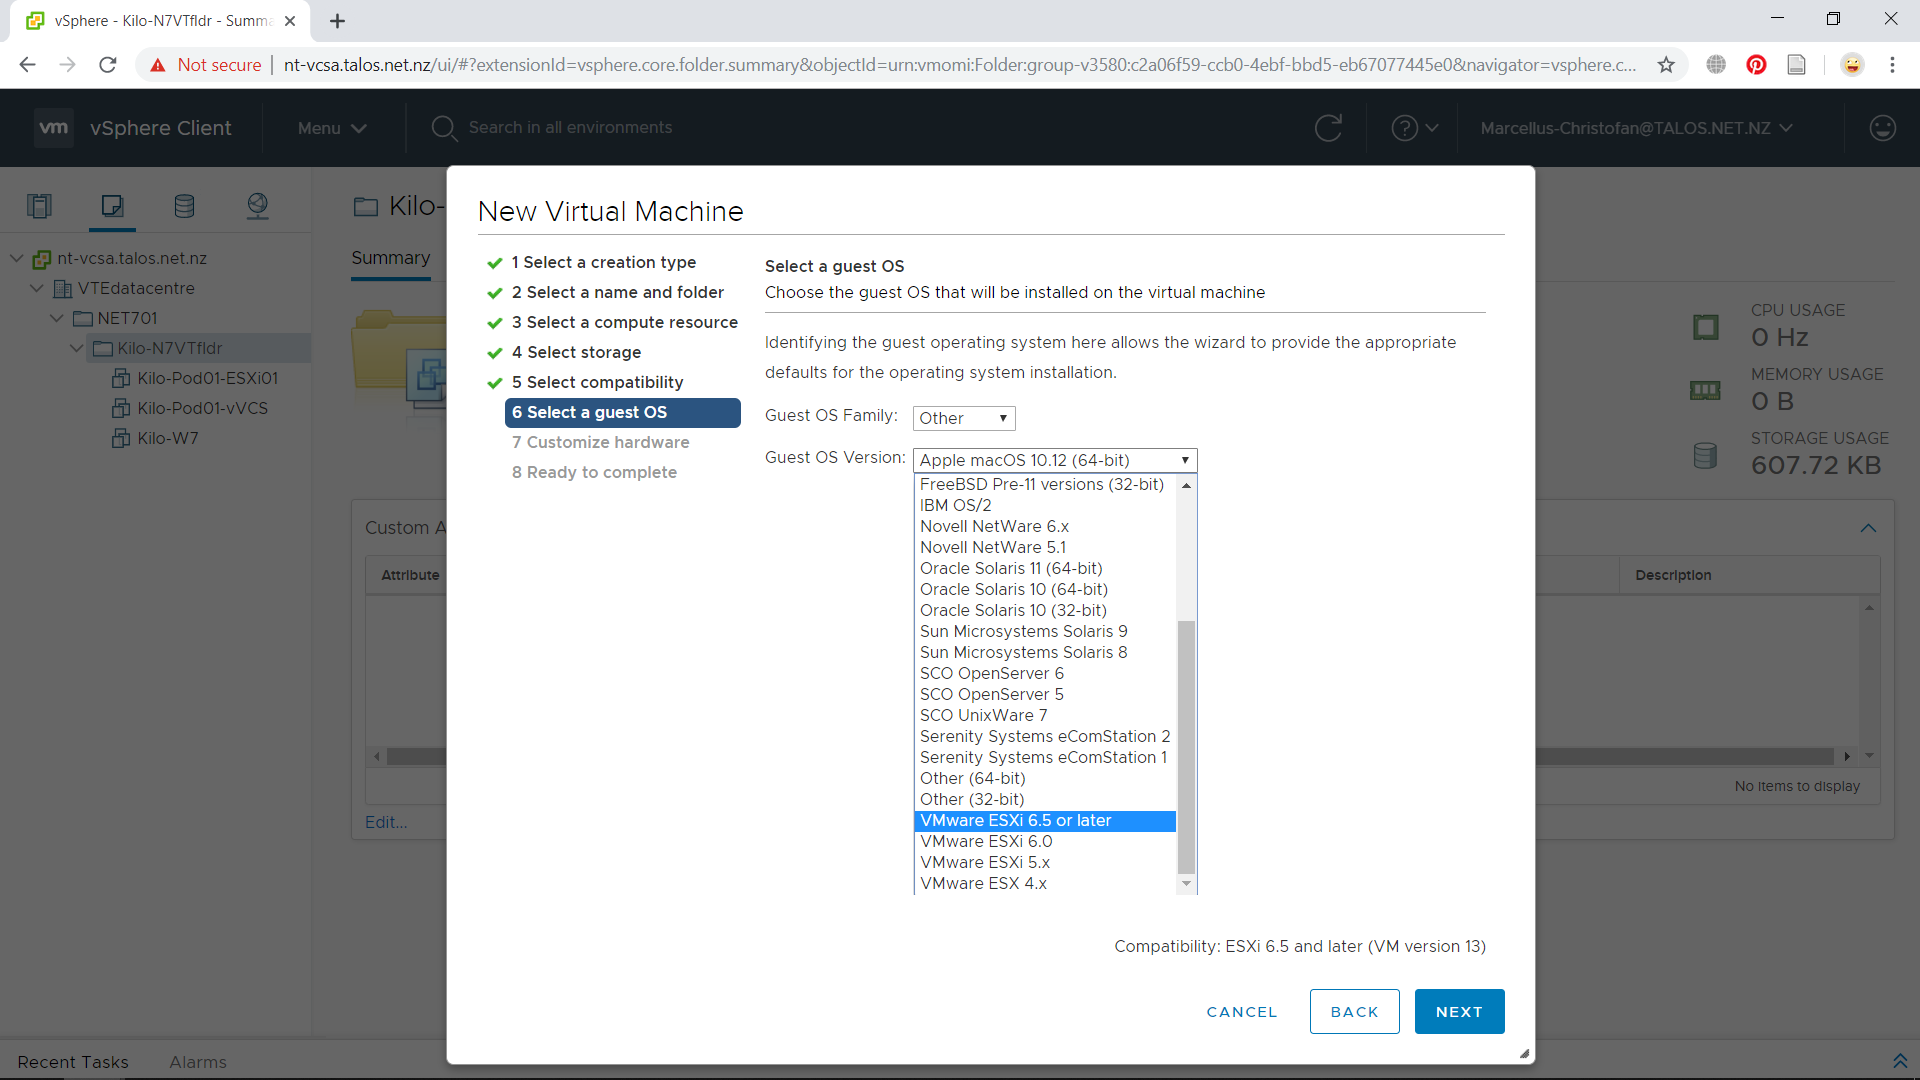
Next step, specify your preferred resource and datastore for this particular VM. As for compatibility, we will choose the ESXi 6.5 and later and press Next. From the Guest OS Family menu, choose Other and for the Guest OS Version will be VMWare ESXi 6.5 or later.
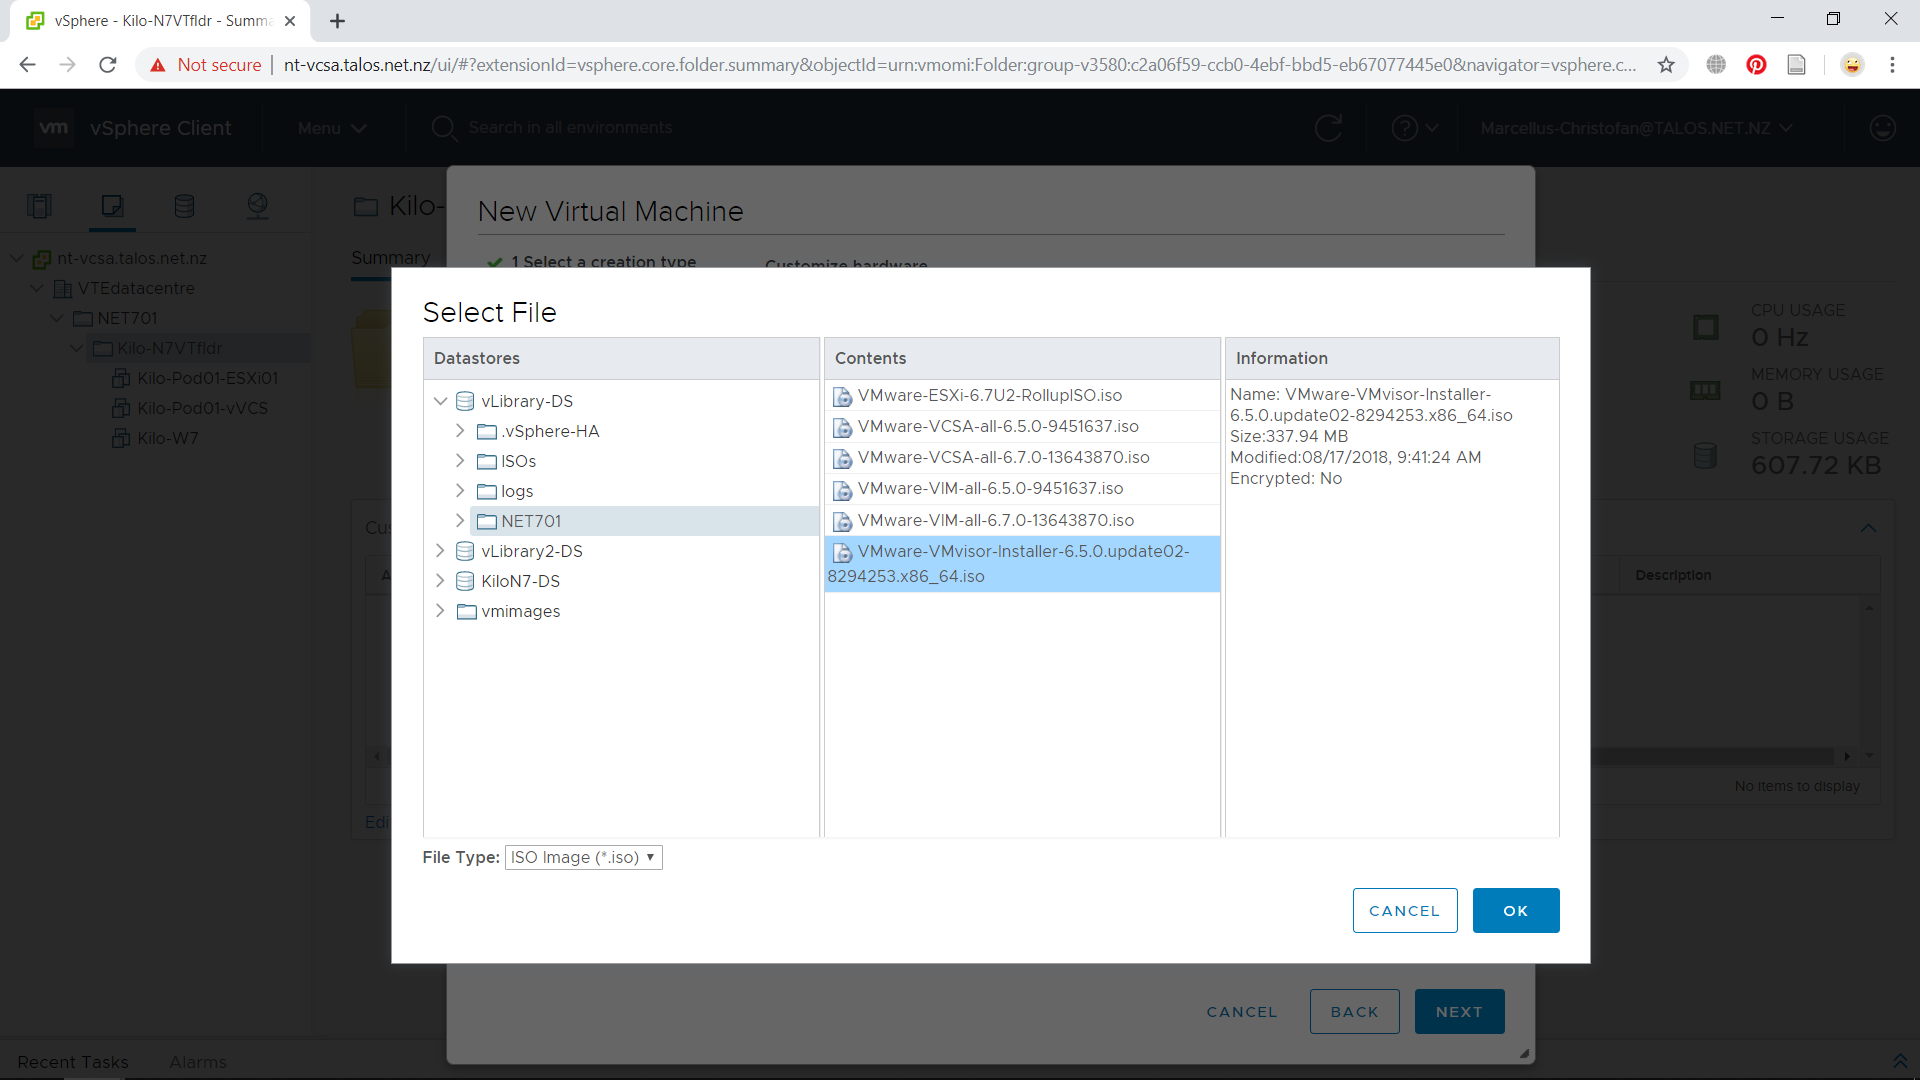
The hardware configuration is by default set for an ESXi host to run. We would want to mount the ESXi installer ISO in this VM. In the New CD/DVD Drive menu, choose Datastore ISO File then search for “VMWare-VMVisor-Installer-6.5.0.iso” or similar to this name. Press OK if you have selected it and put the check on Connect at power on checkbox. Press Next then Finish to complete the VM creation process.
Installing ESXi
The ESXi VM is now created and we will start the installation process. Start the VM and open the console which can be executed from the shortcut besides the VM name. It will take some time for ESXi installation to load and after that you will be ready to start the installation.
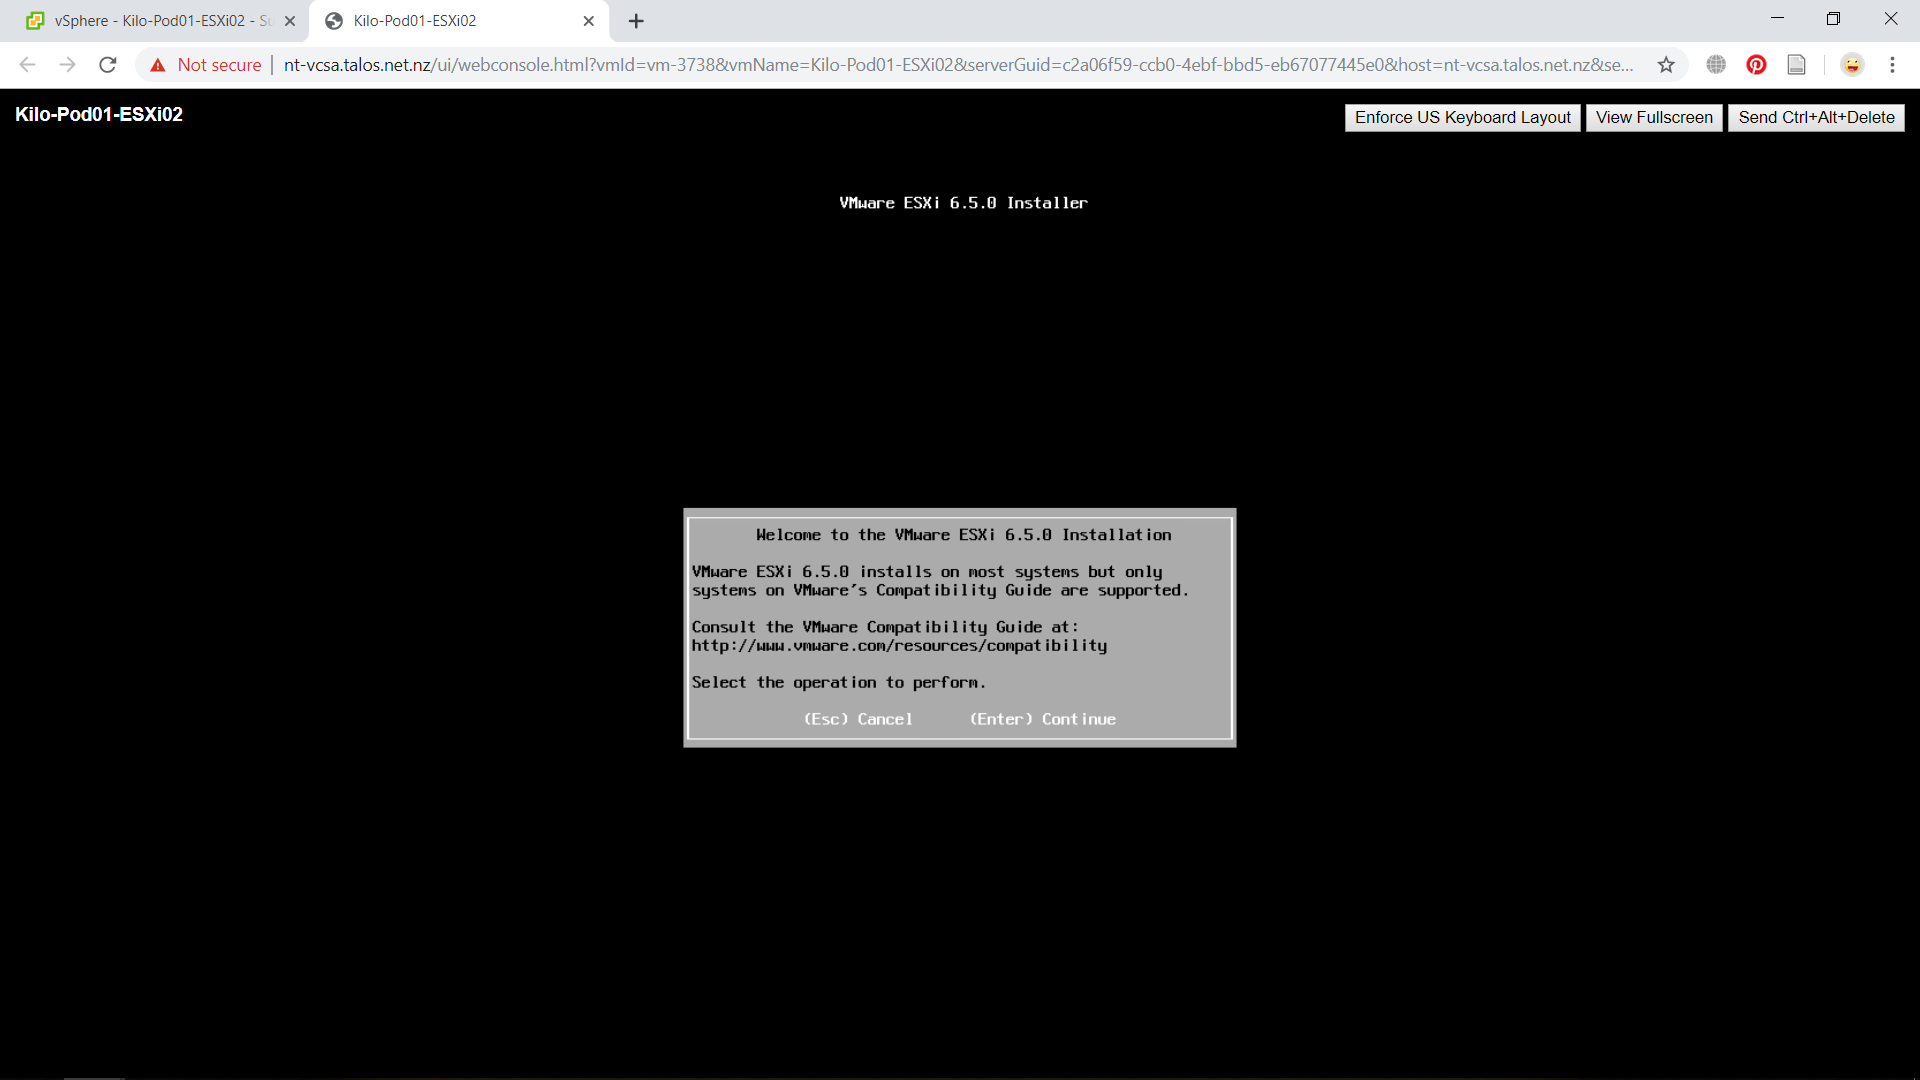
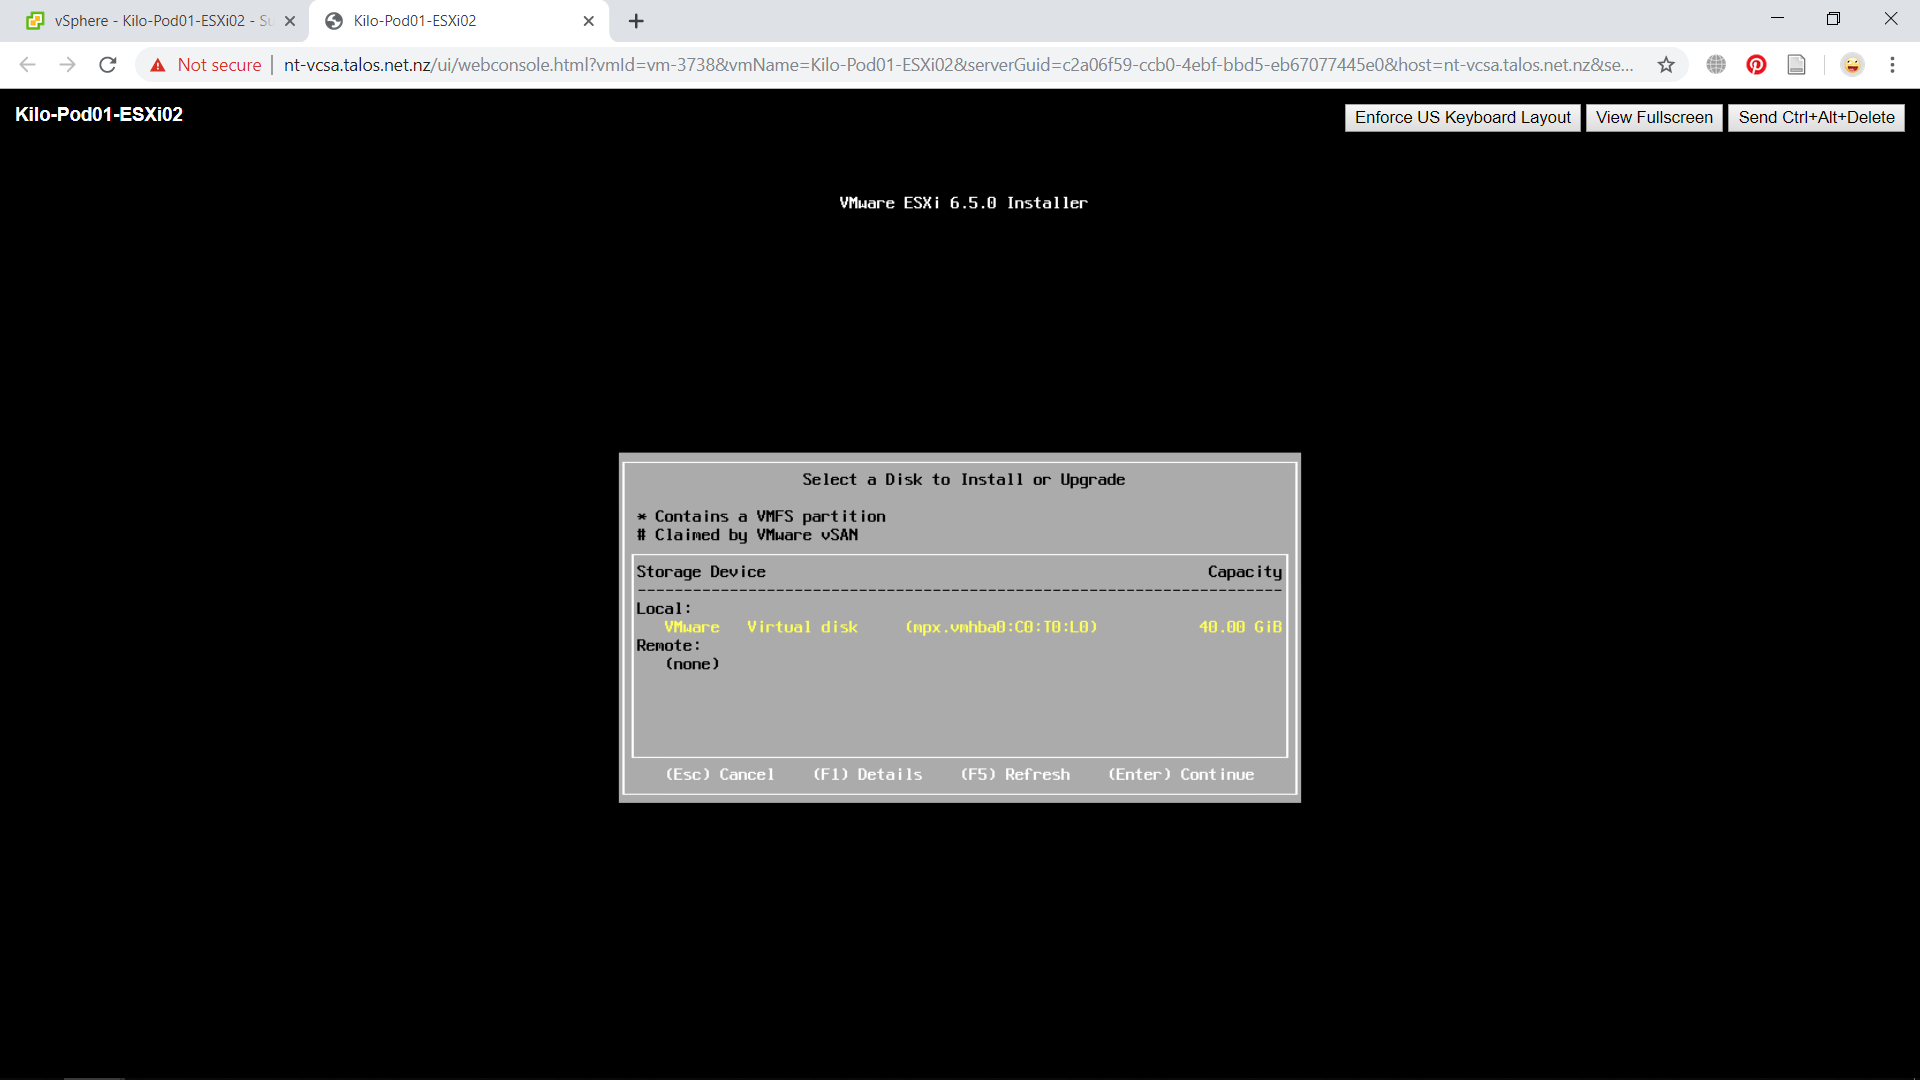
Press Enter to continue with the installation. End User License Agreement will appear, press F11 to Accept and Continue. Next part is to specify the specific disk to store the installation files in, choose your preferred storage and press Enter to continue.
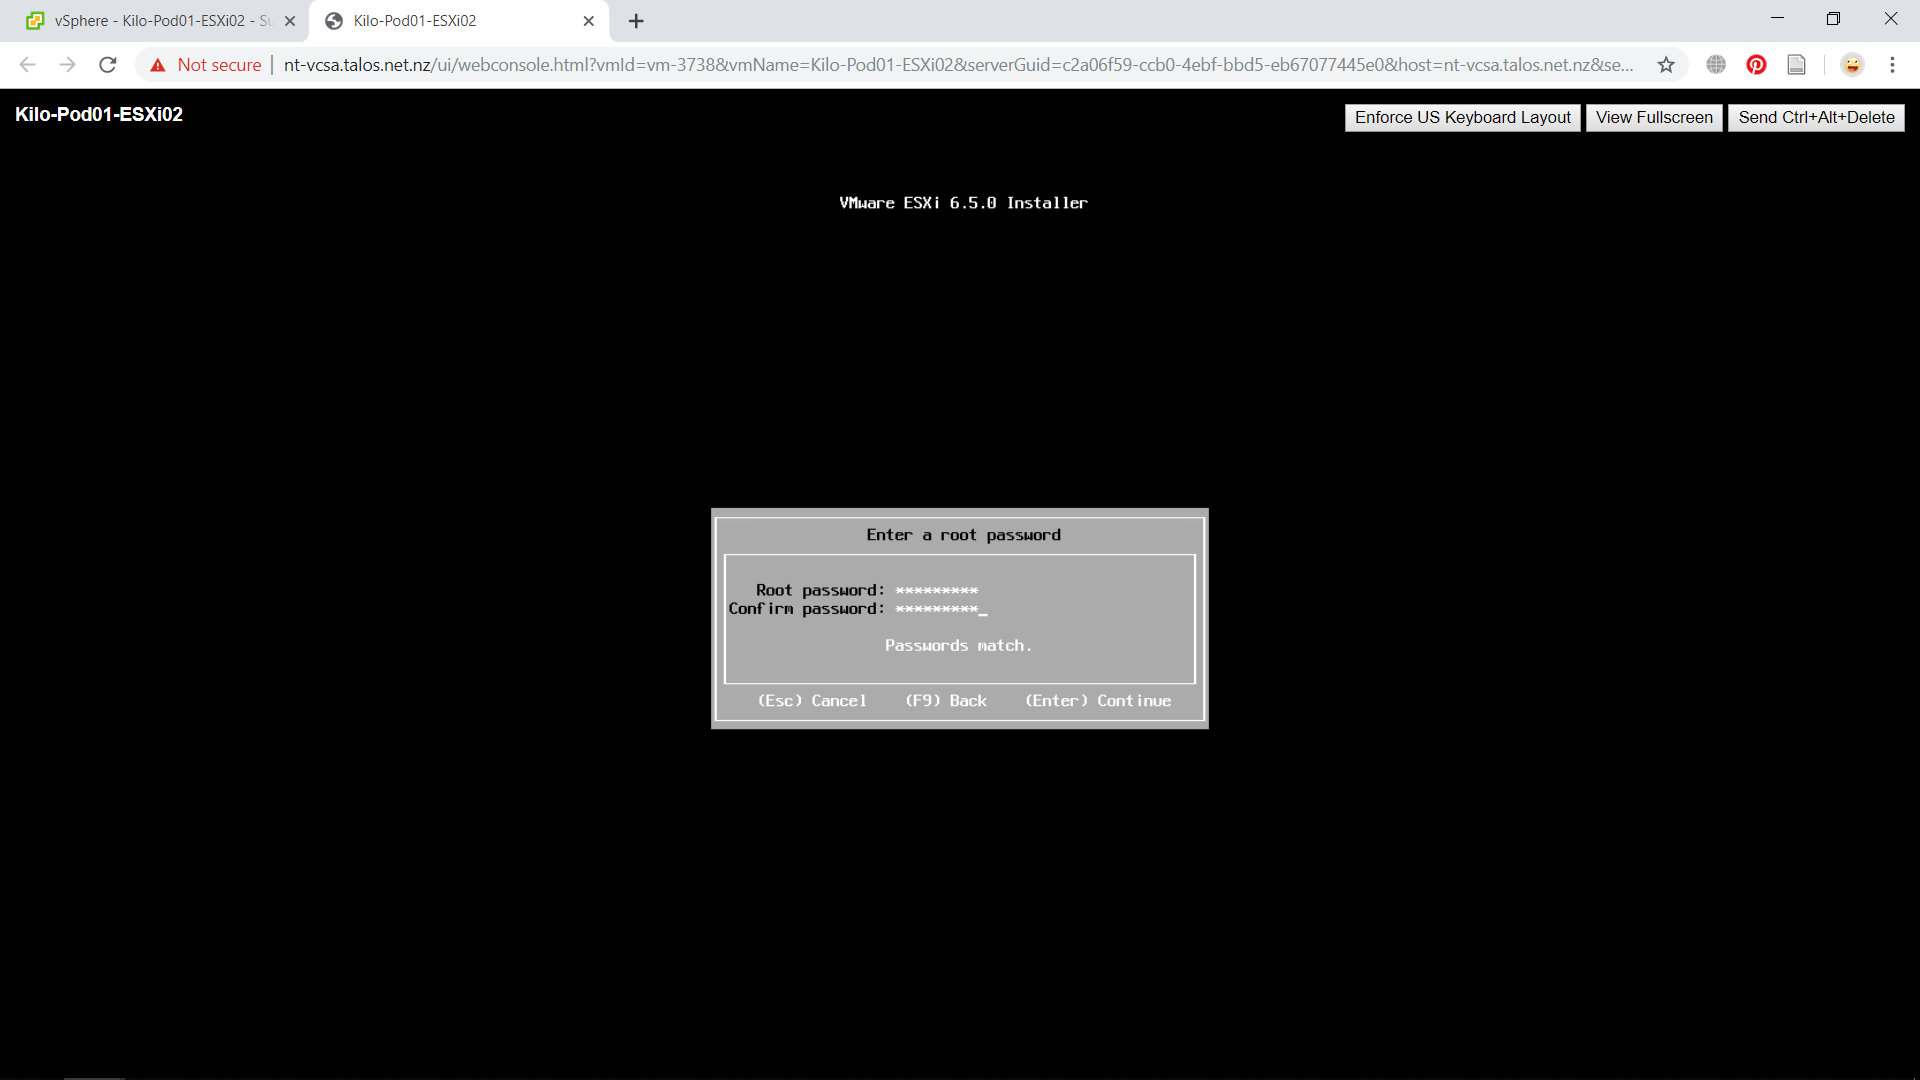
Select you preferred keyboard layout and press Enter to continue. In this part, register your password to access this ESXi machine. You will need to enter twice for the confirmation. Press Enter to continue to the next step.
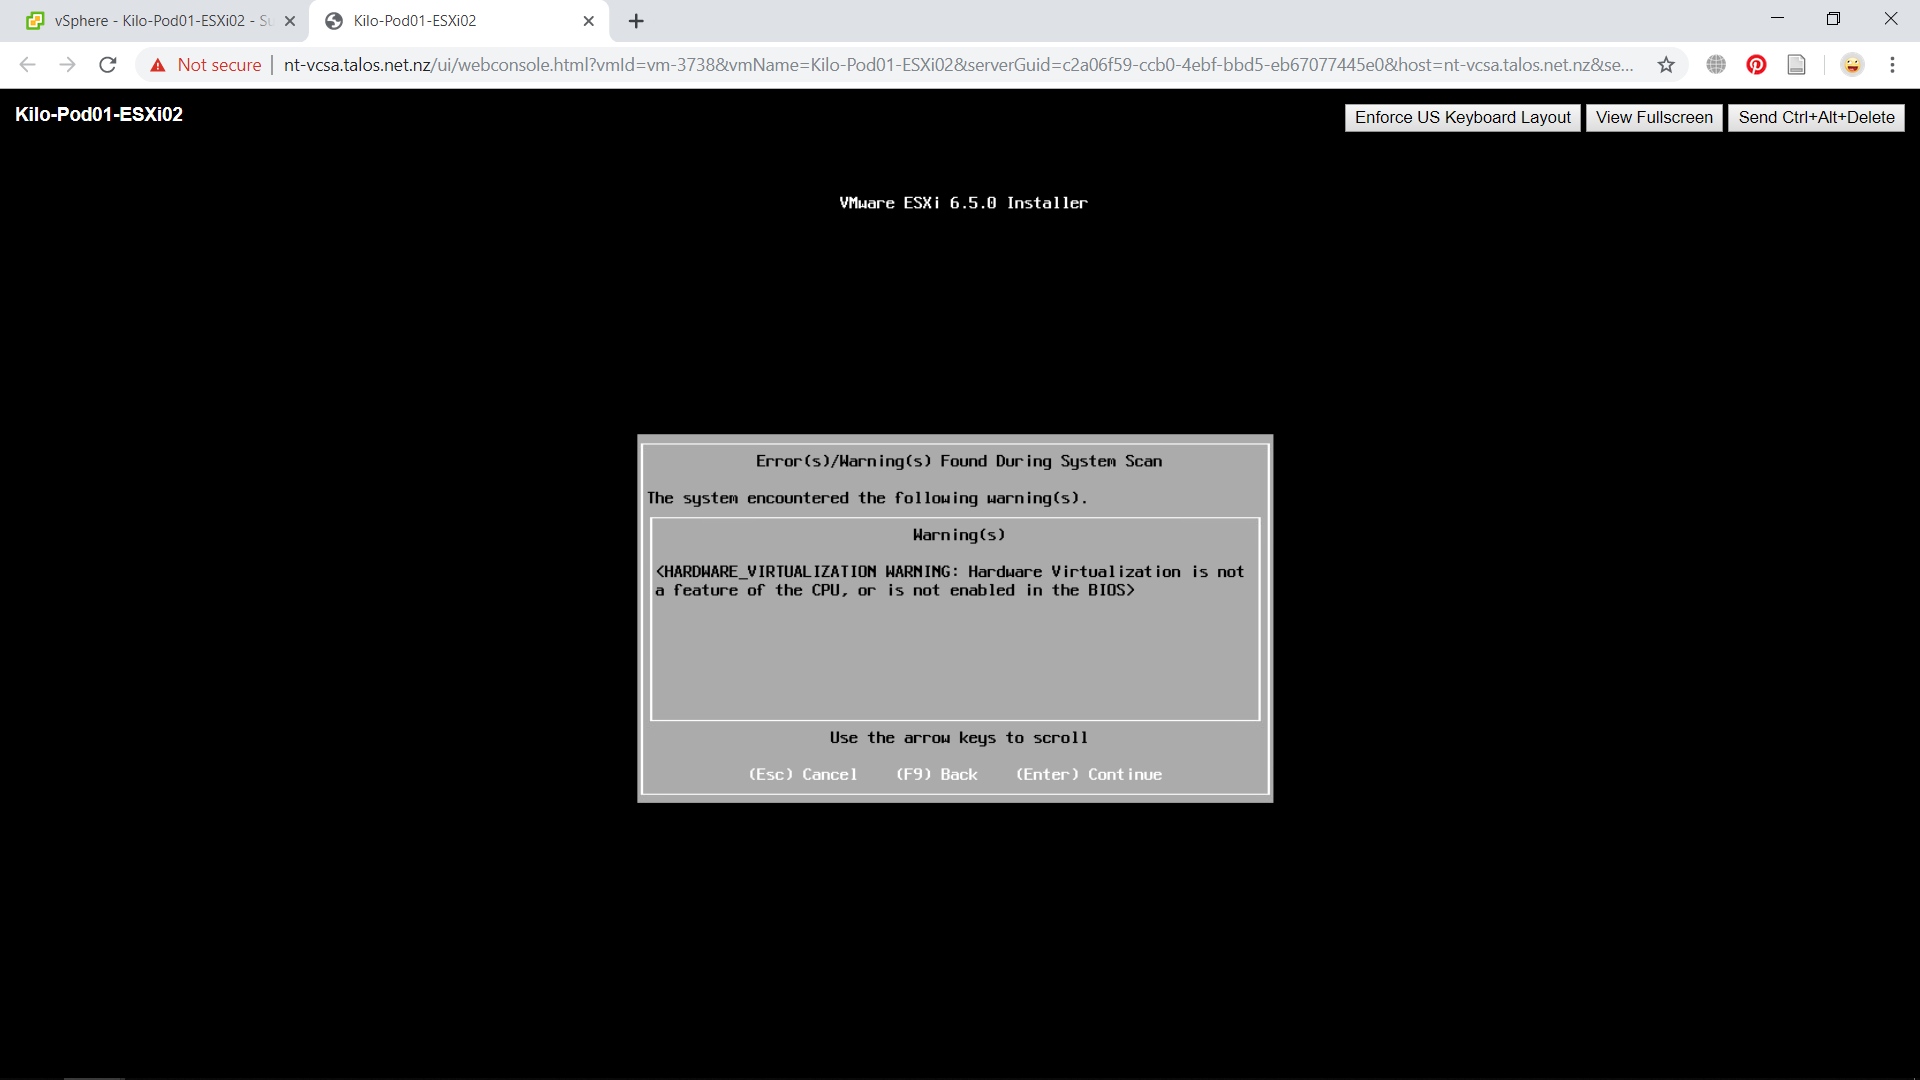
A hardware virtualization warning should appear and you would be recommended to ignore the warning and continue with the install by pressing Enter. This warning is caused as we are making a nested ESXi host which means it would essentially create a nested virtual environment.
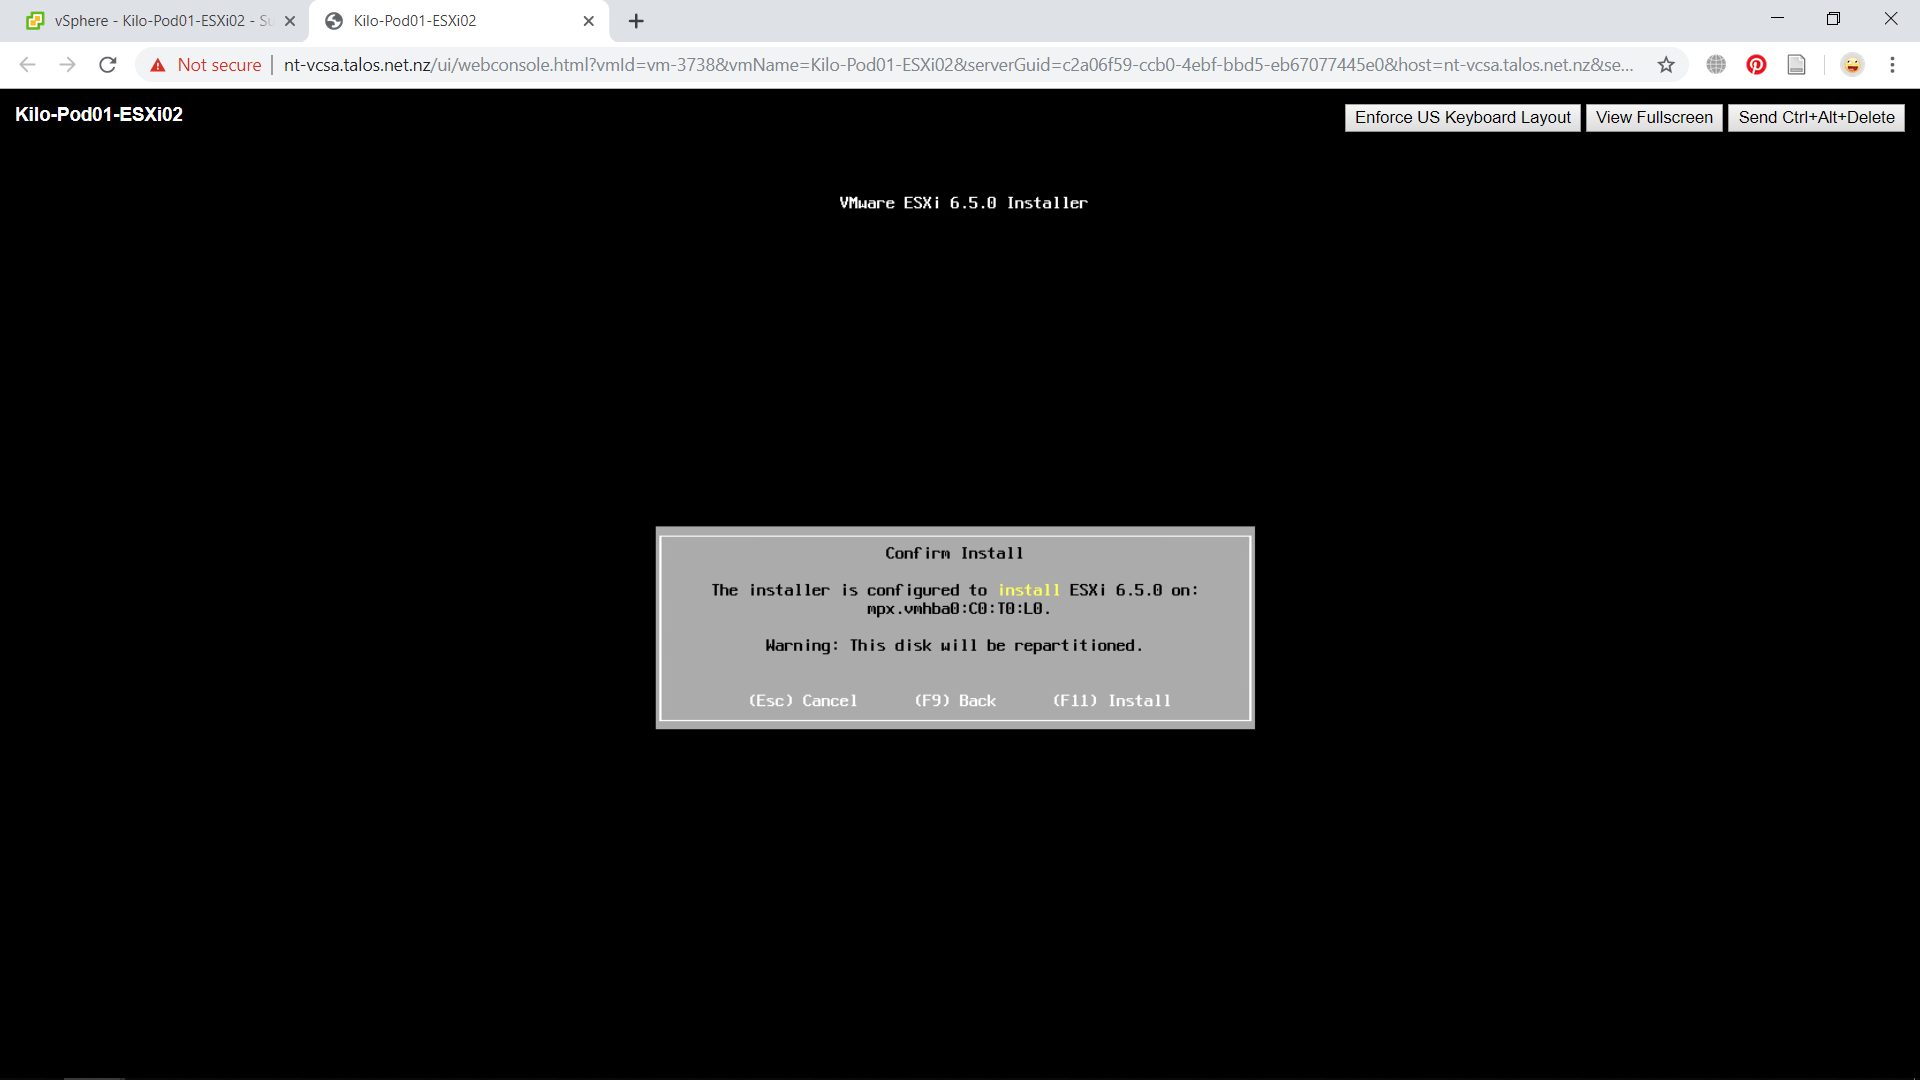
We have reached the final step of the installation. Press F11 to execute the installation.
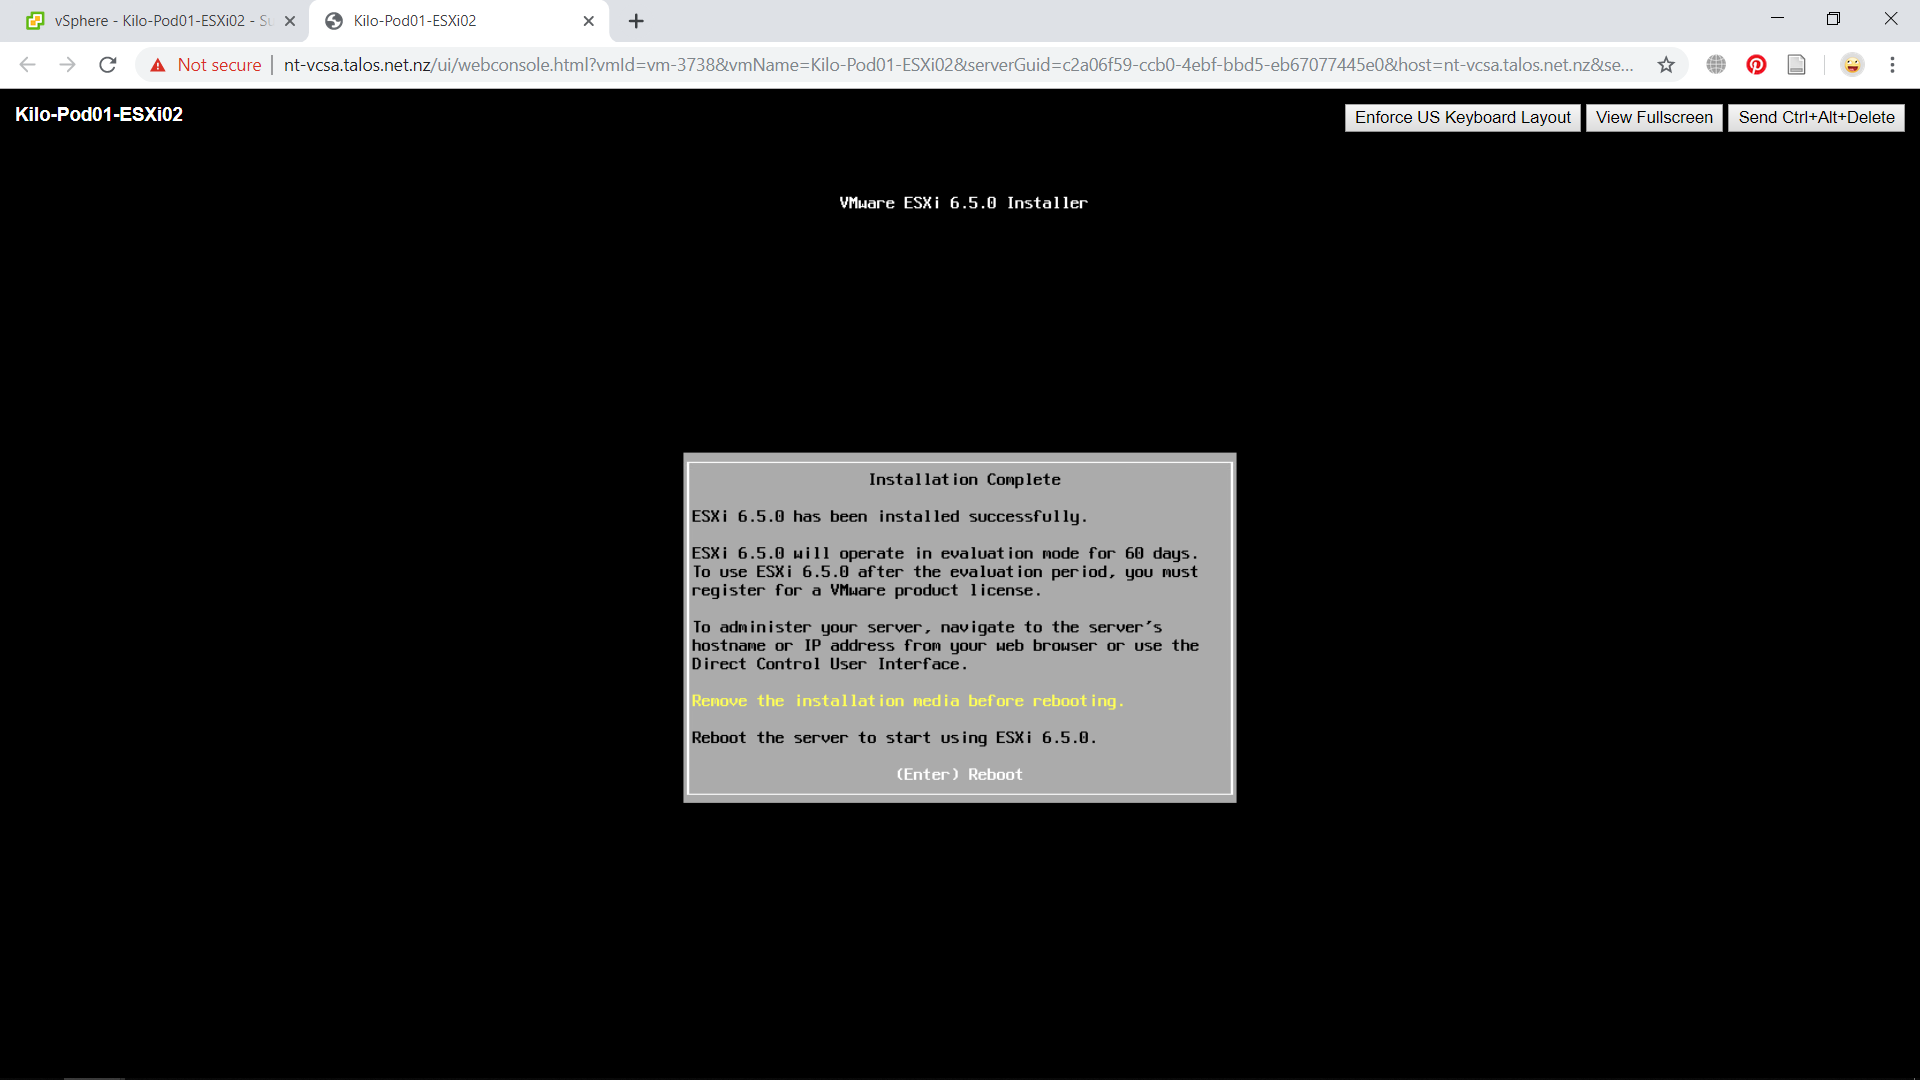
The installation process will now begin. After it is finished, the system will ask you to reboot and recommends you to remove the installation media. That is all for the installation process of ESXi. We will disscuss how to configure the ESXi host in another post.